Are you interested in starting to make cards or you’ve already started, and you’re just…plain…overwhelmed? Getting into this hobby can be, well, a lot. There are SO MANY products on the market, and every time you see a new one, you think you need it. Am I right? Let’s talk about what supplies you really need to start making cards, and we will start with the absolute basics – the ones you really need.
What Supplies You Really Need To Start Making Cards
Do you prefer to watch along with my video guide instead of reading? Here’s today’s video about what supplies you really need to start making cards.
First, let’s talk about the supplies you need to start making cards. I’ll begin with kits before moving on to other items with more supplies and creative options.
Getting Started With Card Kits
Kits are a fantastic way to start making cards because they simplify the products and the creative process. If you’re leery of your creativity skills, your paper cutting ability, or you just don’t have the funds to purchase the items on your wish list, then kits are the way to go.
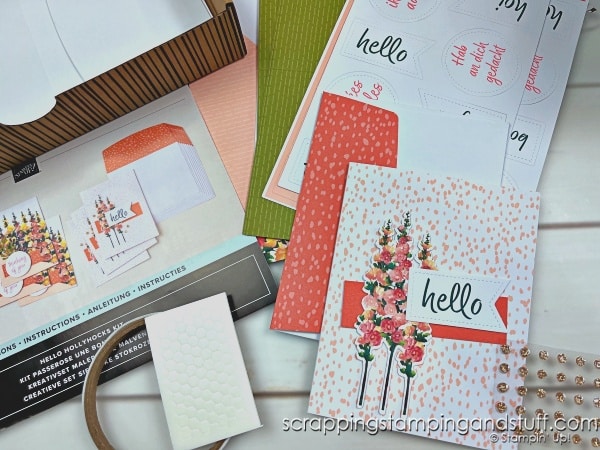
I love kits because they:
- Include everything you need in the box
- Are inexpensive
- Give you instructions and photos
- Allow you to slowly build up stamps and ink in your collection
- Allow you to be creative and change the projects if you choose
- Make perfect gifts
- Travel well
A kit is a minimal investment and it gives you the chance to try it out, see what you think, and decide how to proceed with this hobby. Take a look at our selection of kits here.
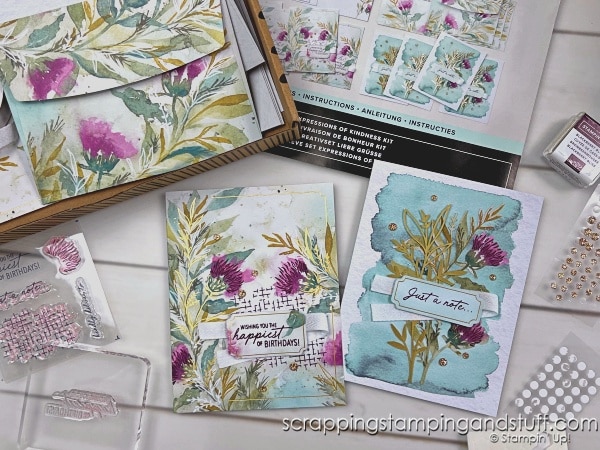
Secondly, I’ll mention a few products that are almost like a kit.
Almost A Kit
Another option is to purchase pre-made items for your cards, such as decorative card bases and envelopes, pre-printed decorative cards, and die cut packs.
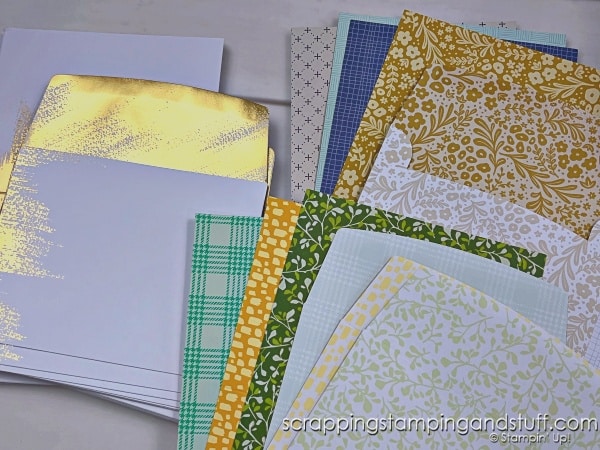
These items can be selected based on your personally preferences, so you can pick and choose your favorites.
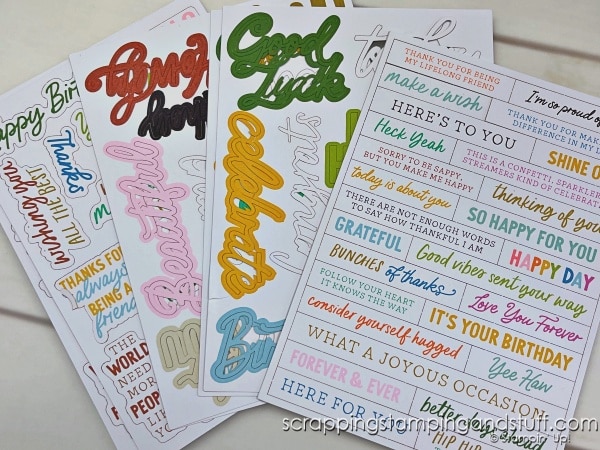
By pairing a nice pre-printed card base with a few die cuts, you can create lovely cards in an flash.
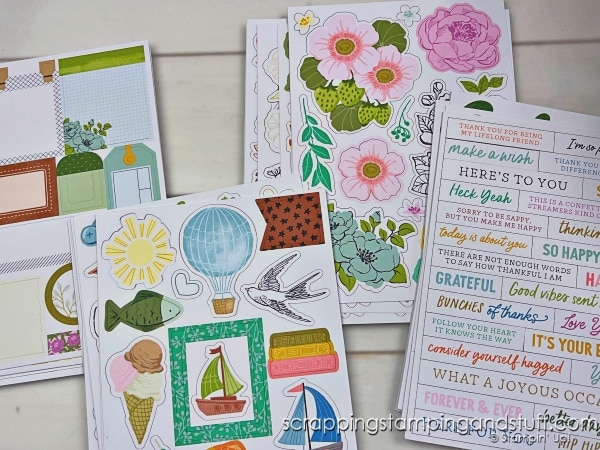
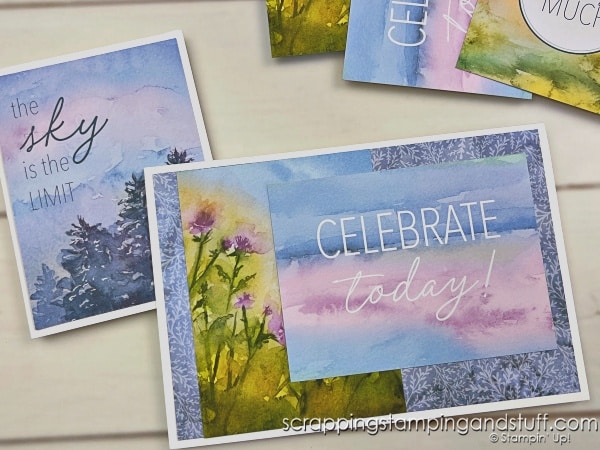
Another product that works well is pre-printed cards that can be placed on white or colored card bases. These Memories & More cards are a great option.

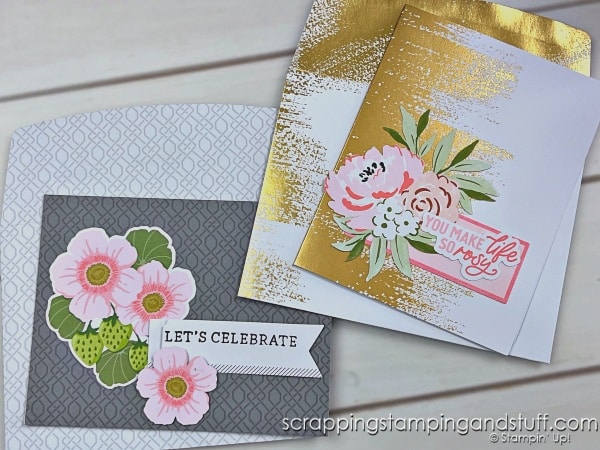
Let’s look at a few cards I’ve made with items such as those described above. Here are two lovely floral cards…
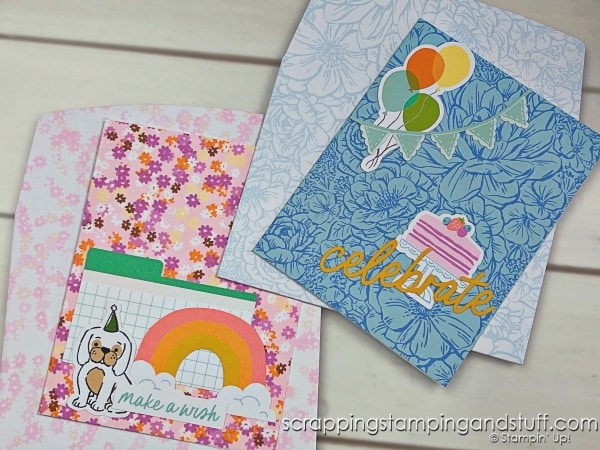
…here are a couple of fun, lighthearted birthday cards…
…and here are two made with the Memories & More cards.
As we proceed below, I’ve divided my recommendations for ‘must have supplies’ into several levels. Level 1 supplies are must-haves. Level 2 supplies are the ones I would suggest adding next once you have the essentials, and so on. Let’s talk about what supplies you really need to start making cards!
What Supplies You Really Need To Start Making Cards
Level 1 Card Making Supplies – The Essentials
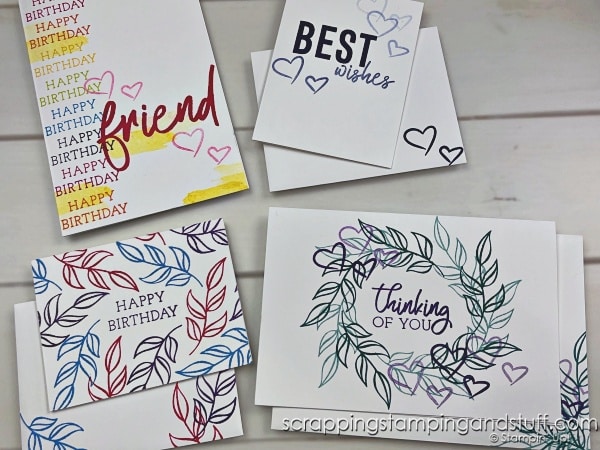
With these supplies, you can create basic, one-layer cards where all the stamping has been done on the card base itself. My recommendations for Level 1 card making supplies include the following:
Stamps
An Acrylic Block
Ink Pads
Pre-made Cards and Envelopes
Bonus: Rhinestones or Wink Of Stella
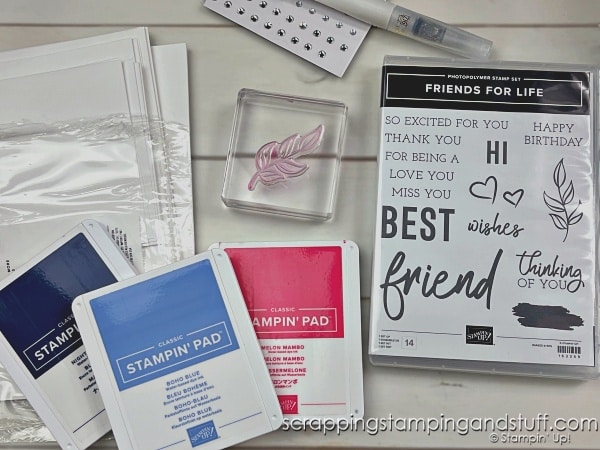
Stamps allow you to create greetings and also decorative designs on your card projects. Each stamp will need to be mounted to a clear acrylic block before use, and then removed when you are finished. Ink pads give you the beautiful assortment of colors in which to do your stamping. Pre-made cards and envelopes are available in plain white or assorted colors and designs.
If you start with these supplies but want a fun bonus, adding some rhinestones or Wink Of Stella glitter brush will add a gorgeous touch.
Watch along with the video to see how to create these basic cards using only the supplies mentioned above.
Next, let’s move on to my Level 2 recommendations.
Level 2 Card Making Supplies – The Almost Essentials
With the addition of Level 2 supplies, you’ll be able to make multi-layer cards and other creative projects. My Level 2 recommendations include:
Cardstock
Paper Trimmer
Bone Folder
Scissors (a good pair!)
Tape Runner or Glue
Bonus: Foam Dimensionals
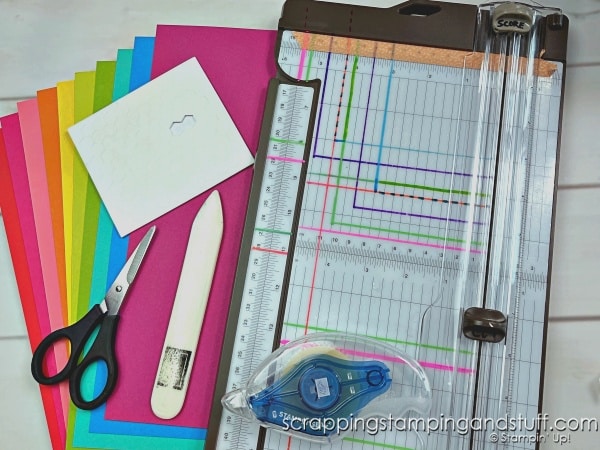
Having cardstock and a paper trimmer will allow you to add pieces and layers to your cards. You can also begin preparing your own card bases if you choose. A bone folder allows you to get crisp creases for your card folds. Scissors, well, you know this one. As you get more involved in this hobby, you’re truly going to appreciate a great pair of scissors. Last but not least, a tape runner or glue will allow you to attach various pieces to your card. I prefer a tape runner, but some card makers prefer glue. I suggest trying both to find your preference. This glue is my favorite!
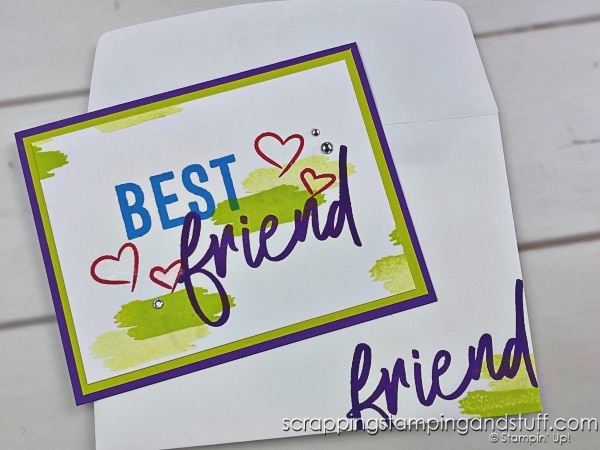
As a bonus, I suggest ordering an inexpensive pack of foam dimensionals. Sometimes we call these ‘pop dots,’ because they allow you to pop up elements of you card, just a little bit, using a piece of foam with adhesive on both sides. Adding them under a layer of your project adds an amazing touch. Once you begin using dimensionals, you’ll never go back!
A Bit About Paper
I want to quickly mention a few things about cardstock and designer paper before we move on. First, you can usually find cardstock in two sizes – 8 1/2” x 11” and 12” x 12”. Card makers typically use 8 1/2” x 11” cardstock, because one sheet cut in half will make two card bases with zero waste.
In addition, there are a lot of different types and qualities of paper. When I started making cards, I ordered a bunch of cards and envelopes online from a company that I thought had a good price, and after my supplies arrived, I knew why the price was so good. They were terrible quality. I encourage you to pay attention to the quality before you buy, or if you’re shopping online, buy from a reputable company. I LOVE Stampin Up cardstock and designer paper, because they are high quality. The cardstock is thick, and holds up nicely when a card is sitting upright for display. Poor quality cardstock will bend and sag, and won’t stand up straight.
Learn more about paper for papercrafting here!
Level 3 Card Making Supplies – The Really Gotta Haves
When you add Level 3 supplies to your collection, you can truly unleash your creativity. Keep in mind you can choose items that pertain to your interests, and you don’t have to add them all at once! My Level 3 recommendations include:
Take Your Pick Tool
Punches
Markers and/or Watercolor Pencils
Pretties – designer papers, die cuts, gems, ribbon
More Adhesives
Cleaning Tools
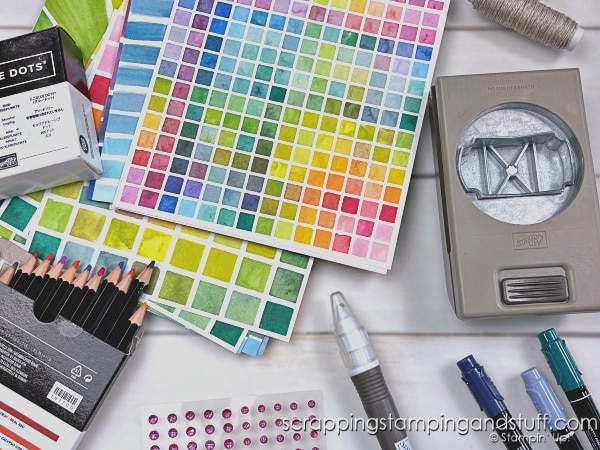
The Take Your Pick tool is the Swiss Army knife of my craft room. It allows me to pick up small pieces, apply foam dimensionals and gems more simply than doing it with my fingers, pierce paper, remove pieces I’ve placed in the wrong spot, and more. Learn more about the Take Your Pick tool here.

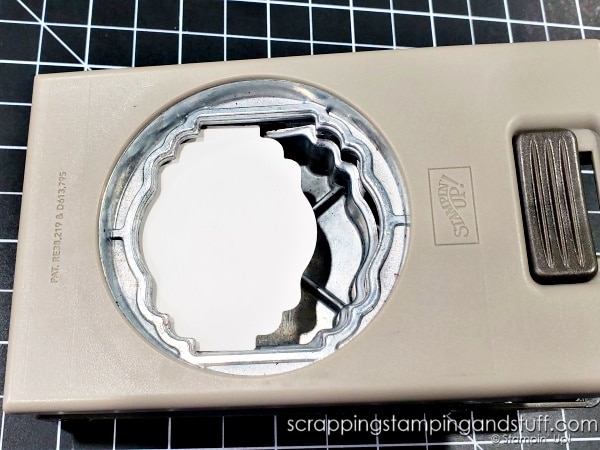
Punches are THE BEST!! They’re quick and easy to use, and make light work of creating beautiful shapes.
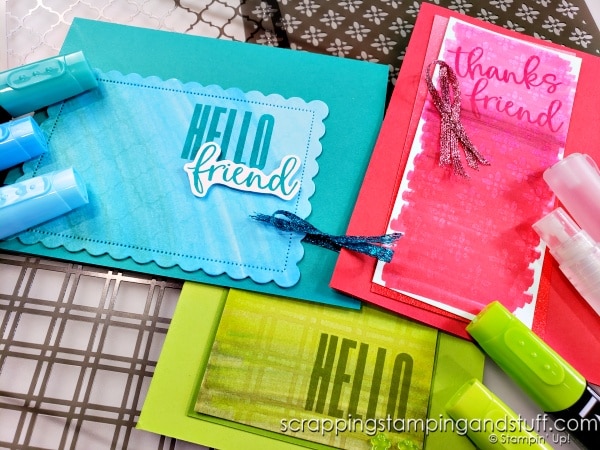
Markers and pencils allow you to add color to stamped outline images.
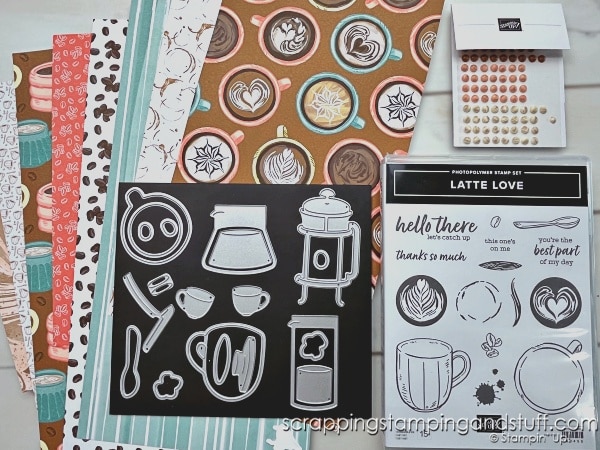
The pretties – this is a big category, but a good one! Designer papers, pre-made die cuts, gems, and ribbon make it easy to create gorgeous cards. When you’re starting out, choose items that coordinate, so that you don’t end up with paper and other pretties that don’t look nice together. Product suites are a great way to choose coordinating items.
I also suggest adding more adhesives, like Glue Dots. They’re awesome for attaching ribbon or bows and not having to wait for glue to dry. In addition, cleaning tools are very helpful. A shammy is my first recommendation, but a Stampin Scrub and Stampin’ Mist are also a wonderful option.
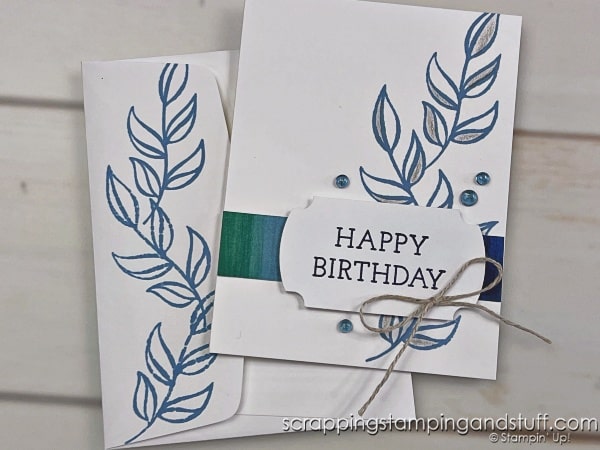
Here is a very simple card I created by adding in watercolor pencils, designer paper, thread, a punch, and gems.
Ok if you’re getting overwhelmed, I recommend that you stop here! Don’t go any further than you’re comfortable with. When you’re ready and feeling confident about your crafting, then you can proceed.
Level 4 Card Making Supplies – I Can’t Stop Now
Level 4 is where it starts to get SO FUN! You’ll send a card to someone and they’ll ask, “Did YOU make this?!” And you’ll be beaming. Here are my Level 4 product recommendations:
Die Cutting & Embossing Machine
Dies
Embossing Folders
Blending Brushes
Scoring Tool
Heat Embossing Supplies
A die cutting and embossing machine, along with dies and embossing folders, will allow you to create professional looking cards. Others will have a hard time believing that YOU made THIS?!

When using dies with your machine, you can create detailed, intricate shapes for your projects.
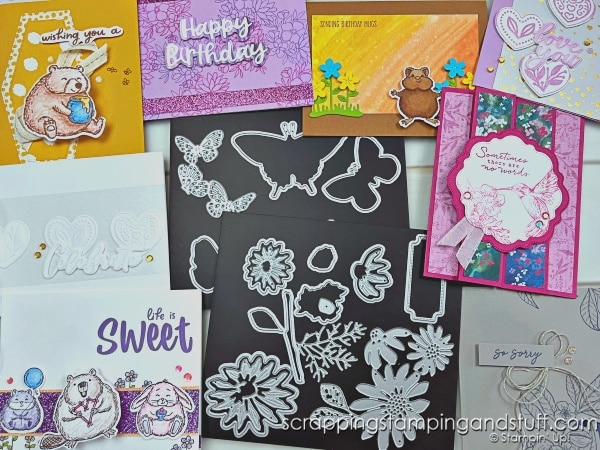
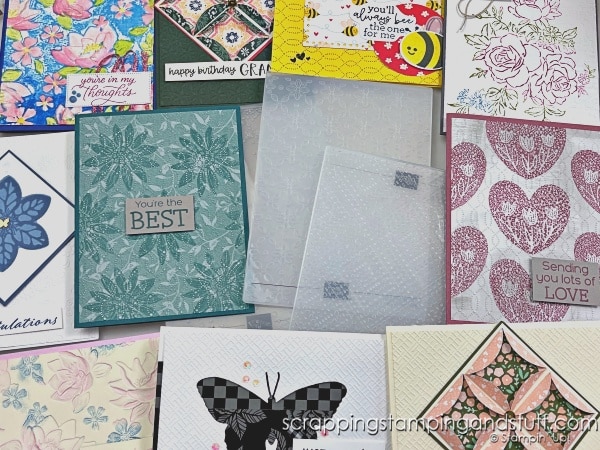
Embossing folders will give beautiful texture to your cards and layers.
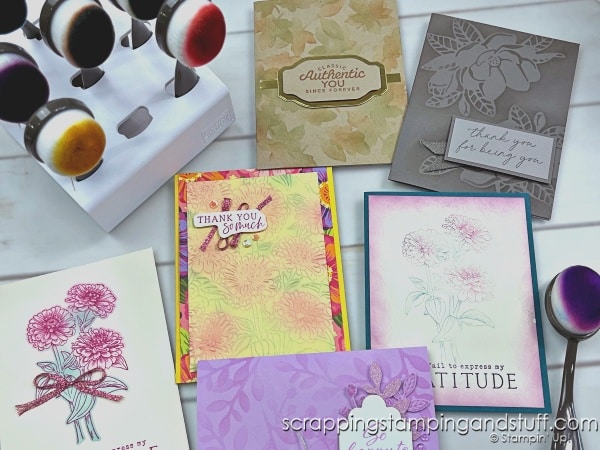
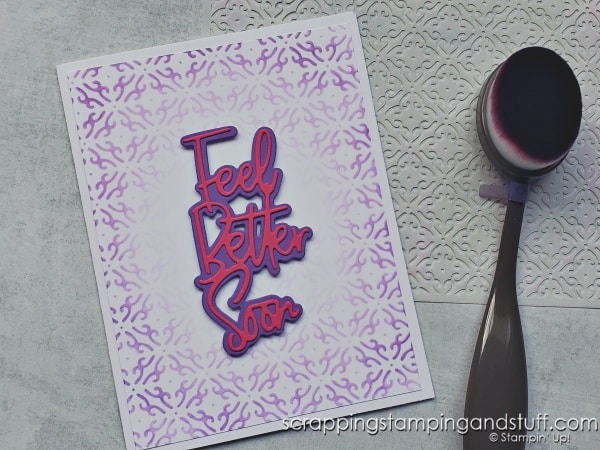
Blending brushes are a wonderful way to add subtle color to projects and do many different techniques.
A scoring tool is very helpful for making cards with special folds, paper boxes, or 3D projects. It can also be used to create decorative scoring on simple cards.

Heat embossing is a technique that creates raised glossy accents on your cards. This is the technique that causes many stampers to fall in love with stamping! It’s magical!
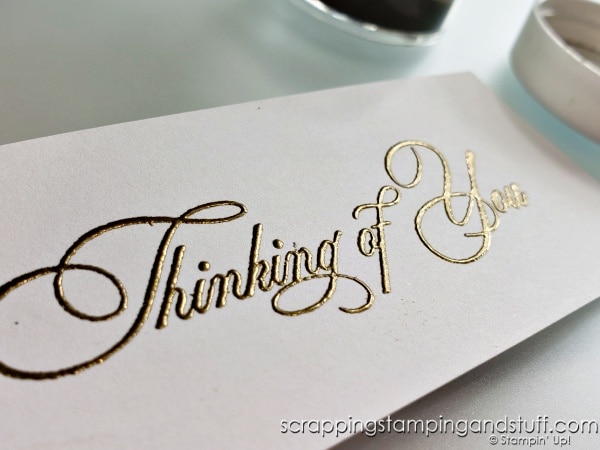
How are you feeling? Have we gone too far? We’ve covered what supplies you really need to start making cards, but if you’re ready for more, we won’t stop now!
Level 5 Card Making Supplies – I Need It All!
Level 5 supplies are just…plain…fun. These are the items to add when you’ve built up your basic supplies, you’re feeling comfortable with them, and you just want to start playing. Here’s what I suggest for Level 5 supplies:
Masks
Masking Paper
Sponge Daubers
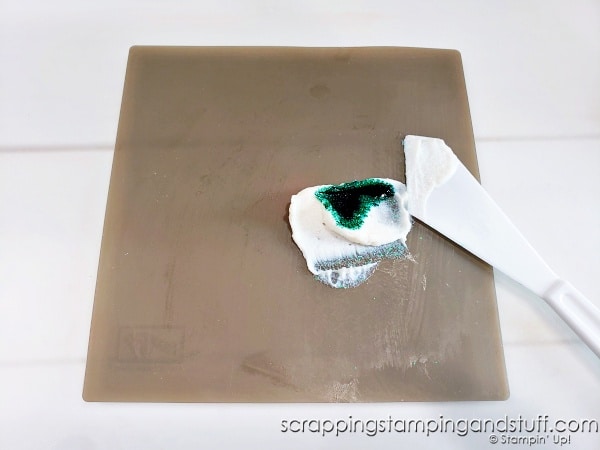
Embossing Paste
Chalk Pastels
Alcohol Markers
Masks and masking paper can be used with blending brushes or sponge daubers to apply ink with unique patterns.
Embossing paste is something I compare to frosting a cake, but you’re doing it on paper and it dries hard.
Chalk pastels are another fun medium that can create amazing projects.

Ok…we’ve covered a lot. What we haven’t talked about is how to organize all your stuff! Let’s do that now.
Level 6 Card Making Supplies – Organization Is The Key To Happiness And Productivity
When we are organized, can we find and use our supplies easily, and it becomes more fun to make cards! You may use shelves, boxes, tubs, a desk, or other items to start getting organized. Here are my suggestions for some organizers created especially for craft supplies, They are very helpful!
Blending brush organizer
Ink and marker storage
Paper cubes
Ribbon storage
Paper Sleeves
Magnet Sheets for Die Storage
Magnet Cards For Dies
Die Storage Sleeves
See these organizers with more details and information about my craft room organization here.
Product Suites Make Your Decisions Simple
As I was sharing about choosing stamps, papers, ribbons, gems and other supplies, did you get a bit overwhelmed? Were you thinking, “Where in the world do I start?!” If so, I highly suggest taking a look at something we call Product Suites. These items are created to coordinate, so by ordering one item, you end up with stamps, paper, and other coordinating items to be able to create gorgeous cards.
Overwhelmed Again? Go Back To The Beginning
Are you still overwhelmed? Rome wasn’t built in a day my friends. I encourage you to go back to the beginning, and start there. Order a kit or a few supplies to get started.
Simple Stamping Tutorials
I also highly recommend you take a look at my simple stamping tutorials. Many card making tutorials available online are not friendly for beginners. These should help you get started.
Materials List
Now that you know what supplies you really need to start making cards, you can start shopping here!
Product List Learn To Make Cards
Shop Supplies
Rewards Program
Join My Amazing Team
I hope this helped you learn what supplies you really need to start making cards!


Leave a Reply