I’ve been making cards and sharing how to make cards as a business for over 10 years now. When I started, I was a complete novice. I remember trying to prepare for my first card making classes and I hadn’t even made many cards by myself for fun…what an adventure! Looking back, there are quite a few things I wish I had known. Let’s talk about what I wish I knew when I started making cards!
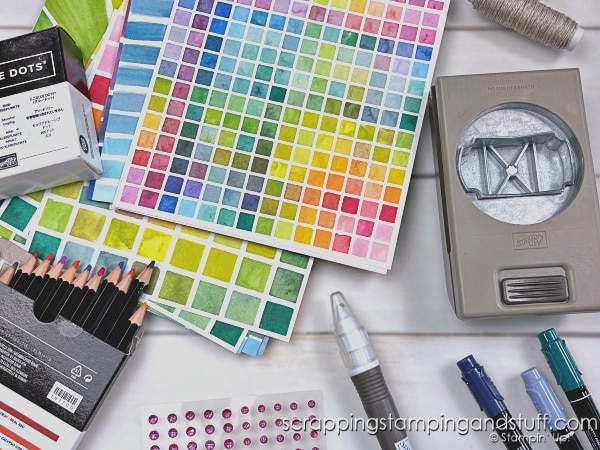
What I Wish I Knew When I Started Making Cards Video
Watch along here, or keep reading for my list!
What I Wish I Knew When I Started Making Cards
Let’s get started with my list. Here’s what I wish I knew 10 years ago about card making!
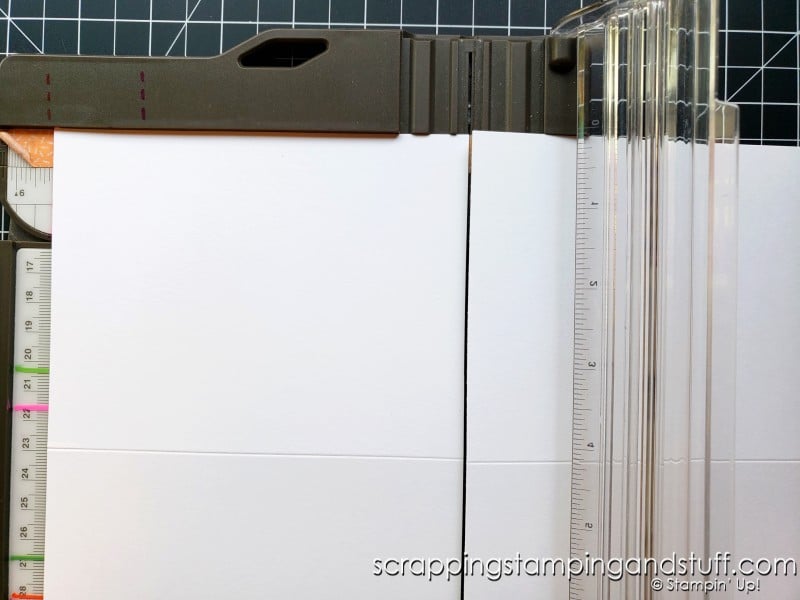
How To Cut Card Bases
As a former scrapbooker, I was trying to make card bases out of 12″x12″ paper. That was definitely not the best way to do it. If you start with a piece of 8 1/2″ x 11″ cardstock and cut it in half, you get two card bases with no waste. That’s a better way!
Don’t Buy Cheap Supplies
The supplies I first purchased came at a great price from an online site. As it turns out (as it usually does), the price was good because the products were not good. The card bases and envelopes were so poor quality, they’re still in my craft room because I never used them. I really need to give those away to get them out of my space. The stamps were not good either and I stopped using them as a result.
My next experience with paper craft supplies was with Stampin Up. I’ve had many of my SU stamps and punches for 10 years now, and they work as well as the day I purchased them. Paying for supplies that will last is worth it!
Which Type Of Ink Do I Use When?
The three main types of ink, and when to use them, is as follows:
Water-Based Dye Inks – Almost all the time! These inks dry quickly and are great for any watercolor techniques.
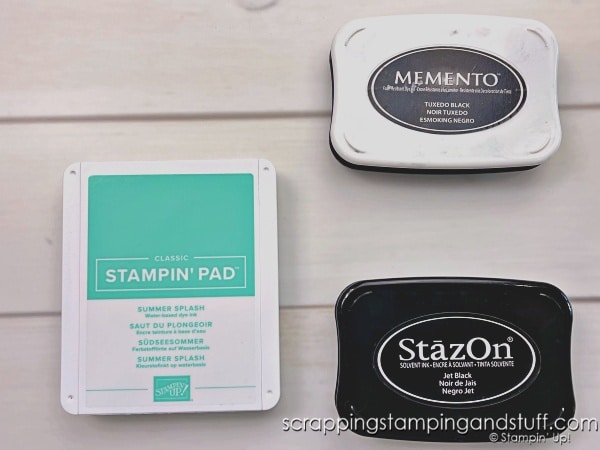
Memento Ink – Use Memento for any type of stamping unless water (or water-based inks) will be applied. This is the type of ink needed for coloring with alcohol markers.
StazOn Ink – This permanent ink is appropriate to use when watercoloring, coloring with water-based inks, or when stamping on impermeable surfaces like plastic or glass. It does require using a special cleaner to remove the ink from your stamps.
No Baby Wipes
When I started stamping, I saw a lot of stampers clean their stamps with baby wipes. It took me quite a while to realize that when I was getting ink all over my hands, it was usually from the baby wipes! Plus, they have little fibers that were coming out of the wipes and staying stuck to my stamps, and they ended up on my ink pads the next time I used them. Frustrating! No more baby wipes! I love the shammy I use to clean my stamps the majority of the time.
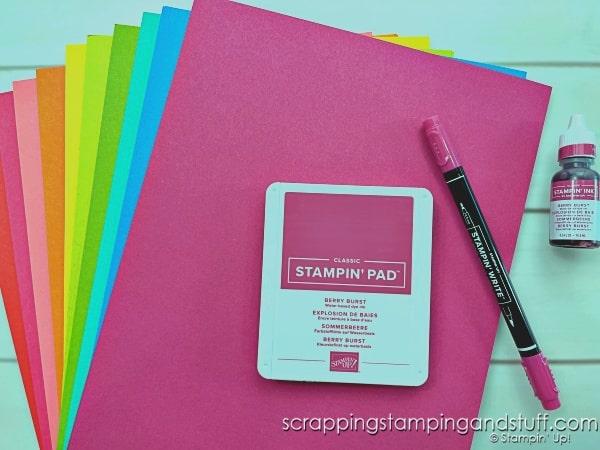
Choose Products That Coordinate
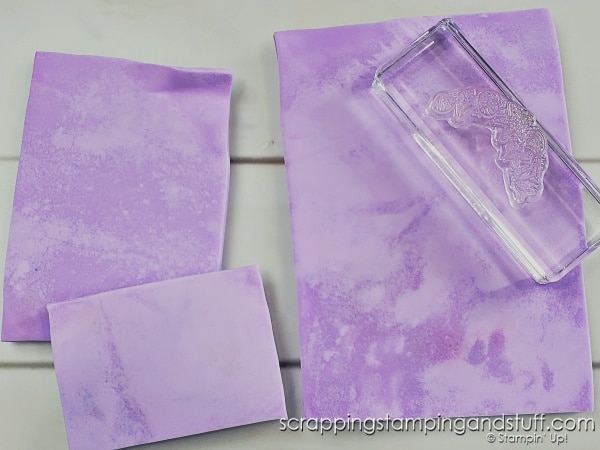
I didn’t realize when I first started making cards that coordination was such a big deal, because I had never experienced it. Now I know better. When I started purchasing cardstock, inks, designer paper, and embellishments that coordinated, it saved me a LOT of time making projects, because I no longer had to dig through all my supplies to find something that would match!
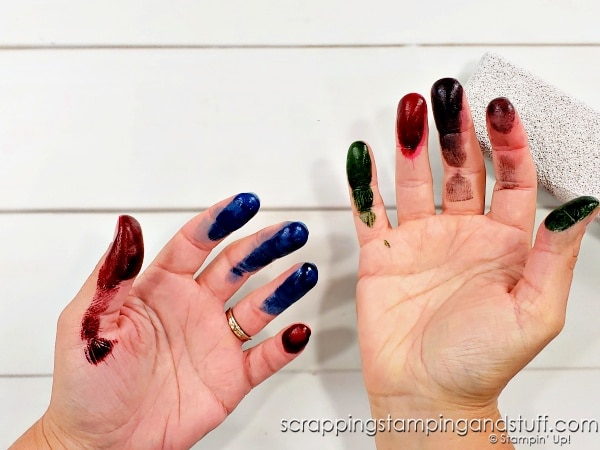
How To Get Ink Off My Hands
This took a long time to figure out. No matter how many times I washed my hands, or what I used, I couldn’t get that ink off. But anytime I would shower, it would come right off. I finally figured out that gently using a pumice stone on my hands or using Lava soap gets the ink right off!
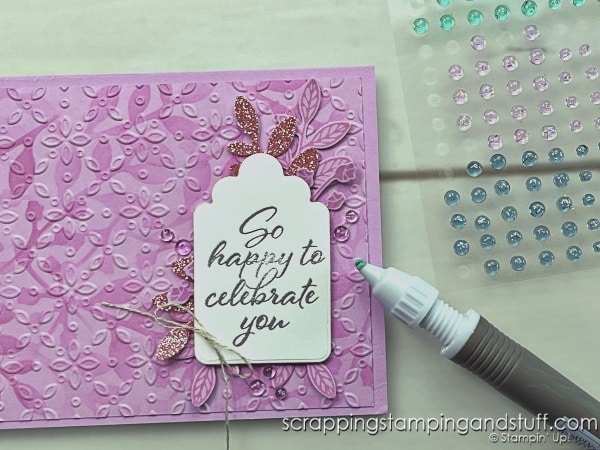
Every…Single…Card Is Better With Dimensionals And Sparkle!
That’s right. Pretty much every card needs some foam dimensionals to pop up a few elements and some rhinestones or Wink of Stella. They’re just better that way!
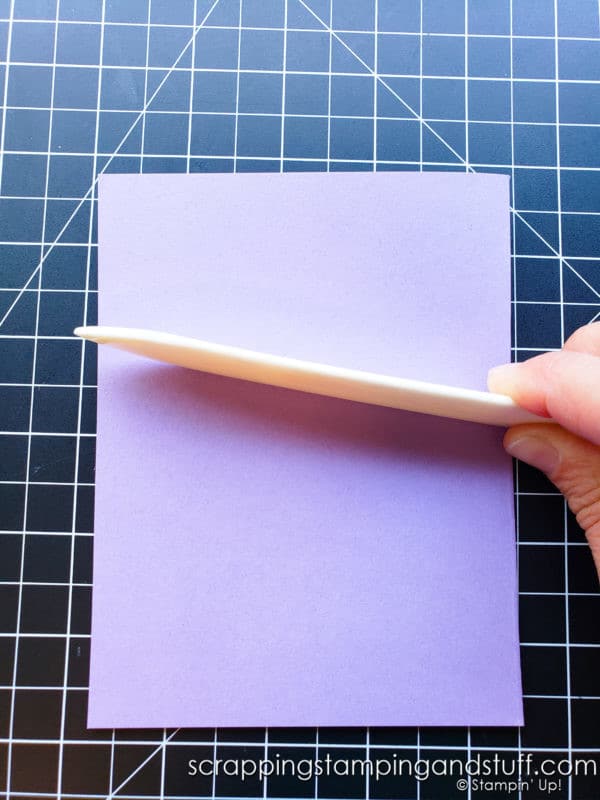
How To Get Cards To Lay Flat
When I was a beginner, I used my bone folder to crease cards the same way I saw others use theirs. It wasn’t the right way, and it didn’t lead to cards that laid flat. Make sure to watch along with the video to see the proper way to use a bone folder.
Best Tips For Adhesives
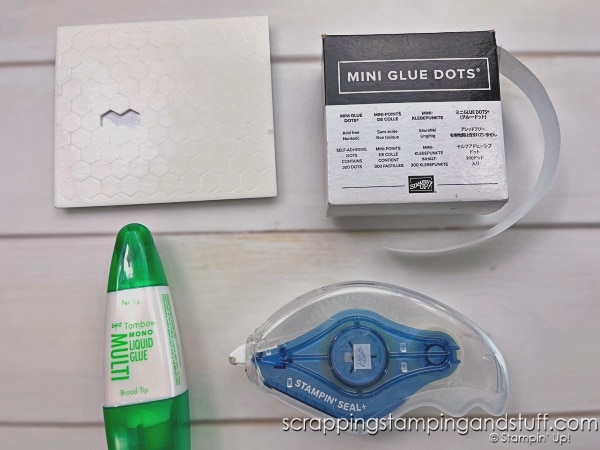
Learning which adhesives to use for different purposes takes time to figure out. As you gain experience, you’ll also discover which are your favorites and which you might like to avoid. Learn some of my best tips for adhesives here.
That Sharing This Craft With Others Makes A Difference In Their Lives
I knew I loved crafting and that I wanted to share it. I knew I wanted to earn enough money to pay for my supplies and have some additional income. What I didn’t know when I started my time as a Stampin Up demonstrator was how much it would mean to others when I hosted card classes and started sharing videos online. Thank you all for helping me to realize this over the years!
The Demonstrator Opportunity is Zero Pressure
When I signed up with Stampin Up, I knew there wasn’t any pressure to sell products or do business, but I added this to the list because of stories I’ve heard from so many of you. Many stampers have waited and waited and waited to sign up and get a discount on their products because they thought there would be pressure to sell products or do classes, or there would be some sort of obligation they wouldn’t want to deal with. Nope, not really. If you choose to sign up and get a discount on your products, there’s no pressure to continue for any period of time, to sell products, do classes, or even place one single additional order.
Last but not least…here’s one more thing I wish I knew when I started stamping!
Don’t Be A Perfectionist!
Expecting your projects to turn out perfectly every single time is the number one way to ruin this hobby for yourself. Seriously! Nothing handmade has ever been, or ever will be, perfect. Remember that!!
Learn to embrace the imperfections in your projects. Oftentimes I can fix the bigger mistakes, and I choose to ignore the smaller ones. The recipient of your card will love the effort you put into making them something special and will not focus on small details!
What would you add to this list? Share in the comments below!
Looking To Shop For Supplies?
Use the links here to get started!
Product List Learn To Make Cards
Shop Supplies
Rewards Program
Join My Amazing Team
I hope that sharing what I wish I knew when I started making cards has been helpful to you!


This was a good list. I would add: You don’t need it all! Buy what you love, create with it, and it will sell. You will make items that fit your creative flow and that invites others to try something new.
Great tips, Anna! But even greater story about you and “Farmer Matt”
We love to make plans for our lives; but God planned our life, knew what would happen, while we were still in the womb. True, we do have freedom to choose, but for SOME I believe that freedom sometimes cuts God out of the picture. We need ALWAYS to pray for God’s will to be done in our life, which I ‘m very confident that you did; you mentioned about all your prayers that went up to Him, but it also showed me that you STILL had freedom to choose and make your own decisions, being willing to accept the consequences, both good and not so good! I believe you made the right choice, Anna! The 3 C’s of ANY healthy relationships are: Communication, Cooperation, and Compromise; these three were involved in your meeting, and I believe continue to be involved in your everyday life! Much love to you, sweet friend;
AB-SO-LUTE-LY ❤️ your positive attitude! ❤️
( that’s love, hugs, prayers)
Hi Anna, Thank you for these spot on tips. Attending SU card making classes, after my husband of 38 years passed away, kept me going. I wish I could have received your tips eight years ago; especially concerning coordinating products. Something I spent extra money on was ordering from the sale and discontinued lists. I was not very organized and would often order items I already had. I now keep a binder, in alphabetical order, using the stamp set name – including a picture. And, I am now boxing up my tablets of craft store paper to take to my local thrift store.
I love your cards. You are an inspiration.
Thank you so much Cheryl! I appreciate your kind words and that you follow along with the things I share ❤️
Along with your great list, I would add that you can think outside of the box, so to speak, and substitute other items for those “must buy” specialty items that everyone is raving about. I didn’t have inks or stamps when I first started but I had lots of adult colouring books. I cut apart images and coloured them with markers to make focal points and embellishments for cards. I cut apart scrapbook papers with repeating elements like pumpkins or ladybugs to make embellishments I could use in a variety of ways. I printed sentiments and images on cardstock using my laser printer on the thickest paper setting. And I used the art supplies I already had on hand, like water colour paper and paints, matte medium for acrylic paints, embellishments for nails, resin and jewelry to add special sparkle.
Wonderful ideas! Thank you for sharing Patricia!