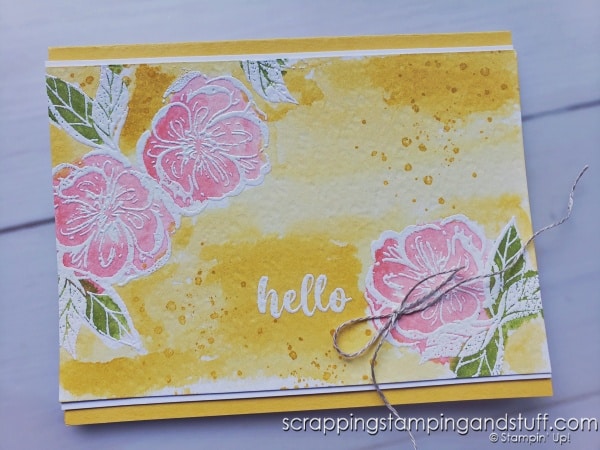
Welcome crafters! I get so excited about certain tutorials that I share, and today’s is one of them. I’m sharing a watercolor resist for card making technique that is so, so pretty. I’ll share three examples and I can’t choose a favorite because I love all of them. I used some brand new stamps from our Online Exclusives release including the Stampin Up Growth Takes Time and Irresistible Blooms sets. Take a look!
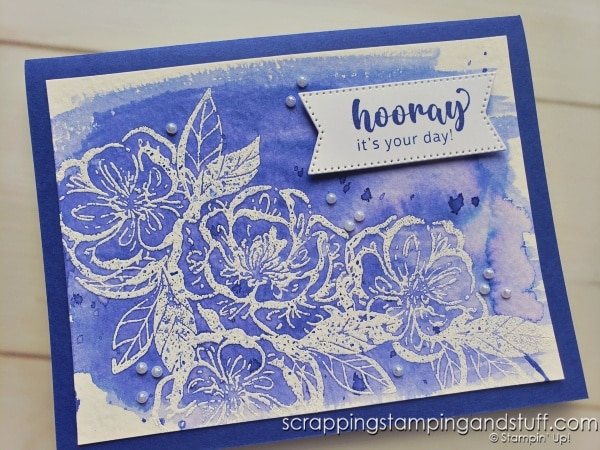
First, I’ll quickly share the stamps used on these cards.
Stampin Up Growth Takes Time Stamps
This is such a unique stamp set. The seedling, tree, fruit, watering can, and sentiments are nice for thinking of you cards, for anyone going through a major life change, and for youngsters throughout their growing up years.

Stampin Up Irresistible Blooms Stamps
This is a gorgeous set that I’ve been using quite a lot. You can see some other examples of projects made with it here.

Next let’s talk about how to do this fun technique!
The First Step For Watercolor Resist – Heat Embossing
To do today’s watercolor resist technique, you’ll need to start by heat embossing with white or clear powder (or choose another color for your preference) onto watercolor paper. For a great intro to heat embossing, take a look here.
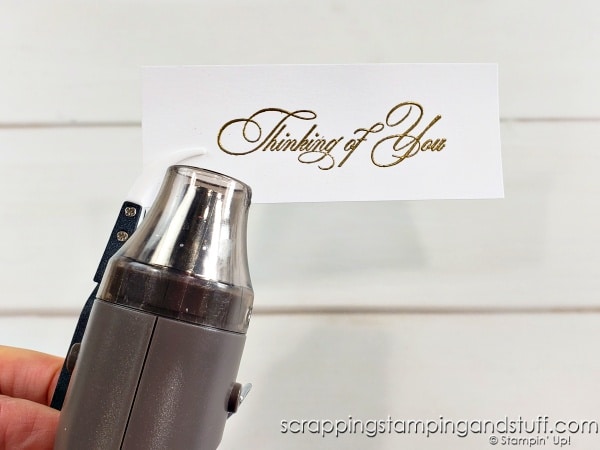
How To Do Watercolor Resist
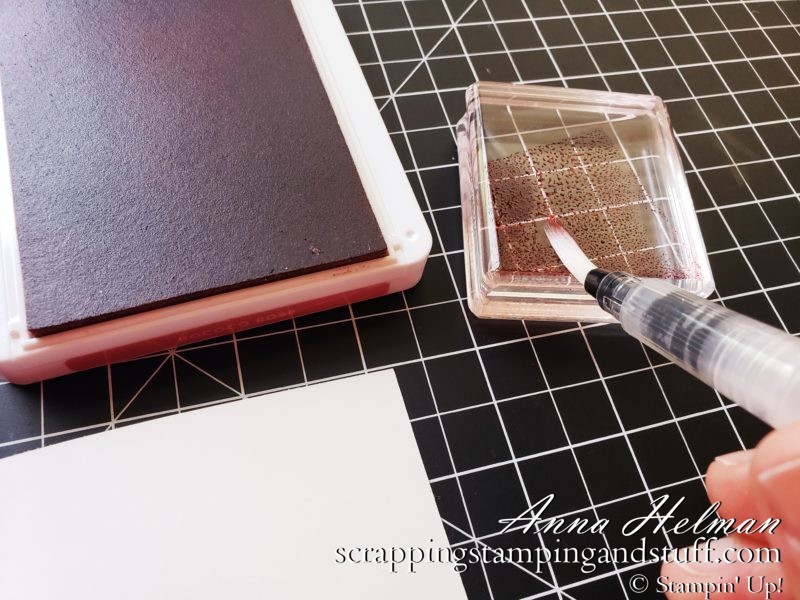
After you’ve stamped your images with Versamark and heat set the embossing powder, the next step is to apply color. Place an acrylic block against your ink pad color of choice to pick up some ink. Use a water painter and squeeze a small amount of water onto the block. Mix the water and ink and begin applying color onto your project. Continue until color is applied to your liking. Set aside to dry or use a heat tool to speed the drying process.
Tips For Successful Watercolor Resist
Here are a few tips to keep in mind when trying this technique.
If you’re new to heat embossing, practice it a few times until you get comfortable before jumping into the whole process!
When heat embossing, always use an embossing buddy on your paper to remove static before stamping. Take a look here at my embossing buddy or learn how to make one yourself.
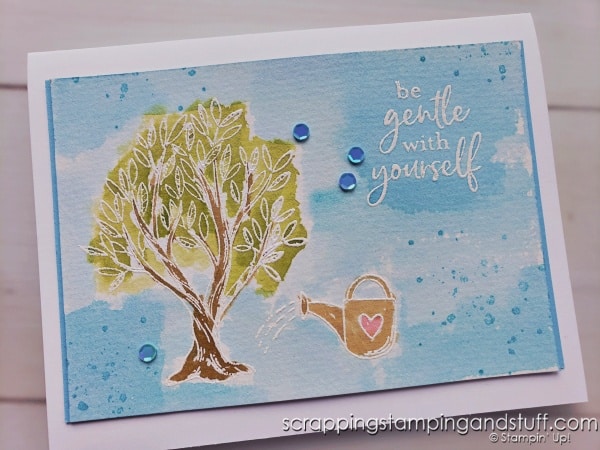
When applying color to your watercolor paper, it’s a good idea to apply less color at first, then add more if it’s too light. You can always add more color, but it’s hard to remove once it’s in place. With watercolor though, it is possible!
When attaching your dried watercolor resist to a project, use strong adhesive (Seal+ is my preference) and use a lot of it.
Emboss Resist Video Tutorial
Watch along here to see how I created these soft and sweet cards!
Supply List
Take a look at the supplies needed for today’s projects using the links here.
Product List Learn To Make Cards
Shop Supplies
Rewards Program
Join My Amazing Team
Watercolor resist for card making is such a fun technique…comment below and tell me which of the three cards is your favorite!


Beautiful cards. Just wanted to pop in and say Hello! Happy spring!
Thank you, I hope you’re doing well!
Beautiful cards and I love the technique. But I have only seen emboss resist where you go over the card with a tissue after coloring it. I guess with the water color technique you shouldn’t do that?