Thanks so much for stopping in today. I have a serious question for you. Are you hoarding designer papers? Do you have a box full? A shelf full? A closet full? If so, it’s time to use those papers! Today’s card ideas are a great way to use those beautiful printed papers to make quick and simple cards.
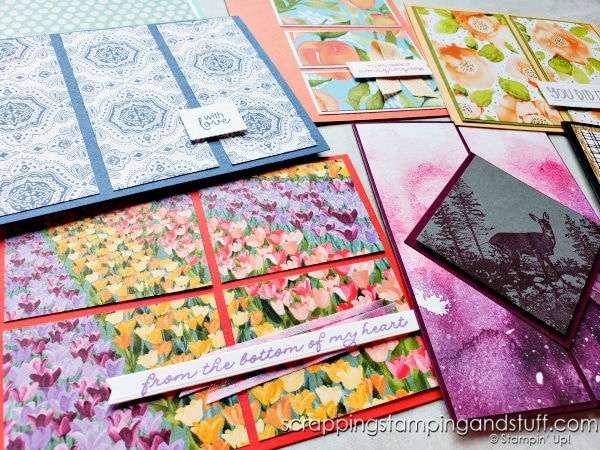
Panel Cards Video
To see today’s projects and make a simple panel card along with me (with no measuring I have to add!), watch along here!
What Is DSP?
Below I’ll be using the abbreviation DSP. Sometimes I get asked what this stands for. I try not to use this abbreviation often because not everyone knows what it is, but now you will know that DSP stands for designer series paper. That’s all. I’ll use this below when sharing measurements, so I wanted to make sure you know.
Panel Card Samples
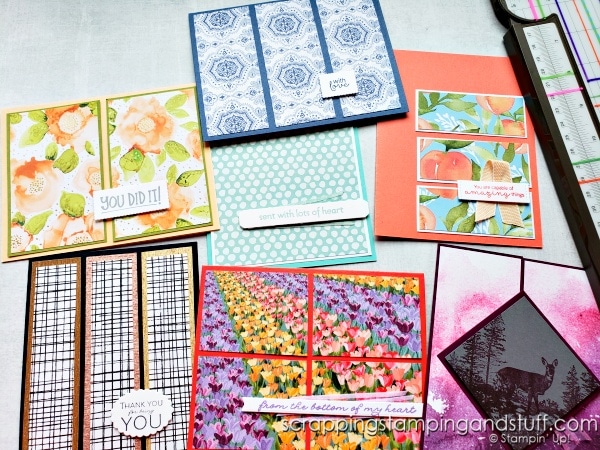
I love creating panel cards. There are so many different ways to create them, and I want to share a few below. For each one, you can find the measurements of the panels shown. All cards use a card base that measures 5 1/2″ x 8 1/2″.
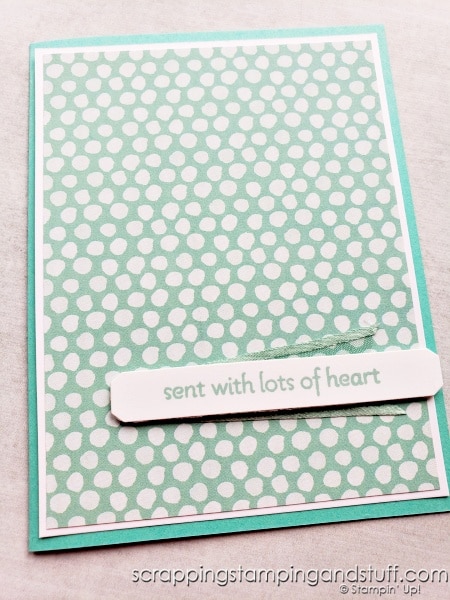
One Panel Card
Pretty simple right?! Mat: 4″ x 5 1/4″ DSP: 3 7/8″ x 5 1/8″
Featured DSP: Pattern Party
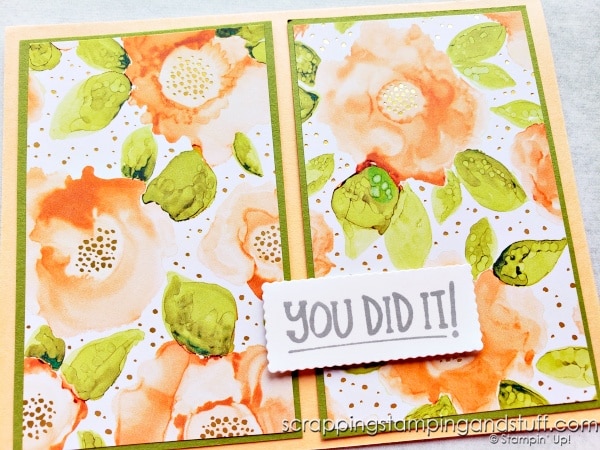
Two Panel Cards
Panel size: 2″ x 5 3/8″ To make smaller DSP to lay on top: 1 7/8″ x 5 1/4″
Featured DSP: New Horizons
Featured stamps: Grassy Grove
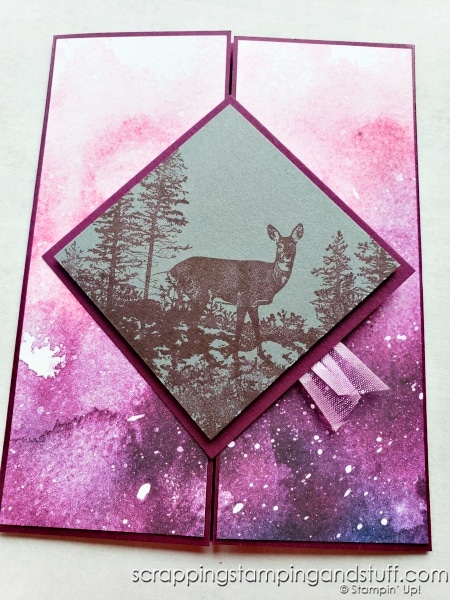
Mat: 2 1/2″ x 4″ DSP: 3 7/8″ x 2 3/8″
Featured DSP: Expressions of Ink
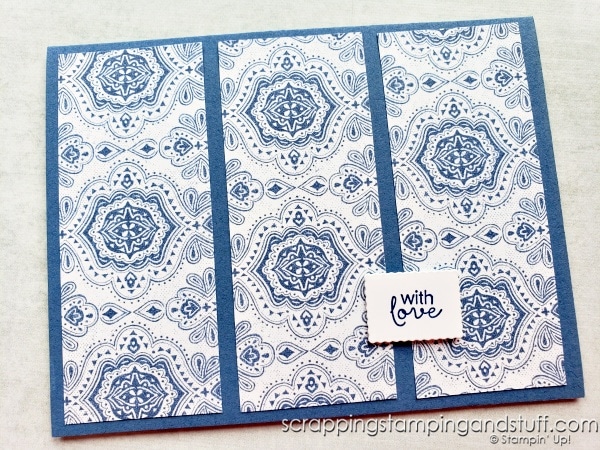
Three Panel Cards
Panel size: 1 5/8″ x 4″ To make smaller DSP to lay on top: 1 1/2″ x 3 7/8″
Featured DSP: Heart and Home
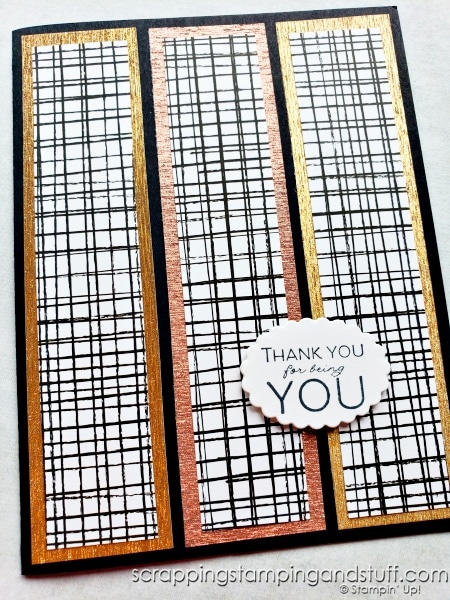
Mat: 1 1/4″ x 5 1/4″ DSP: 1″ x 5″
Featured DSP: Gold and Rose Gold Specialty Metallic and Pattern Party
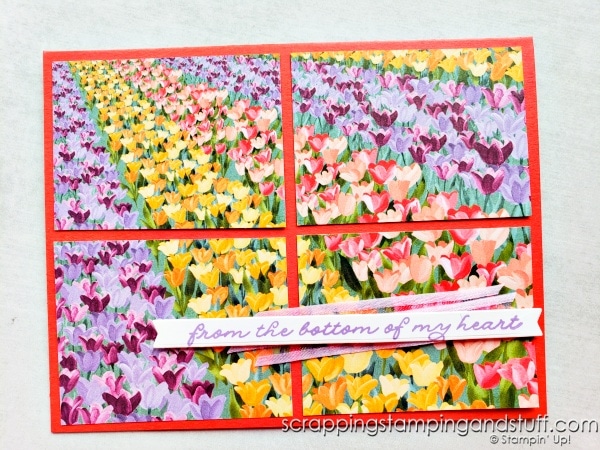
Quadrant Card
Panel size: 2″ x 2 5/8″ For paper with a ‘scene’ like this one, begin with DSP measuring 4″ x 5 1/4″. Cut in half on the short edge at 2″ and on the long edge at 2 5/8″ to get four pieces measuring 2″ x 2 5/8″.
Featured DSP: Flowering Fields
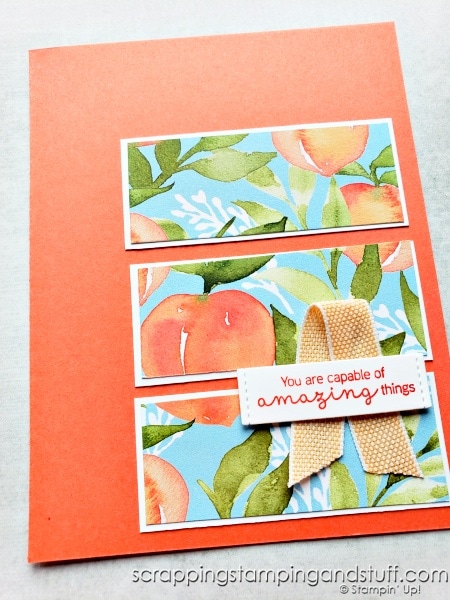
Panel Card With No Measuring
Keep in mind that the panels don’t have to fill the entire card, such as the sample shown below. If you struggle with measurements, I encourage you to watch along with today’s video to see how I created this panel card without worrying about measurements!
Featured DSP: You’re a Peach
Sentiment Tags
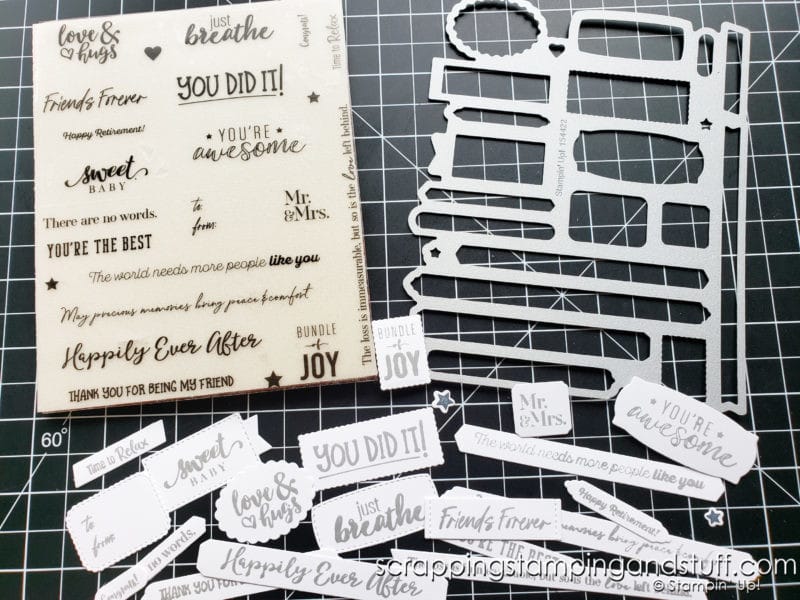
I have to mention that most of the tags on today’s cards came from my favorite tackle box full of tags, where I have them pre-made and organized by occasion like birthday, sympathy, etc. I created these using the amazing Many Messages bundle that allows you to create 19 tags by stamping only once and cranking through your Cut & Emboss Machine one time with one die. It’s life-changing.
Supply List
Here are the designer papers I used on today’s cards.
Product List Learn To Make Cards
Shop Supplies
Rewards Program
Join My Amazing Team
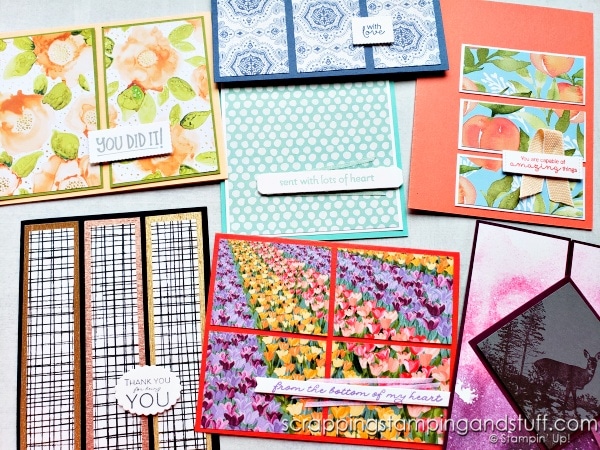
There are so many other ways you can cut paper to create your own panel card designs. Will you try some today?


Another great video. Thanks for the inspiration.
Thank you Doris!
Always nice to see some reminders of how to use up those left over pieces of DSP. Have you done a video on using the Many Messages bundle? I’d love to see your expertise in using it. Thanks!
Yes I have. I love the Many Messages bundle! Here is a link to the second video I created. At the top of this blog post is a link to the first video I created as well. https://www.handmakewithlove.com/stampin-up-many-happenings-bundle/
Hi Anna,
Thank you very much for sharing all of your cards. I love that you used the DSP that you have sitting around. I have a huge amount of DSP that I need to use in my making cards. Thank you for sharing all of your wonderful yet easy cards to make. I intend to visit your video.
Hi Mary, you’re very welcome! I’m glad these ideas can help you. Thanks for following along with the things I share 🙂