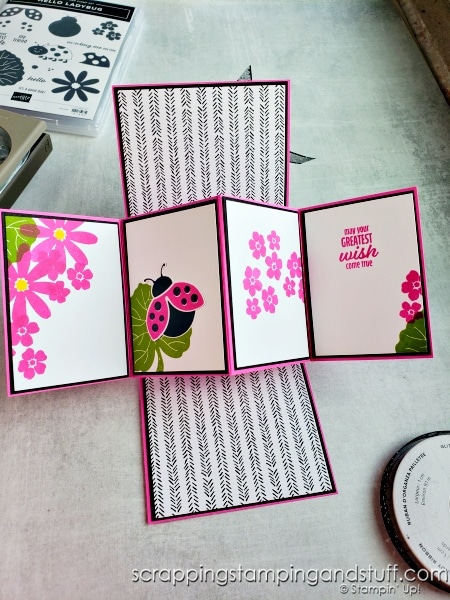
I’m so excited to share today’s fun fold card, which is a twist & pop card design. This was my birthday card for my little stamping helper last month, and I’m so excited to share it with you!
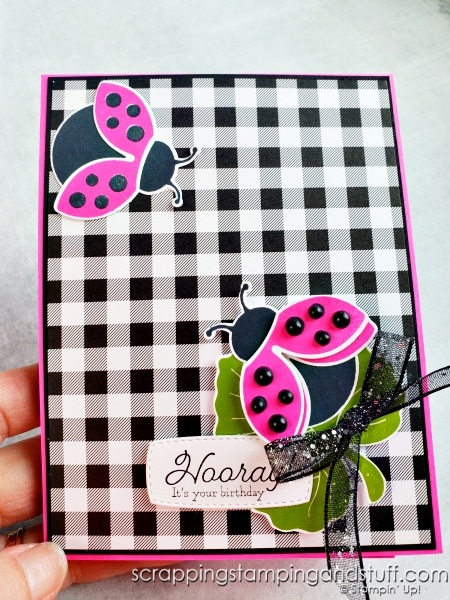
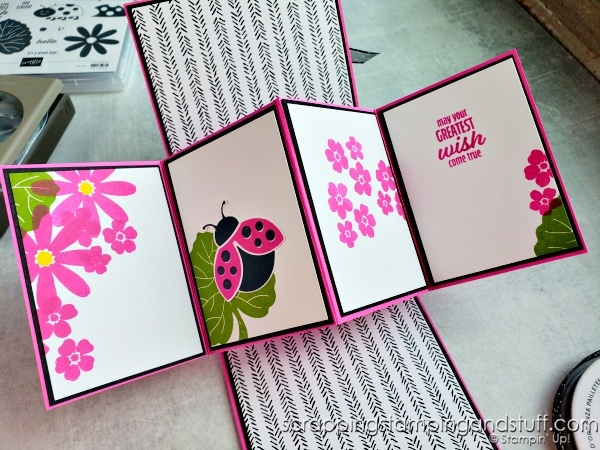
Twist & Pop Card Tutorial
Watch along here for instructions on this card. As you’ll see in the video, after recording it I learned a simpler way to assemble it, so I made a few edits along the way to show you the extra tips.
Hello Ladybug Bundle
I used the Hello Ladybug bundle to decorate this card. Aren’t the decorations just precious?
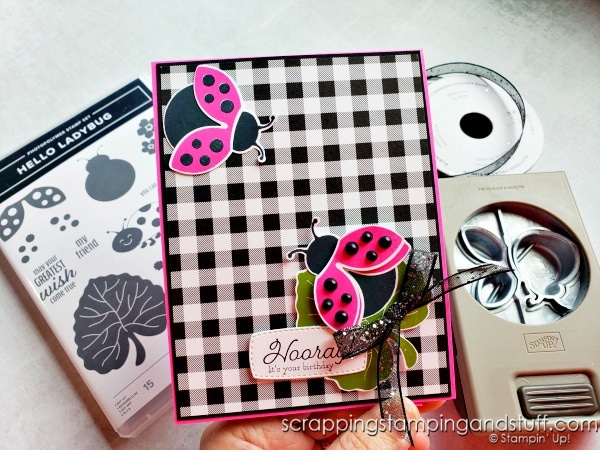
You can see how I used the same ladybug stamps and punch to create an adorable bee fun fold card here.
Card Dimensions
To make a Twist & Pop card like this one, you’ll need the following:
- Cardstock: 4 1/4″ x 11″ scored at 5 1/2″,
- 3 3/4″ x 11″ scored at 2 3/4″, 5 1/2″, and 8 1/4″,
- 8″ x 3″ scored lengthwise at 1 1/2″, widthwise at 4″, also mark along both long edges at 2 1/2″ and 5 1/2″, then score at an X between these marks.
- Designer paper for card front and insides: 3 – 4″ x 5 1/4″
- Mat for card front and insides (optional): 3 – 4 1/8″ x 5 3/8″
- Cardstock for inside panels: 4 – 2 1/2″ x 3 1/2″
- Mat for inside panels (optional): 4 – 2 5/8″ x 3 5/8″
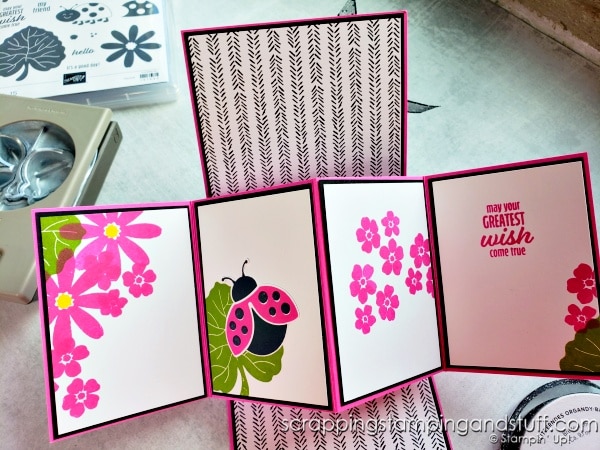
Creating this card takes a few steps which are much more easily shown in a video. Watch along to create this card yourself!
Supply List
Here are the supplies I used on today’s card.
Product List Learn To Make Cards
Shop Supplies
Rewards Program
Join My Amazing Team
Thanks for visiting for this twist & pop card tutorial!


Anne,
Thank You SO much for sharing your ideas!! This is a fun and lovely card. Love ALL your tips also. Thank YOU!!