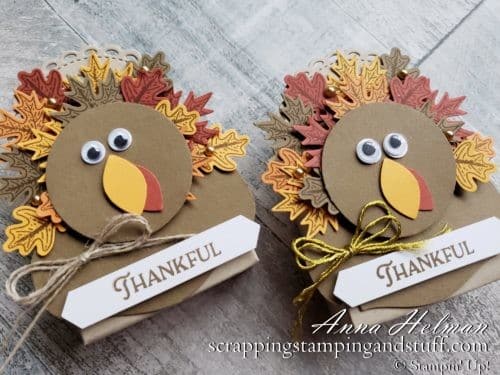
The holidays are coming up, and I’m so excited to show you today’s project. Can you imagine this cute little turkey treat box adorning your Thanksgiving table? What about a group of them?! As a fun little fact, I looked up what a group of turkeys is called. Yes, flock is one of the options. However, the terms gang or rafter can also be used. I want a gang of these turkey treat boxes on my Thanksgiving table!!! Would you like to create a rafter of them for yourself? Let’s get started!
First we will talk about the materials needed to create them.
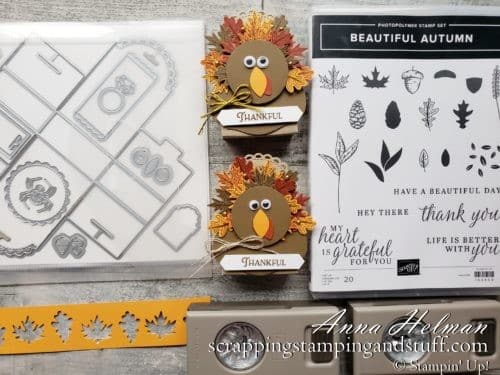
Turkey Treat Box Supplies
Here is a list of materials you’ll need to make this adorable turkey treat box.
- Little Treat Box Dies
- Autumn Punch Pack
- Beautiful Autumn Stamp Set
- Autumn Goodness Stamp Set
- Apple Builder Punch
- Classic Label Punch
- Story Label Punch
- 1 1/2″ Circle Punch
- Cardstock (I used Cajun Craze, Pumpkin Pie, Mango Melody, Soft Suede and Crumb Cake)
- Soft Suede Ink
- Googly Eyes
- Adhesive
- Glue Dots
- Dimensionals
- Metallic Pearls
- Linen Thread
Next let’s talk about the paper materials you can prepare for your turkey treat box.
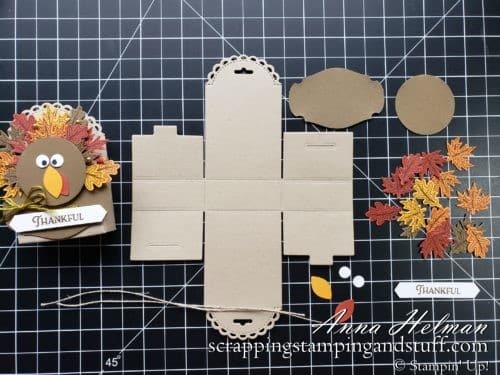
Paper Materials
First, cut out the treat box using Stampin Up’s Little Treat Box dies. I used Crumb Cake ink. Fold on each score line to loosen them up.
Next, stamp and punch an assortment of Oak and Maple leaves using the Beautiful Autumn stamp set and Autumn punch pack. The cardstock colors I used were Cajun Craze, Pumpkin Pie, Mango Melody and Soft Suede.
Create a Story Label punch and 1 1/2″ circle punch from Soft Suede paper.
Stamp the “Thankful” greeting for the bottom of the treat box and punch it using the Classic Label punch. Also punch the turkey beak and wobbler from the Apple Builder punch (the leaf on it) using Mango Melody and Cajun Craze.
Now, let’s get started assembling the box.
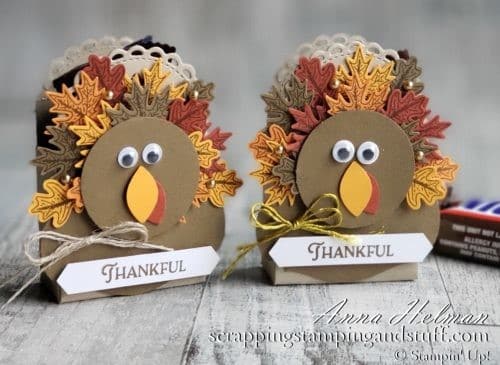
How to Assemble the Turkey Treat Box
First, fold and assemble the treat box using strong adhesive.
Next, adhere the Story Label punch to the bottom of the treat box.
After the punch is attached, begin attaching the outside row of leaves to the box with glue dots. Alternate the colors and leaf types. Allow the leaves to hang off the edge of the box.
Next, use mini dimensions to attach the inside row of leaves. Don’t forget to alternate colors and leaf type!
After the leaves are attached, use a large dimensional in the center of the leaves to attach the 1 1/2″ circle. Add the “Thankful” tag using mini dimensionals.
Next, let’s build the turkey’s face! Attach the turkey’s beak and wobbler with glue. For his peepers, use googly eyes!
Lastly, embellish with a linen thread bow and metallic pearls.
Turkey Treat Box Video Tutorial
Watch along below to see exactly how to make these cute treat holders!
And there you have it! An adorable little turkey treat box for your Thanksgiving table! All your holiday guests are going to love it!
Don’t Miss Out!
Please make me your Stampin’ Up! demonstrator! Earn rewards points towards free stamps PLUS a gift when you order using host code: TRZR2FZ6 PLUS, with your first order, you’ll receive free catalogs in your thank you package!

Sign Up For My Upcoming Virtual Card Classes!
Order the products I used and make this project yourself!

")

 Circle Punch")


You May Also Like:
How To Tie A Bow For Cards, Crafts or Gifts – 10 Tips For Tying A Perfect Bow Every Time
[…] Turkey Treat Boxes For Your Thanksgiving Dinner Table […]