I love to organize. Now before you start to think that this means I’m always organized, I better clarify. I’m not always organized, but I love to organize and to be organized. A while back, my stamping area was in need of a major overhaul. It was a mess, and I had been wanting to work on it for months. One day I became inspired and took everything off my shelves and out of the drawers. It looked like a bomb went off! It took me an entire day to work on it, but I got everything organized and I’m so glad I did. Join me today as I share a tour of my craft area with you!
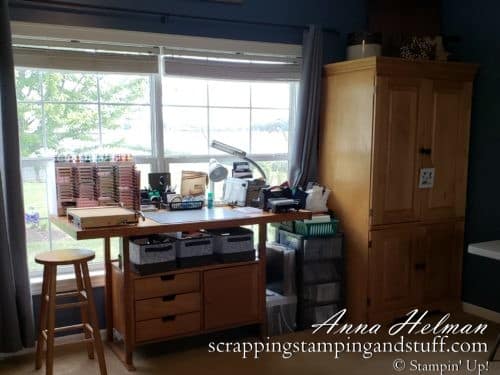
Video Tour Of My Craft Room
Watch along in this video, or keep reading to see up close views of my craft room organization.
I’ll discuss my organization in three sections:
- What is included in my stamping table
- Items in the organizers beside my table
- What is stored in my craft cabinet
Let’s get started with this tour of my craft area!
My Stamping Table
First let’s talk about the items on the surface of my table. These are my most-used items that I want to be within reach at all times.
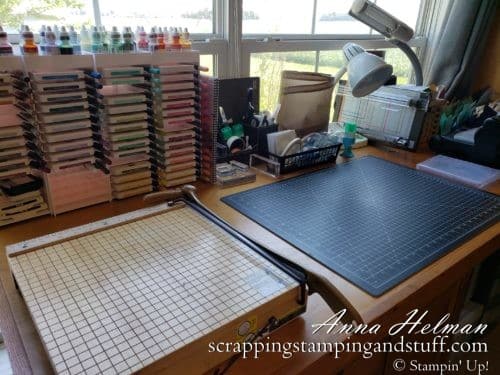
On My Work Surface
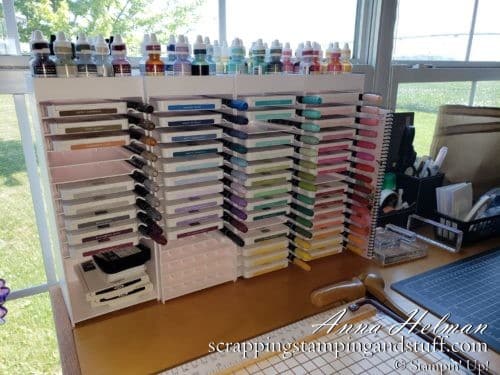
Ink Pads, Markers And Reinkers
I use Storage by Stampin Up to organize all of my ink pads, markers, re-inkers, and Blends markers. This makes it so nice to have them visible and within reach. It’s quick and easy to grab the color I want, use it, and return it where it belongs. Plus, this storage option looks nice. Bonus!
Paper Trimmers
I have a long arm paper cutter to prepare materials for classes. It sits on the left side of my work table. My Stampin Up trimmer sits directly in front of me where I can grab it as well.
Basic Supplies
I have a craft mat in the center of my work surface. Directly in front of it are my basic supplies that I use constantly. I have an organizer that holds a few acrylic blocks, scissors, my Take Your Pick Tool, bone folders, water painters, and washi tape.
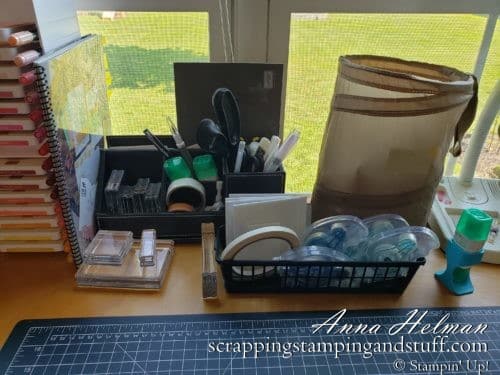
I also have a small basket that holds assorted adhesives.
Dies
My lesser used die sets are in a basket on my work surface. Later on I’ll share where I keep my most-used dies.
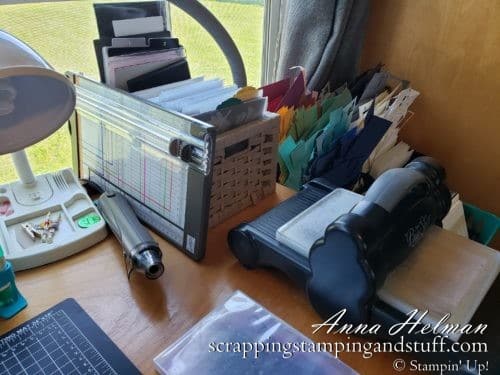
Odds & Ends
Other items within reach include a Stampin Shammy to clean my stamps, a small trash can, a desk lamp, my die cutting and embossing machine, and a heat gun.
Storage Below My Work Surface
I have three soft bins below my work surface that I can grab quickly and easily. Below that, I also have drawers and a few organizers that are behind a cabinet door.

Ribbons And Embellishments
These live in one of the soft bins under my work surface. I have ribbons on one end and embellishments on the other.
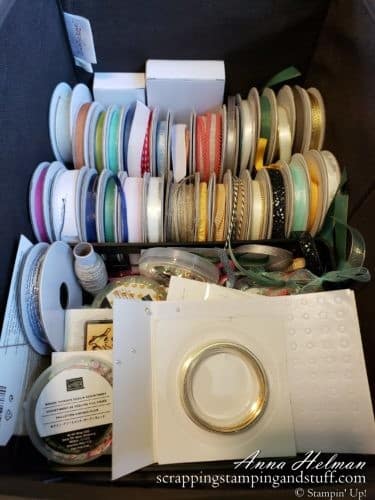
A second bin holds all of my new ribbons and embellishments. I often keep new items separate from older ones, so that I can easily look through new supplies and make more of an effort to use them on my projects.
Stamparatus & Miscellaneous
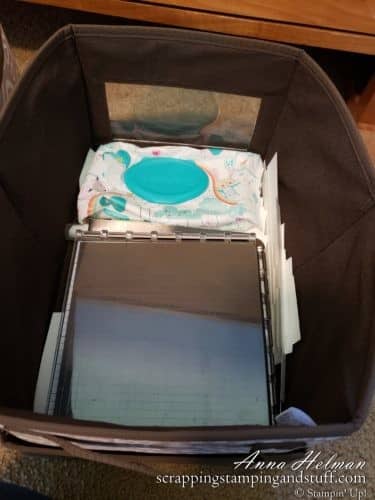
These live in another one of the soft bins. It holds baby wipes, long paper strips (I don’t know why they’re here, but they just are) to use for greetings, a Stampin Scrub and Stampin Mist, grid paper for the Stamparatus, and a few other items. My Stamparatus lays on top where I can grab it quickly and easily.
Punches
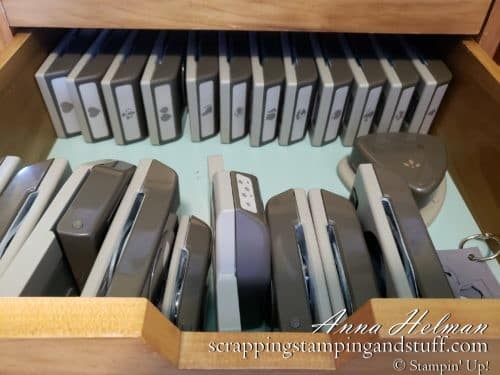
I store punches in my upper and middle drawers. I have them laying upright to be able to fit more into the drawers. My most-used punches like circles, tags, and labels are in the top drawer. More specialized punches like butterflies, flowers, and balloons are in the lower drawer.
Embossing, Brayers, Spritzers, Paste
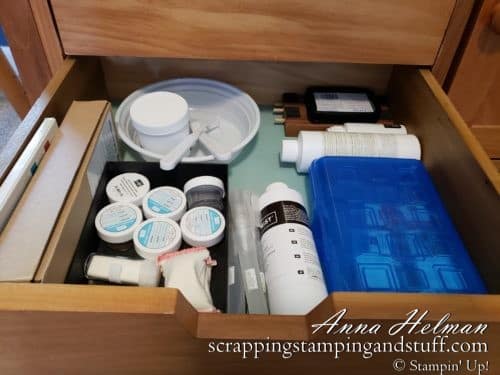
My third drawer has odds and ends such as heat embossing supplies, embossing paste and palette knives, stampin spritzers, brayers, Stampin’ Spots ink pads, masks, and a few other items.
Sponges
Behind my wooden door I have a few other organizers.
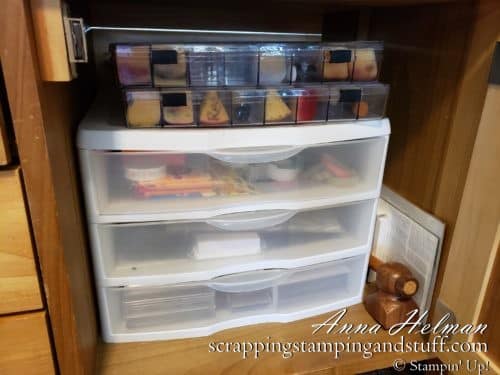
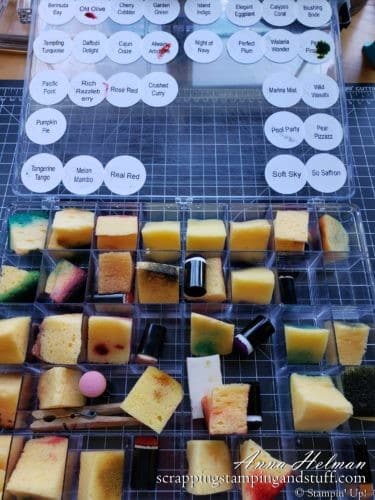
I have two bead organizers that I use to store sponges.
Tape, Post Its, Adhesives, Scissors
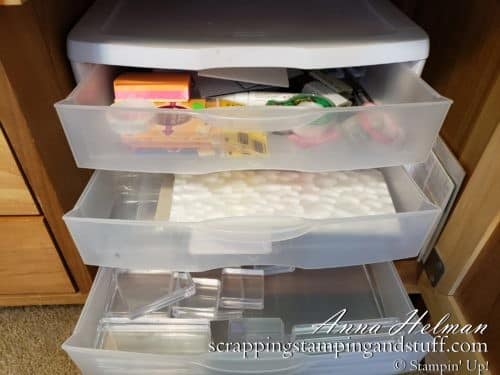
The top drawer in my plastic organizer holds assorted supplies like scissors, adhesives, scotch tape, washi tape, and post it notes to use for masking.
Packaging Materials
The second plastic drawer holds envelopes, cello bags, treat boxes, and other packaging supplies.
Stamping Blocks
My bottom drawer holds a collection of stamping blocks that I pull out when needed.
Next, we’ll continue this tour of my craft area by looking at the items I keep beside my craft table.
Side Organizers
Beside my table I keep other commonly used supplies.
Stamp Storage
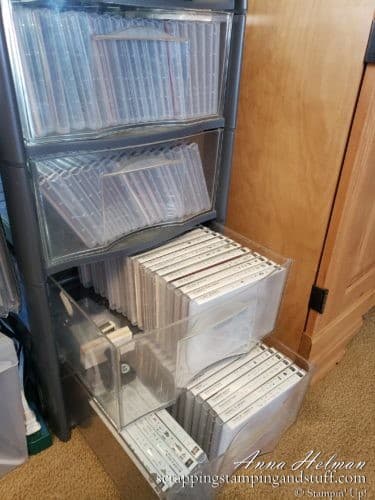
I have an organizer with four clear drawers where I keep my stamps. I keep my newest stamps in the top drawer, and older stamps down lower.
Specialty Papers
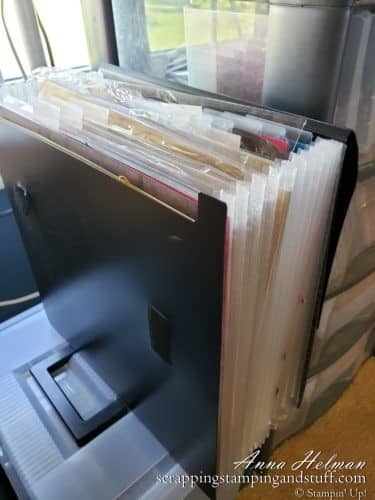
I have a 12″x12″ expandable file for these papers. Each type of specialty paper has it’s own section.
Card Bases
Card bases live in a small basket. They’re pre-cut, organized by color, and ready to use (see below).
Card Fronts
I have a photo organizer that I used for card fronts, paper scraps, and embossing folders. The pre-cut card fronts live in the front two sections. One is for white card fronts and the other is for assorted colors.

Paper Scraps
Paper scraps are organized in the other sections of my photo organizer. They’re sorted by color. This is a life saver when it comes to finding a scrap of the color I want!
Embossing Folders
Embossing folders also have their own section in this organizer.
Is our tour of my craft area giving you some ideas for how to organize your supplies? Hopefully. Let’s visit my last area!
My Craft Cabinet
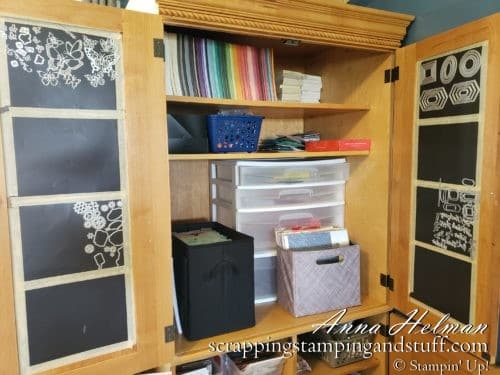
My craft cabinet is nearby to store other items that don’t fit on or around my table. Let’s take a look!
Die Storage
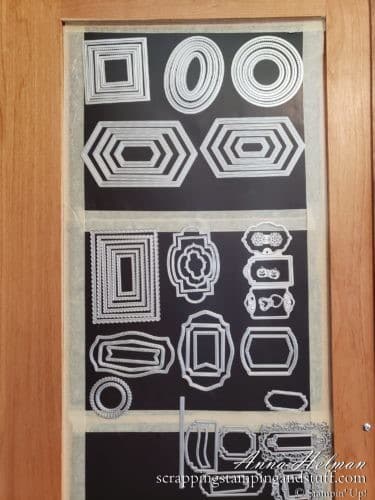
On the inside of my cabinet doors, I attached magnetic sheets to use for die storage. I keep my most commonly-used dies here. It’s makes it quick and easy to grab the one I need, use it, and return it! No more sorting through packages of dies!
Paper Storage
Cardstock
My open packs of 8 1/2″ x 11″ cardstock are in a large tote. I have post-it tabs labeled with each color that help me find the color I’m looking for quickly.

12″x12″ cardstock lives in a tote in the bottom of my cabinet.
Designer Paper
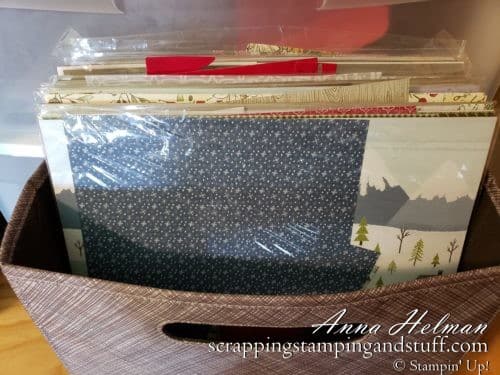
Designer paper lives in another tote. I keep designer papers in their orginal packaging to store them. Full sheets and scraps alike go back into the clear sleeve and stay in this tote.
Extra Paper
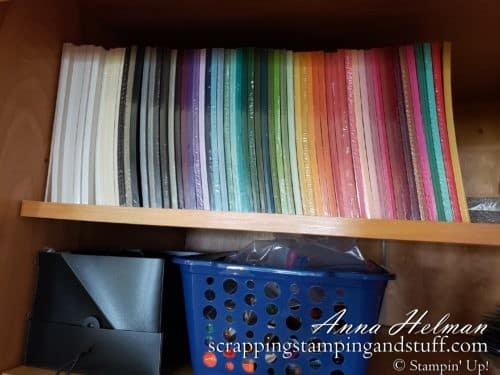
Extra cardstock lives on my top shelf. I try to keep an extra pack of each color in stock. Anytime I remove one of these packs, I write it on my ordering list (a post it note inside the cabinet door) so that I remember to order more.
Extra designer paper lives in the bottom of the cabinet.
Storing Projects in Progress
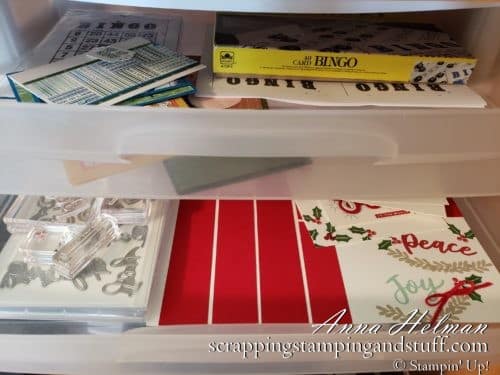
The plastic organizer with drawers is where I store projects that are in progress. This is where I organize materials for upcoming videos, classes, and anything else that isn’t completed but I need to get it off of my work surface for a while.
Other Stuff
Other items in this cabinet include grid paper, cardboard backing pieces from our paper packs which I often use for projects, snacks (don’t tell my kids!), extra adhesives, organizer totes that I used to travel, envelopes, and recently finished cards that need my personalized stamp on the back.
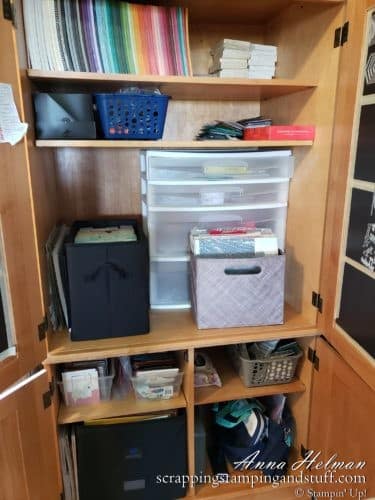
I hope that you enjoyed this tour of my craft area, and that it gives you some ideas for organizing your own craft supplies. Stop back soon for more stamping ideas!
Please make me your Stampin’ Up! demonstrator! Earn rewards points towards free stamps PLUS a gift when you order using August host code: P7URKZUU. PLUS, with your first order, you’ll receive free catalogs in your thank you package!

Sign Up For My Upcoming Virtual Card Classes!
Order storage for your ink pads and markers here!


[…] Oh, and if you’re interested in learning how to organize all those scraps, click HERE! […]