Welcome! Every now and then I like to slow down, take a step back and share something helpful that is different from a crafty project idea. Today, I don’t have a card to share with you, but I do have a very handy and inexpensive tool I want to tell you about. Have you ever heard of Stampin Up’s Take Your Pick Tool? It’s one of those tools that when you have it, you don’t know how you ever lived without it. Stick with me and I’ll share all about it’s many uses, and how I use it with almost every project I create!
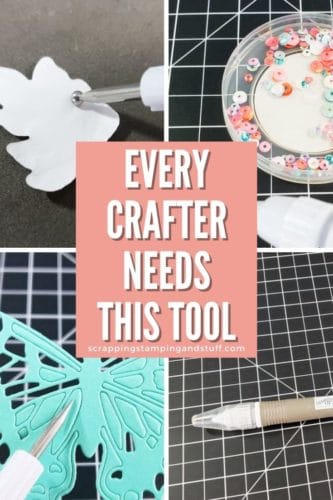
Stampin Up Take Your Pick Tool Video
Below is a video I created about Stampin Up’s Take Your Pick Tool. To see this tool in action, watch along here.
Take Your Pick Tool – The Swiss Army Knife of Crafting
The Take Your Pick tool is a multipurpose precision tool that helps with small or meticulous tasks. This tool includes a nice no-slip rubber grip as well as two multi-functional tips. One tip has a tacky putty end used for picking up and applying sequins, gems, or other small objects. The other end has two changeable tips with a paper piercing tip, spatula and stylus.
Here’s what this handy little tool looks like with it’s multi-function tips and attachments. It doesn’t look like it would do a lot, but trust me, this tool is the Swiss Army Knife of crafting.
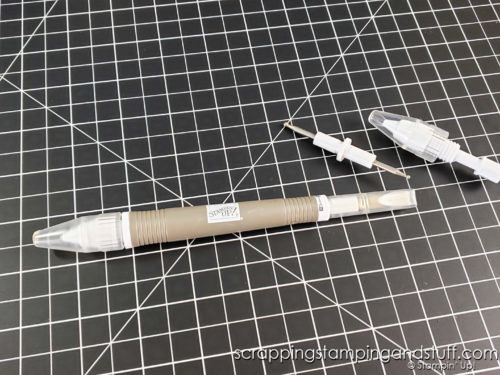
Below, I’ll share more detail about all the features this tool has to offer.
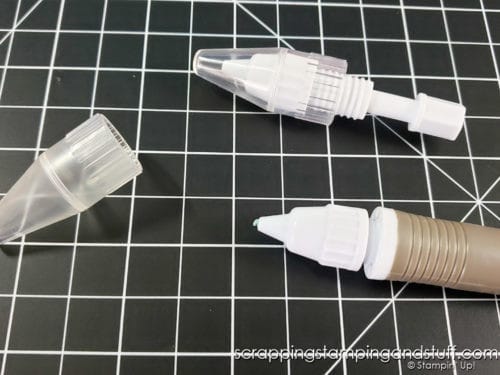
Stampin Up’s Take Your Pick Features
As I said earlier, this tool has so many great features that are extremely helpful. With the ability to manipulate small pieces, it saves time and a lot of frustration.
Tacky Putty Tip
One end of the Take Your Pick Tool has a tacky putty end. This end is perfect for picking up small things such as paper, sequins, and embellishments, instead of trying to fumble around and pick up these items with your fingers. This tool comes with replacement putty for when you run out, and more putty refills can be ordered separately. When the putty is no longer sticky, simply remove and twist for more putty to be dispensed.
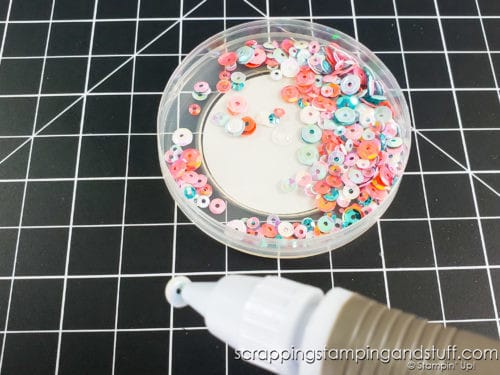
The putty tip is my #1 favorite part of this tool – it’s so stinking’ handy!

We’re just getting started. Let’s talk about another way to use this tool.
Piercing Tool
Have you ever used the Cut & Emboss Machine to die cut shapes for a project? Sometimes the small bits of paper don’t come out all the way and they can be a bit of a challenge to remove with just your fingers. That’s where the piercing end of this tool is super helpful. I use it to poke out and get rid of the small pieces of paper that are still attached.
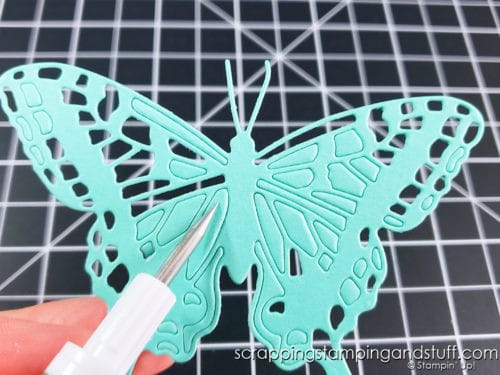
It also works great for cleaning metal dies when paper gets stuck in them.
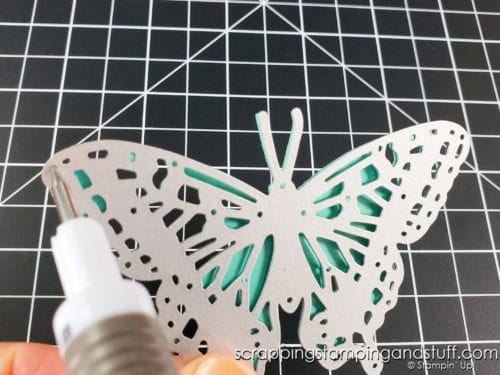
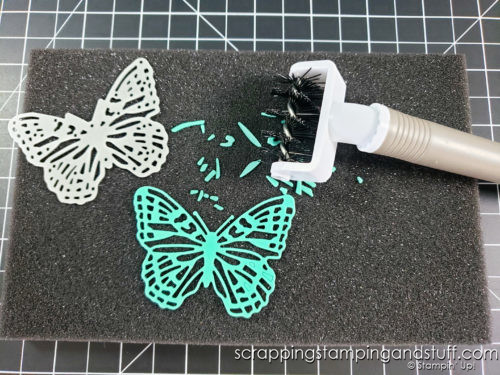
Bonus Attachment: Stampin Up has created the Take Your Pick Die Brush Tip. This attachment is available as a separate purchase from the tool itself, and it screws into the putty end of the Take Your Pick Tool. It comes with two foam pieces and allows for quick and easy paper removal from die cut pieces.
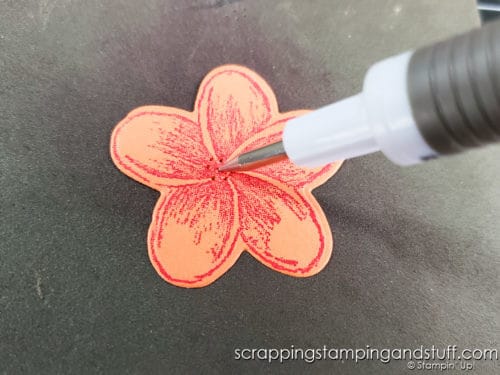
The piercing tool attachment also allows for making small holes when desired, like in the picture below. I also use this end to easily apply Stampin Up Dimensionals and remove the paper backing.
We’re only halfway done. Let’s keep talking!
Spatula Attachment
The spatula tip is another great solution for applying embellishments.
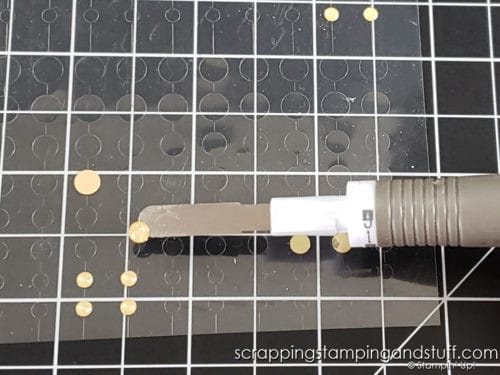
It can also be used for making adjustments. Have you ever placed something in the wrong spot when crafting?!? I bet the answer is yes. You’re not alone 😁 This tip is perfect for lifting and repositioning embellishments or paper on your projects, without damaging them!
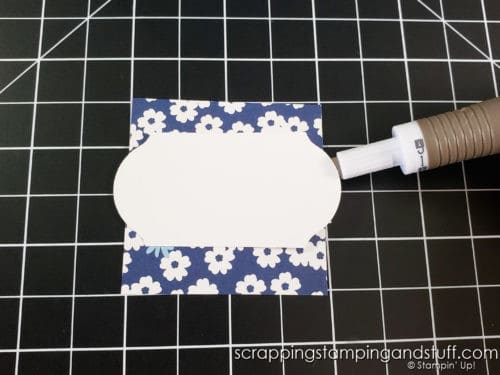
There’s still one more tip we need to discuss…the stylus.
Stylus Attachment
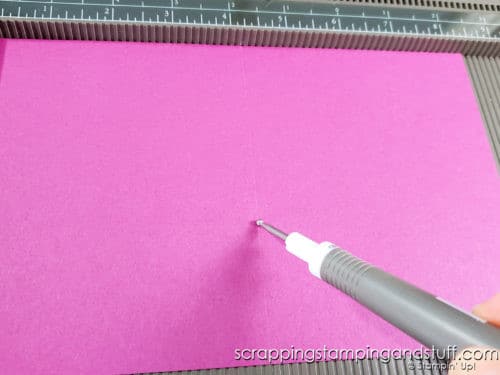
The stylus attachment on the Take Your Pick tool is great for scoring paper and card projects. I use it with my Simply Scored Scoring Tool and they work really well together. If you don’t have a scoring board, you can also use it with a Paper Trimmer and score paper that way too (see video for details).
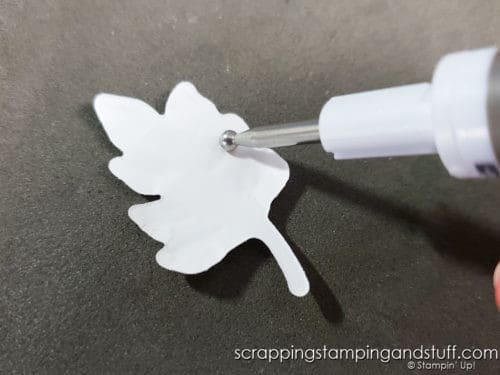
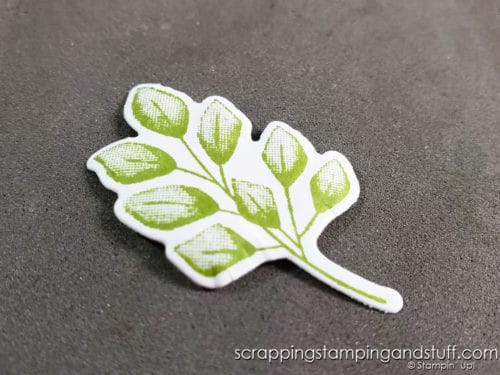
Another way to use the stylus attachment is to create custom embossing. Check out the picture below. I’ve custom embossed this bundle of leaves on all the stems using the larger stylus end and a Stampin Pierce Mat. By rubbing the backside of the stamped image with the stylus and some pressure, I created raised areas giving the image more dimension.
I hope you’ve enjoyed today’s tool feature on the Take Your Pick Tool. Hopefully you learned something (or a lot) about this tool and if you don’t already have it in your collection, use the link below to order now!
Don’t Miss Out!
Please make me your Stampin’ Up! demonstrator! Earn rewards points towards free stamps PLUS a gift when you order. Use host code: J799T23Y PLUS, with your first order, you’ll receive free catalogs in your thank you package!
Order Products I Talk About Today:
You Might Also Like:
Stampin Up Blending Brushes & All You Need To Know To Use Them!
Thanks for joining me today as I highlighted Stampin Up’s Take Your Pick Tool!


[…] I shaved some of my desired colors of pastels onto my work surface using the spatula end of the Take Your Pick Tool. To apply the color, I used a sponge dauber (or cotton swab) to rub the shavings directly onto the […]