The Stampin Up Prized Peony bundle is a favorite in the new catalog, and probably one of our most elegant current offerings. It is truly gorgeous. When I placed my product preorder for the new catalog, I just had to have this set because I knew customers would be dying to see some sample projects made with it. When the time came to make a card with it, I was a little more reluctant. First of all, I didn’t have any idea how to assemble the flower. It seemed slightly scary and like it might be rather time consuming. Well I have good news for you. I learned a few tricks to make it quick and easy to make these absolutely beautiful flowers, and I’m going to share them with you today!
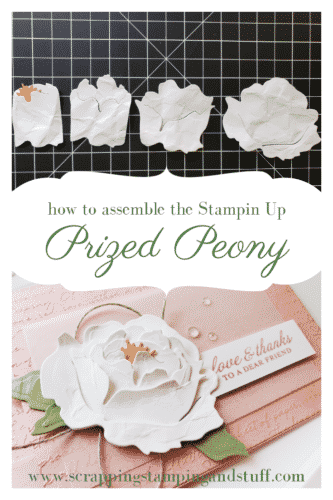
Isn’t this card stunning?
It May Seem Daunting…But It Isn’t
I’m not the only one who thinks these peonies look challenging. I made this card for a make and take at my team retreat a few weeks ago, and a couple of my team members were afraid to make it. They thought it was going to be difficult, and were getting mildly resistant to the idea of even trying it! Someone else encouraged them to try and said it wasn’t difficult. Long story short, everyone realized that it IS easy to make these amazing flowers, despite how complicated they appear.
The Prized Peony Bundle
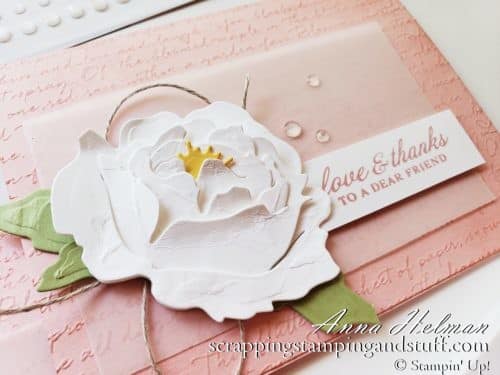
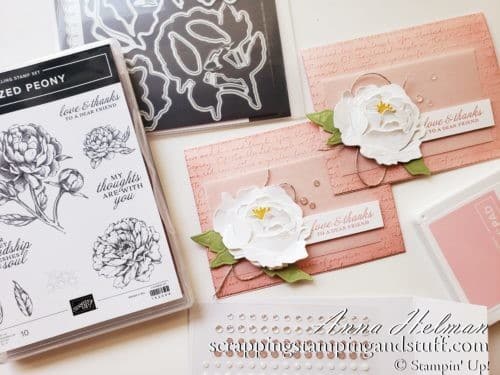
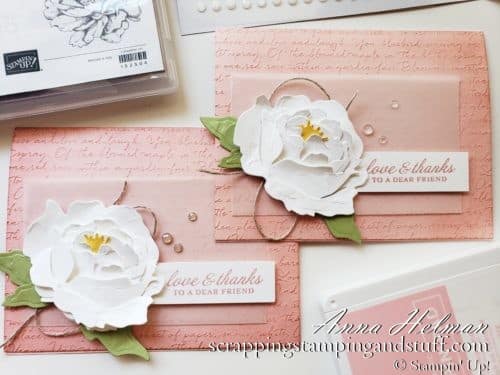
Below you can see the Stampin Up Prized Peony bundle, which includes the Prized Peony stamp set and the Peony dies. This is such a nice set, and it gives you the flexibility to make flowers using just the dies as shown on today’s card, or you can stamp the flowers and die cut them as well.
How To Assemble The Peony Flower
Let’s talk about how to assemble that complicated-looking, but not actually complicated flower! If you prefer videos, please watch along below. If not, keep reading for photo instructions.
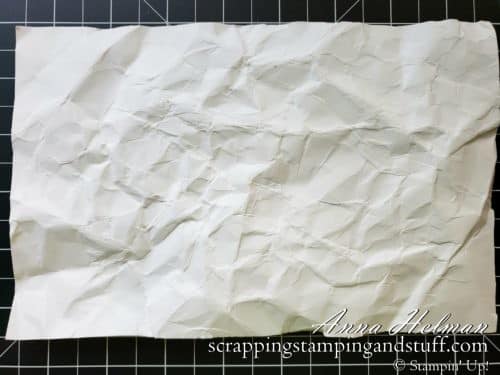
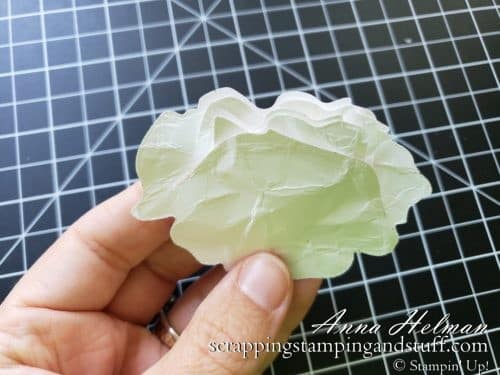
Step 1: Crumple up your Whisper White cardstock into a ball, and then flatten it out.
This is my alternative to sponging the flower, which seemed more complicated. It gives the flower a very realistic appearance with very little effort.
Step 2: Die cut the 4 pieces shown below from your crumpled paper. You’ll need to crumple and die cut the 3 leaves from Pear Pizzazz and the flower center from Daffodil Delight as well.
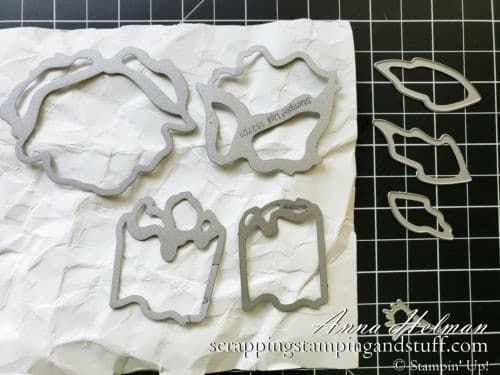
Here are the pieces you will need.
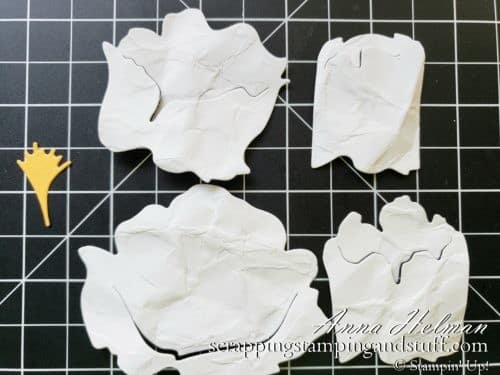
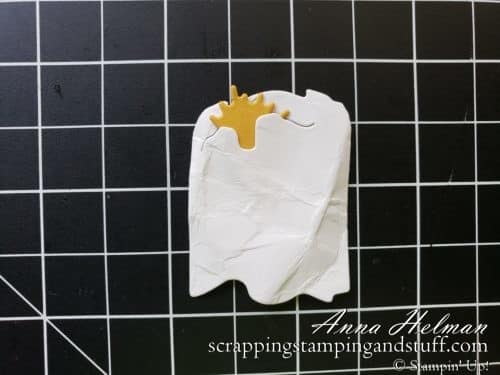
Step 3: Insert the flower center into the slit in the smallest white piece. Place a small amount of adhesive on the back side to hold it in place.
Step 4: Insert the white pieces inside of each other (using the slit in each piece) from smallest to largest (left to right).
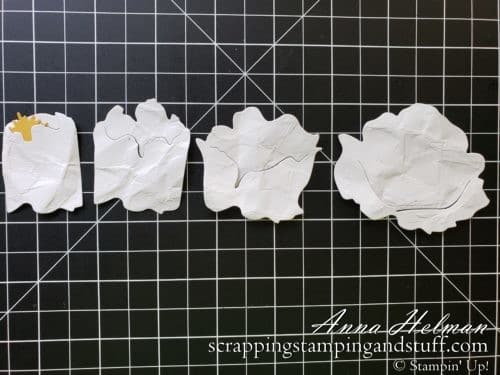
Here I’m beginning to insert the smallest piece into the second one.
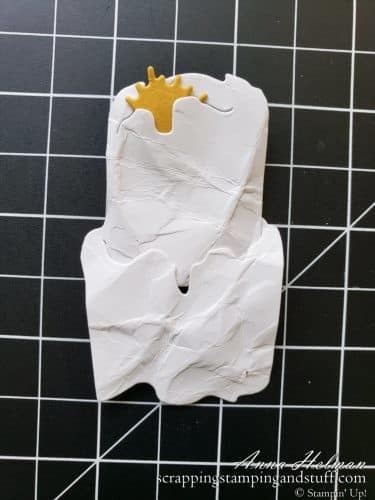
Slide it downward until the bottom edges of both papers are even. This is the view from the back side.
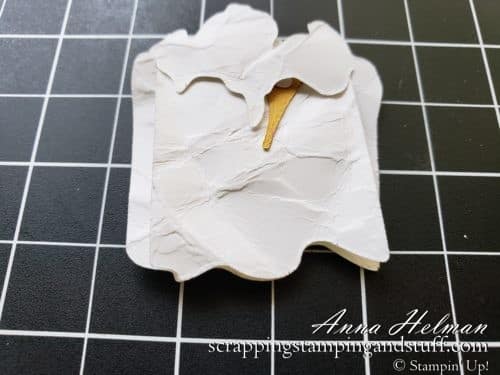
Here I have inserted them into the third piece.
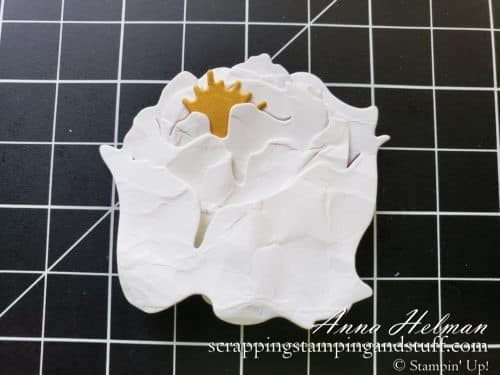
Here they are inserted into the fourth piece. Gorgeous!
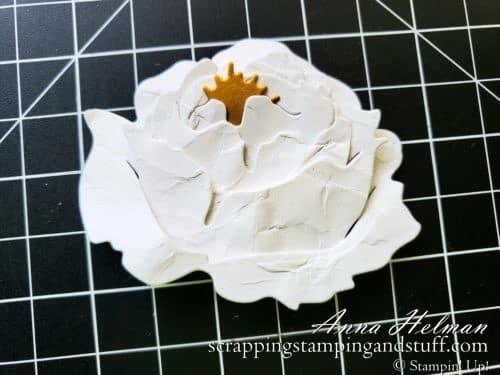
Step 5: Flip the flower over, and place a small amount of glue between each of the layers near the bottom edge.
Step 6: Attach to projects to add amazing amounts of beauty!
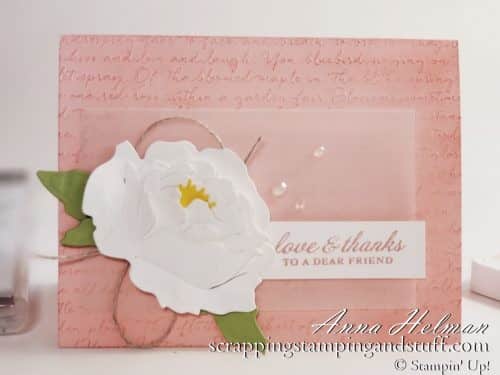
It’s that simple! I hope today’s tutorial using the Stampin Up Prized Peony bundle was helpful. Moral of the story…do NOT be afraid of the peony. She is your friend and will truly impress anyone you share these projects with!
Please make me your Stampin’ Up! demonstrator! Order from me using the product links at the bottom! Earn rewards points towards free stamps PLUS a gift when you order using July host code: 6XFARQP4. PLUS, with your first order, you’ll receive free catalogs in your thank you package!

Sign Up For My Upcoming Virtual Card Classes!
Order the products I used and make this project yourself!


Your video so helpful.
Loved it
Great, thank you for watching along and for commenting here!
I cannot thank you enough for sharing this information!!!! It totally demystified the peony assembly process. And I love the crumpled paper effect!!!