Hi friends, and welcome. Do you ever get overwhelmed with die sets? Don’t get me wrong, I love using dies in my crafting and they create some of the most beautiful cards, but honestly, sometimes they overwhelm me. The other day, I got out the new Stampin Up Tree Lot die set, a limited time offering available for free during Sale-a-bration. This is an adorable set and I was excited to create cards with it. Then I looked at all the pieces and got overwhelmed. I decided to help you to not be overwhelmed by sharing a really simple way to use this set and other die sets. Let’s take a look at it.
1 Cut = 7 Cards – SAVE Time & Effort When Die Cutting Video
Watch along here to see how I simplified using this die set, plus tips you can use with your other die sets!
Simplifying Die Cutting
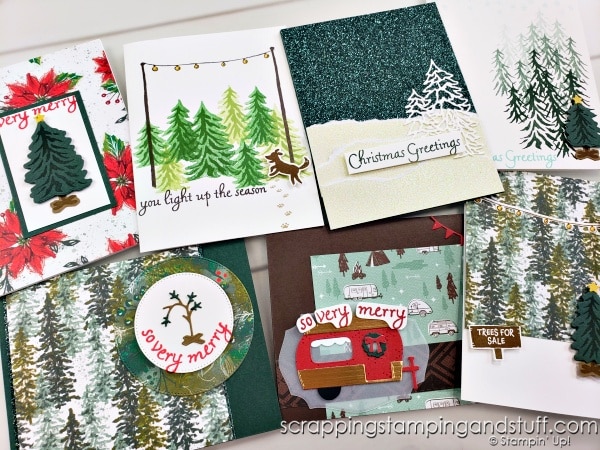
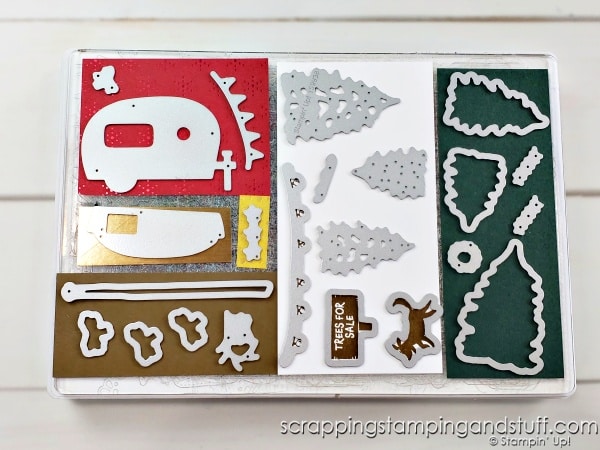
Here’s how I simplified using this Stampin Up Tree Lot die set. I decided which color I wanted each die to be cut from, then I cut the entire set at one time with one crank through my Cut & Emboss Machine. It took me a couple of minutes to get organized and figure out which colors I wanted and how to fit them on the cutting plate, but it saved me a lot of cranking and I was able to create seven cards with my cuts. This is a technique that can really save a ton of time when you’re mass producing cards. If I wanted to do this same setup and crank it through my machine two or three times, I could create 14 or 21 cards with the die cuts!
Measurements
If you’re wanting to recreate my setup from above, here are the measurements for cutting the cardstock pieces.
Evening Evergreen 2″ x 5 1/2″
Basic White 2 3/4″ x 5 1/2″
Soft Suede 1 3/4″ x 4″
Festive Foils Red 2 1/2″ x 3 1/4″
Festive Foils Yellow – Tiny scrap
Brushed Metallic 1″ x 1 3/4″
If you choose to do this same technique with other die sets, you may want to leave a post it note with your die set, making note of the size pieces of cardstock and the colors you used. The next time you want to use that set, it may save you a couple of minutes figuring out the measurements that will fit your dies and also fit onto the die cutting plate.
Get The Tree Lot Dies FREE During Sale-a-bration – While Supplies Last
Before I forget, I’ll mention that you can get the Tree Lot die set for free right now! You may be aware that Sale-a-bration is happening through the end of August. This means that for every $50 you order, you can choose a stamp set, paper pack, or die set from the Sale-a-bration offerings for free! Certain items require a $100 purchase, and the Tree Lot dies are included in this group. See all of the free product options using the link above and start shopping here. Keep in mind all of these items are available while supplies last. Get your favorites before they disappear!
Stampin Up Tree Lot Dies Card Samples
Now for the fun part – let’s take a look at the seven cards I created using these die cuts! For each card, I’ve included any cutting dimensions or other products used.
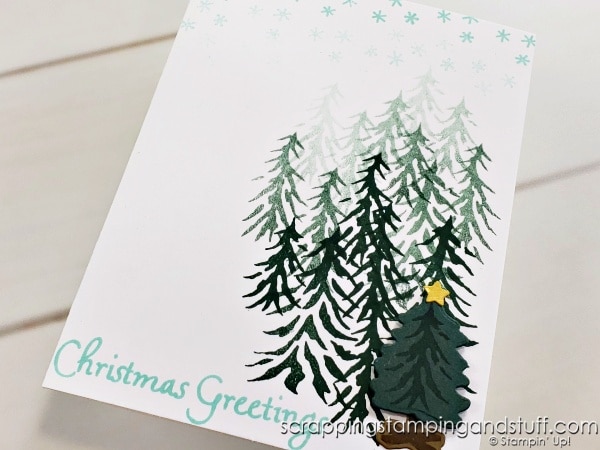
Clean & Simple Tree Cluster
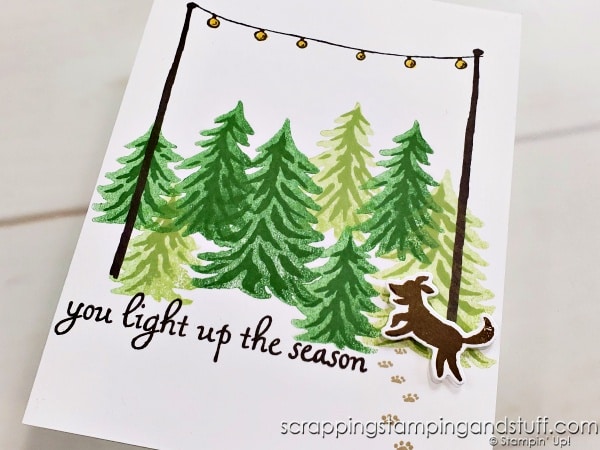
Clean & Simple Tree Lot With A Furry Friend
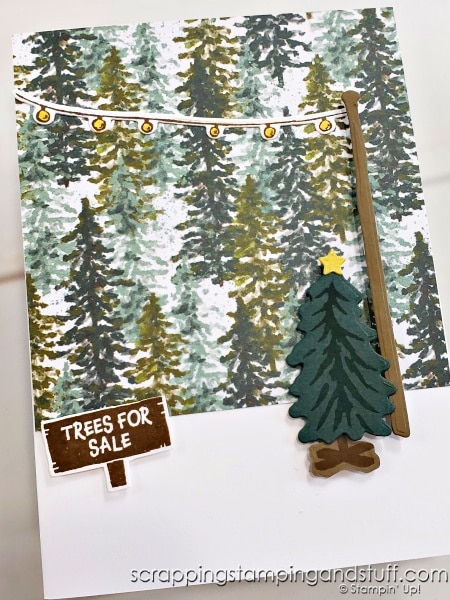
Another Tree Lot Card
4″ x 4″ Boughs of Holly designer paper
5 1/2″ x 8″ white card base, scored at 4″
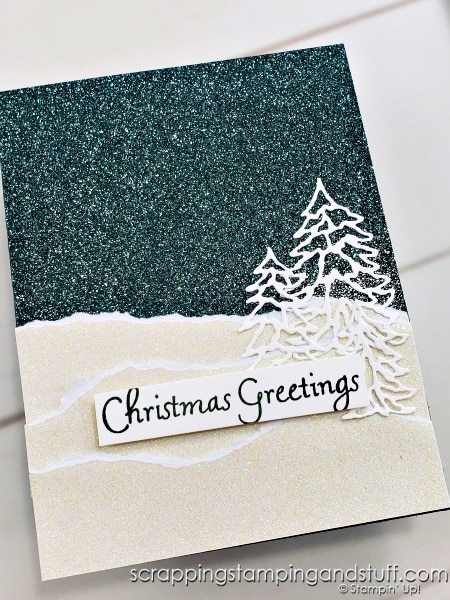
Shimmering Beauty
4 1/4″ x 3 1/2″ Evening Evergreen from the Glimmer Specialty Paper Pack
3 – 1 1/2″ x 4 1/4″ Vanilla from the Glimmer Specialty Paper Pack
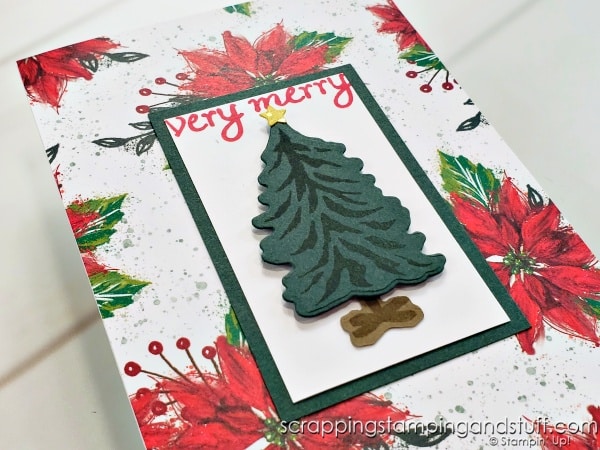
O Christmas Tree
4 1/4″ x 5 1/2″ Boughs of Holly designer paper
1 7/8″ x 3″ White
2 1/8″ x 3 1/4″ Evening Evergreen
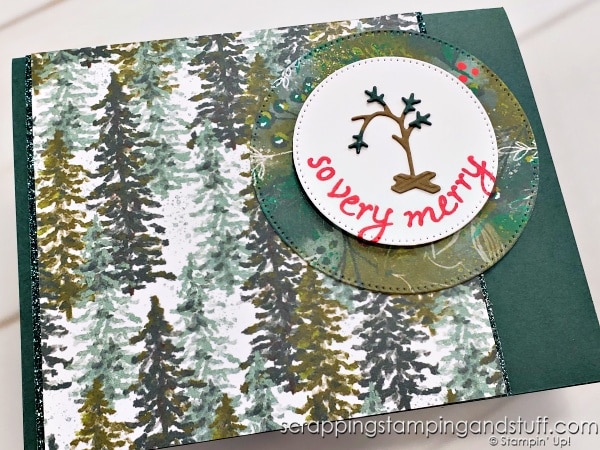
The Charlie Brown Tree
4 1/4″ x 4 1/4″ Boughs of Holly designer paper
2 – 1/2″ x 4 1/4″ Evening Evergreen from the Glimmer Specialty Paper Pack
Circle die cuts from the Stylish Shapes die set
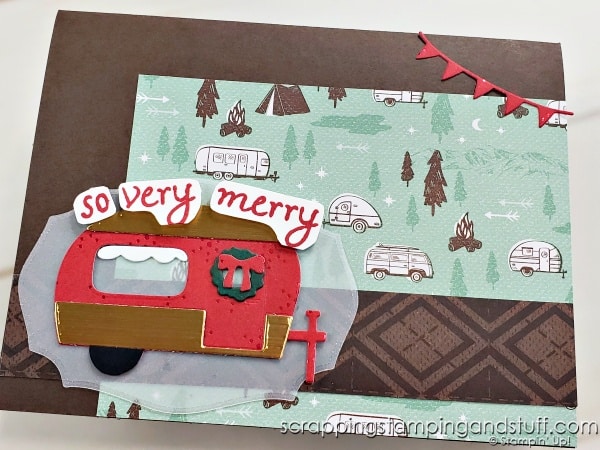
Adorable Camper Cards
3 1/2″ x 4 1/2″ He’s The Man designer paper
1″ x 5 1/2″ He’s The Man designer paper
Another Way To Simplify
If you love the idea of cranking the die set through the machine one time but you’re not thrilled about cutting the pieces for seven different card designs, here’s an idea that may help. What if you create seven of the same card design and just alter which die cut is featured? Just as an example I’ll use the card shown below. Start by stamping seven cards with the tree lot. Then it’s time to add die cuts on the front. For one card, you can use the dog as shown, but for the other six you can switch out the featured die cut(s). One card would have a camper on it and the others would have the different trees.

This same idea would work with any of these card designs. Just something to think about if you’re on a time limit!
Tip For Adhering Detailed Die Cuts
In my video I shared a tip for adhering detailed die cuts using a silicone craft sheet, sponge and multipurpose glue. Get details on this tip here.
Get The Tree Lot Dies & Other Supplies!
Take a closer look at the supplies I used here, and pick up the Tree Lot dies before they disappear!
Product List Learn To Make Cards
Shop Supplies
Rewards Program
Join My Amazing Team
Let me know in the comments which of my seven Stampin Up Tree Lot die set cards is your favorite!


Anne,
YES, I can totally relate to feeling overwhelmed with the dies even though I Love them to help with my projects. This is an EXCELLENT idea!! I LOVE that you shared this method of helping to set up ahead, get organized and save time!! Thank you also for posting the measurements of card stock you used for cutting out your dies – SO HELPFUL! Love the cards you created with the Tree Lots and Trees for Sale. SO ADORABLE!!
Thank you so much Deb! I’m really glad this is helpful. Have a wonderful day