Hi friends, I have a quick tip to share today about using the Stampin Up Take Your Pick Die Brush Tip to save time and effort in your craft room. Let’s take a look at it!
Die Cutting
Do you love die cutting for your projects, or is this something you haven’t tried yet? The detail that dies provide can really step up your projects and make them so professional (yet still handmade) looking! If you would like to learn more about die cutting or the machine I used to create my die cuts, use these links.

The Problem With Detailed Dies
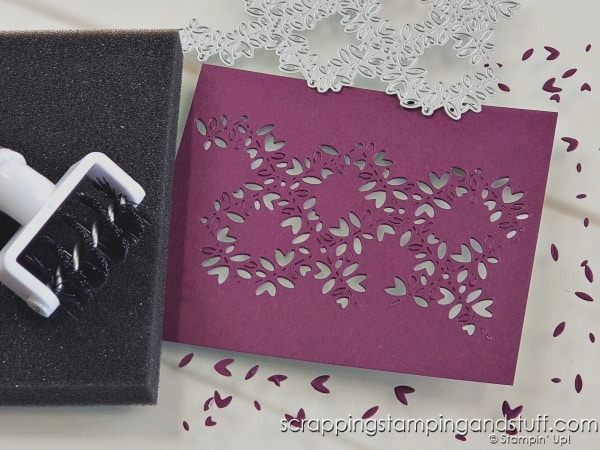
Detailed dies are so pretty on projects, but it can take some extra time to poke the small pieces out, one…at…a…time with my Take Your Pick tool (love this tool, but not the poking). If you’re doing many detailed die cuts, this can take a lot of time!

The Solution
The solution is easy – use the Stampin Up Take Your Pick Die Brush Tip to save time and effort! Here’s how to use it…
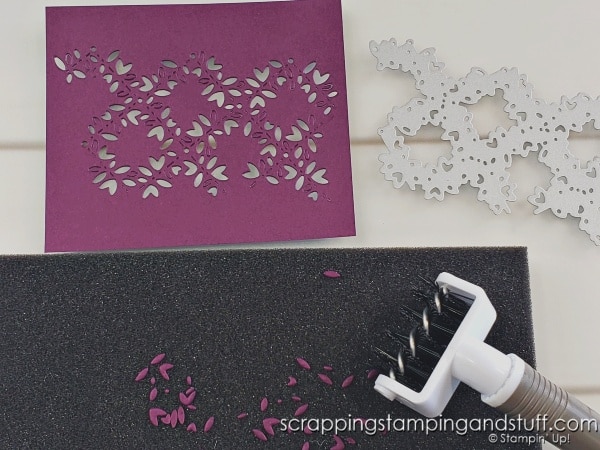
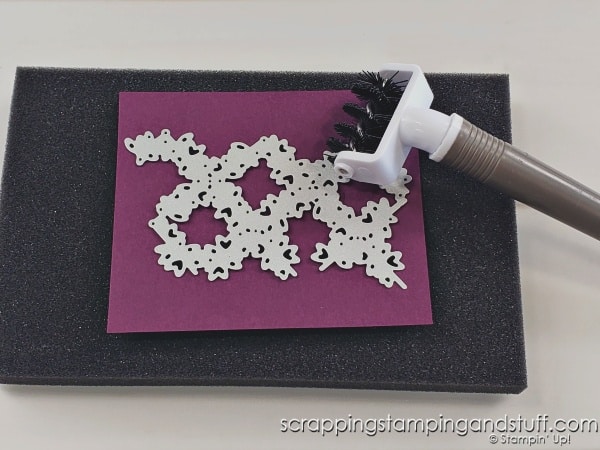
After cutting the die cut, lay the paper and die on top of the foam pad that comes included with the brush tip. Roll the brush over the top several times, lift the die off, and be amazed! With most dies, the small pieces will all be removed. This is so much easier than poking them out one at a time!

Take Your Pick Tool
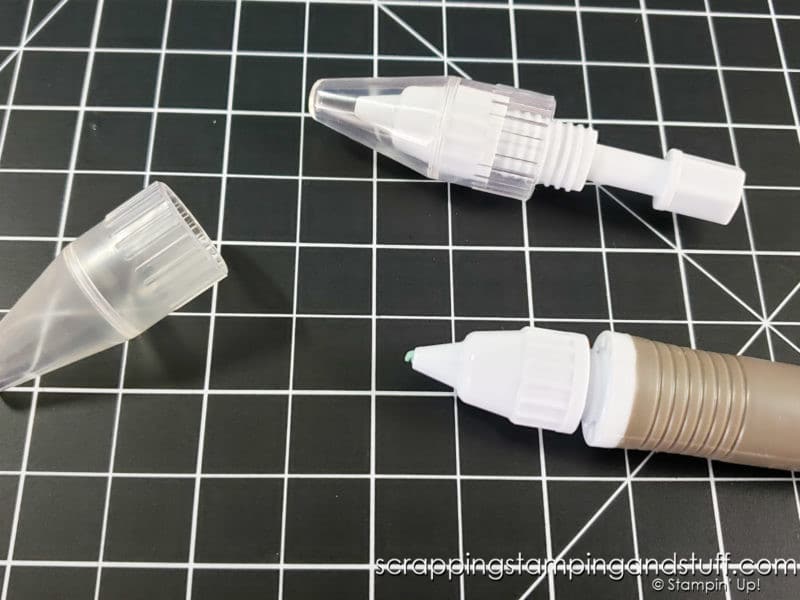
To use this brush attachment, you will also need a Take Your Pick tool to attach it to. I call the Take Your Pick tool the Swiss Army Knife of the craft room. You can use it for everything! Learn more about the Take Your Pick tool here.

Stampin Up Take Your Pick Die Brush Tip Video
Watch to see how well the brush tip works in this video!
Order Yours Here
Use these links to order your brush tip and Take Your Pick tool as well!
Product List Learn To Make Cards
Shop Supplies
Rewards Program
Join My Amazing Team
Thanks for stopping in today to take a look at this handy tip for using the Stampin Up Take Your Pick Die Brush Tip!


Leave a Reply