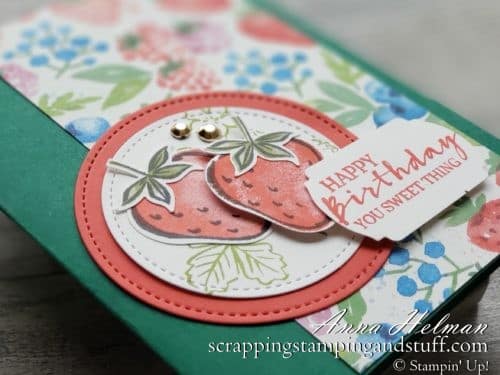
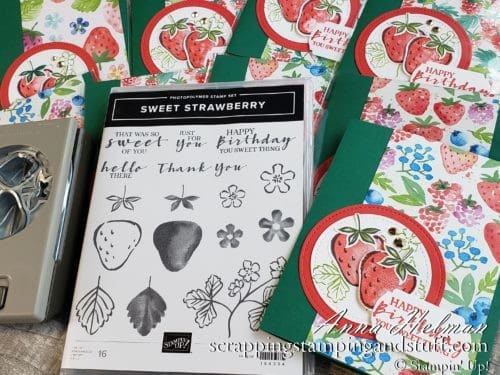
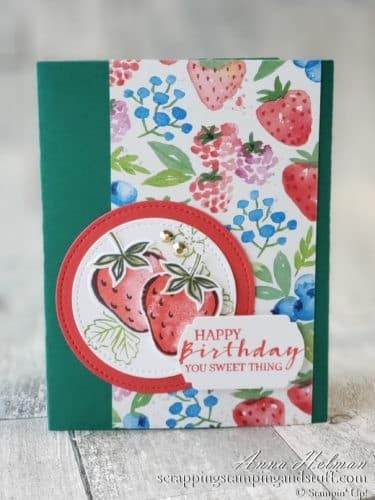
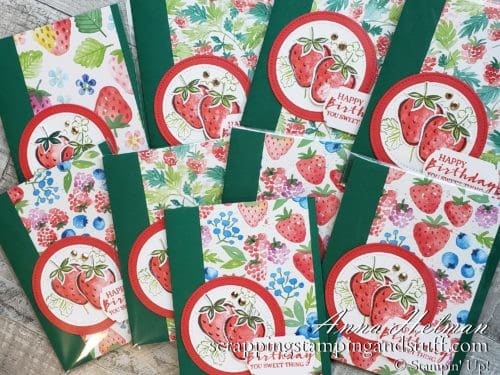
I’m so excited to share a little sneak peek of the new Stampin Up Sweet Strawberry stamp set and coordinating Strawberry Builder punch. Take a look at the card below. Is it not adorable? I fell in love with this set as soon as I opened the new catalog, and today I’ll share a design I made for a card swap I did with my team members using this bundle. I also have a quick tip I want to share with you for how to easily line up stamps to punch. Let’s get started!

Stampin Up Sweet Strawberry Video
Watch along with this video for step-by-step instructions on how to make this card.
Keep reading for a materials list and instructions!
Sale-a-bration Reward Item – Berry Delightful Designer Series Paper
See that adorable designer paper on this card? You can get it absolutely free beginning January 5 during Sale-a-bration! During this annual fun stamping celebration, with every $50 you order, you can earn a free item. If you spend $100, there are some special items you can choose from, and this berry designer paper pack along with a coordinating Berry Blessings stamp set is one of them. I love this paper, and how this product bundle extends the use you can get from the Sweet Strawberry bundle.
Instructions
Let’s talk about how to make this cute card!
Materials
- Shaded Spruce Card base
- Sweet Strawberry Stamp Set
- Ink — Old Olive and Poppy Parade
- Sweet Strawberry Punch
- Label Me Fancy Punch
- Berry Designer Paper 3″ x 5 1/2″
- Stitched Shape Circle Die
- Poppy Parade Cardstock
- Whisper White Cardstock
- Adhesive
- Dimensionals
- Gems

First, prepare your card base with the Shaded Spruce cardstock. Cut a strip of 3″ x 5 1/2″ paper from the Berry Blessings Designer Paper Pack. Adhere to card base. Next, using Poppy Parade cardstock and Whisper White cardstock, cut out circles using the Stitched Shapes dies. Stamp the white cardstock with the stem and leaves stamp from the Stampin Up Sweet Strawberry stamp set using Old Olive ink. Layer and adhere Poppy Parade circle and Whisper White circle to card.
Next, we will build the strawberries. Let’s talk about a trick to line up stamps for quick and easy punching!
Punch Trick
If you haven’t already learned this trick, it’ll be a game changer for you! First, reach for a scrap piece of cardstock. Using the Strawberry Builder punch, punch the scrap cardstock. This will be your template for lining up the stamps.
Next, reach for the Stampin Up Sweet Strawberry stamp set. Line up the outline stamps for the strawberry, both leaves, and flower over top of the appropriate holes in the cardstock you just punched. Next, lay a block down over top to mount the stamps to the block. If you’d like to see exactly how I did this, click here!
Once your stamps are mounted on the block, you are now free to stamp as many sets as you need. When you’re done stamping, reach for the Sweet Strawberry punch again. You’re now able to line up the stamped strawberry and leaves perfectly with the punch.

After your strawberries and leaves are punched, adhere them to the white cardstock. I used a dimensional to bring the front strawberry out a little. Next, add your greeting to the front. To finish off the project, I used some gems for a little added pizzazz! Ta-Da!

I just love this new Stampin Up Sweet Strawberry bundle. I love the bright and vibrant colors of the designer paper and the sweet little greetings included in the stamp set. Be sure to keep an eye out for this bundle when the new catalog comes out! Enjoy!
Don’t Miss Out!
Please make me your Stampin’ Up! demonstrator! Earn rewards points towards free stamps PLUS a gift when you order. Use host code: X2Y272H2 PLUS, with your first order, you’ll receive free catalogs in your thank you package!

Sign Up For My Upcoming Virtual Card Classes!
Order the products I used and make this project yourself!
You Might Also Like:
Introducing Stampin Up Sand & Sea For Beautiful Coastal Projects
Stampin Up Blending Brushes & All You Need To Know To Use Them!


[…] Stampin Up Sweet Strawberry Makes Beautiful Berry Cards […]