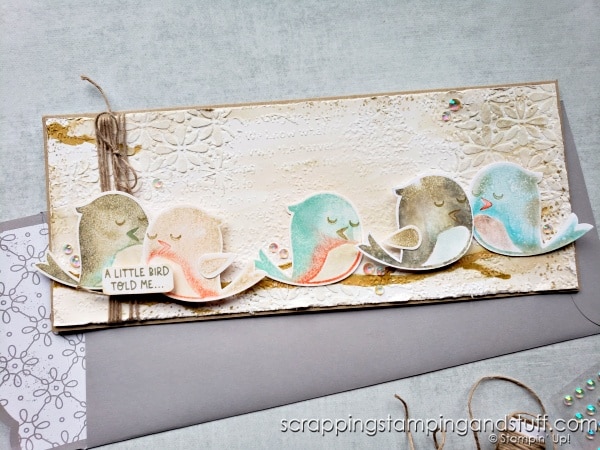
Oh friends, I’m so excited to share today’s project with you. It highlights some super sweet birds from the Stampin Up Sweet Songbirds bundle, and I’ve used these products to create a technique-rich, work of art. This may look challenging, but anyone can recreate this card. I’ll show exactly how to create the birds and background in today’s video, and I hope you’ll watch along!
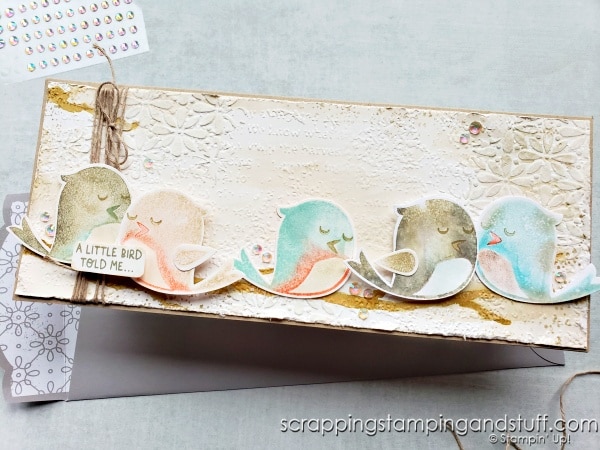
Mirror Stamping, Watercolor, Embossing Paste & More
I began making this video with the idea of sharing how to do mirror stamping – how to get an image that faces the opposite way of the stamp itself – and be able to punch it or cut it out with dies. Then I got a little carried away with spritzing, watercoloring, and more. I hope you’ll watch along to see how you can also create this lovely card!
Stampin Up Sweet Songbirds Bundle
The Sweet Songbirds bundle includes a stamp set with a large and small bird, all the ‘trimmings’ like eyes, a beak and feet, a wing and breast, branches, and music notes, plus really adorable greetings like ‘a little bird told me’ and ‘a little note of thanks’ (use with the music notes)!
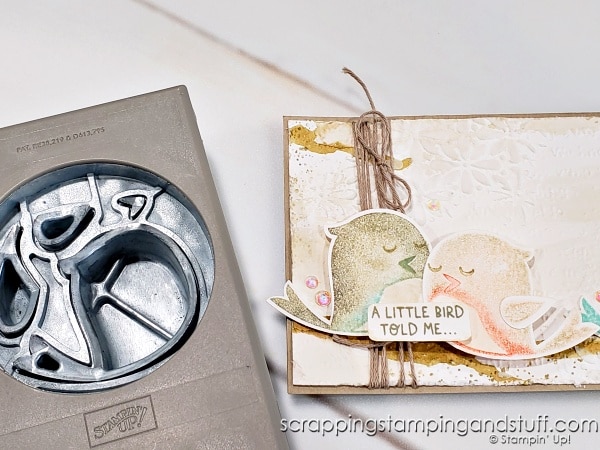
The coordinating punch allows you to punch a bird, plus it’s wings, breast and beak. It’s so cute!
Now I’ll share about how I created today’s card.
A Note About Slimline Cards
As you likely noticed, today’s card is created with different dimensions than a standard A2 sized card. If you would like to learn more about making slimline cards, take a look at this.
The card base for this card measured 7″ x 8 1/2″, and it was scored in half at 3 1/2″. The shimmery white cardstock for the front measured 3 3/8″ x 8 3/8″.
Stamping Mirror Images
You can get a detailed tutorial of stamping mirrored images here or you can watch today’s video. Basically, you need to use a stamping platform, stamp onto a silicone craft mat, lay your paper on top, then stamp again (reinking isn’t needed the second time).
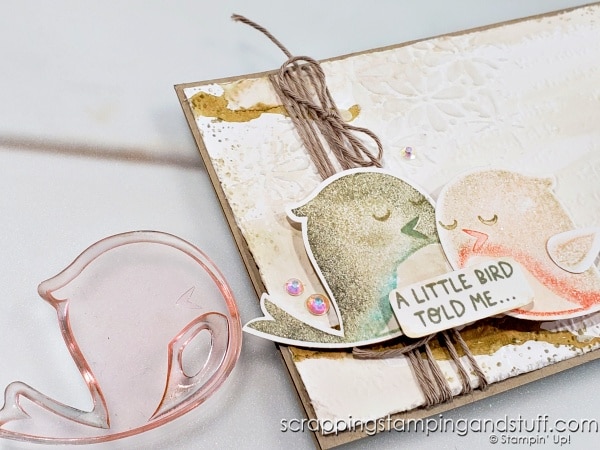
Stamping Watercolored, Multi-color Images
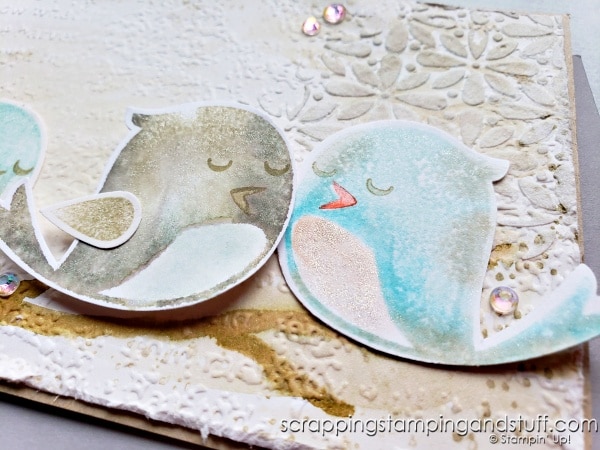
How did I get the birds to have a watercolor appearance? I used sponge daubers to apply several colors of ink to the stamp before I stamped using the process described above. In addition, if I was planning to punch out the original image (not the mirror image), I inked the stamp with daubers, spritzed the stamp one time with a water spritzer, then stamped onto the paper.
If I was planning to use the mirror image, I inked the stamp with daubers, stamped it onto the silicone craft mat, spritzed my paper with water, laid the spritzed side of the paper down, then stamped again.
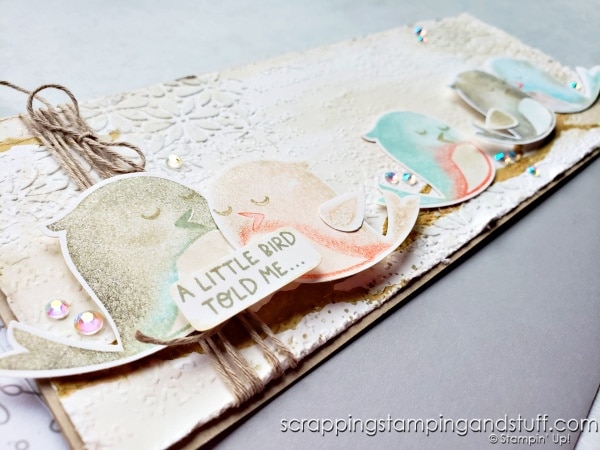
This may sound complicated, but it’s really not. Just watch along and it will make total sense. You can definitely play around with this and decide whether spritzing the stamp or paper works best for you, and how many spritzes to use.
I had a couple of birds on which the color hadn’t blended well. I gave them a couple extra spritzes and that helped the colors move around and blend.
Stella!
When the birds were stamped and punched out, I added some Wink of Stella to them. It adds the perfect amount of glisten.
Creating The Background
Next I’ll share how I created the background, in the order I completed each step.
Paint Branch
First, paint the branch onto shimmery white cardstock using water painters. This is pretty carefree. I mentioned in today’s video (about 5 times) that if you try this and think it doesn’t look very good, just keep going. I didn’t think a few of my steps looked great, but once I added the birds, everything came together. Don’t compare your project to mine. Yours will be it’s own work of art, and very possibly turn out more beautiful than mine!
Stamp Texture
Second, I stamped a bit of splatter texture using a stamp from the Daffodil Daydreams set.
Embossing
Next, I embossed the cardstock using the Timeworn Type embossing folder. I shared how to emboss the full piece using an embossing folder that isn’t large enough, in today’s video. You can also learn about embossing slimline card fronts using smaller folders here.
Use Embossing Paste
Embossing paste is so fun! And really not terribly messy. I added the flower texture with paste and this set of stencils. Let the paste dry before moving on to the next step.
Watercolor
Then I got out my largest water painter, mixed water with some Sahara Sand ink, and painted some extra color on the background, just to ‘age’ it a little.
Rough Up Edges
Last but not least, I ran the edges of the cardstock along my sharp snips to rough it up a little.

After the birds and background were created, I added twine around the background, attached it to the card base, then added the birds, greeting, and embellishments.
This was so fun to create, I would love for you to try some or all of the techniques I shared today and share a picture of your creation when you’re done!
Supply List
Product List Learn To Make Cards
Shop Supplies
Rewards Program
Join My Amazing Team
Thanks for following along with this fun project made with the Stampin Up Sweet Songbirds bundle!


What a lovely card. Shows the stamp set off completely with the shabby chic and soft feel. Most other samples are bright and with the new in colors.
Thanks so much Michelle! I hope youre doing well.
Your card is stunning! I can’t wait to try this technique. Thanks for sharing.
I’m excited that you’re going to try it! Good luck!