Today is a pretty exciting day. Why, you ask? Today is the first of my holiday catalog sneak peeks! I received my new catalog order yesterday, and there just hasn’t been enough time for me to dig through and really look at everything. I’ll be doing that today! What I know is that I’m super excited to start playing with these products! Below you can see the catalog cover image and start dreaming about what might be inside. You won’t have to dream about everything though, because today’s project will give you a pretty good idea of what one product is. It’s the Stampin Up Snow Globe Scenes dies. I have fallen in love, and I’ll be interested to know if you do too!

One of the perks of being a demonstrator is that I get to see and order products for upcoming catalogs early! Customer ordering won’t begin until September 4, but demonstrator ordering began last Thursday. It’s a pretty good perk to be able to play with this fun stuff now! Are you ready to see my Stampin Up Snow Globe Scenes creation? Here it is!
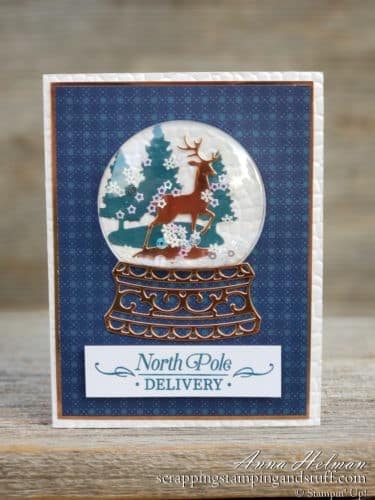
Look closely…can you tell that the snow globe actually has a globe around it, enclosing the snowflake sequins?! I am absolutely crazy over this set, and I have sooo many ideas for how it could be used! It would work with any season and any occasion, just put something cute in the middle and make that the theme!
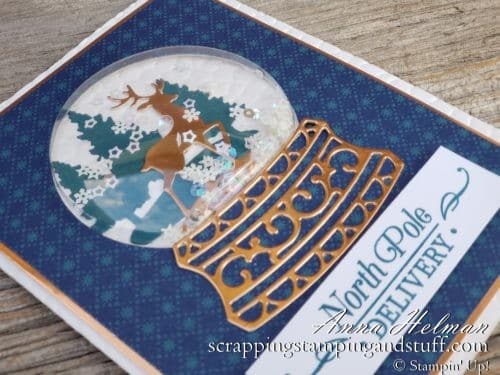
I have a feeling some of you will want to know how I made this, so follow along below and I’ll show you.
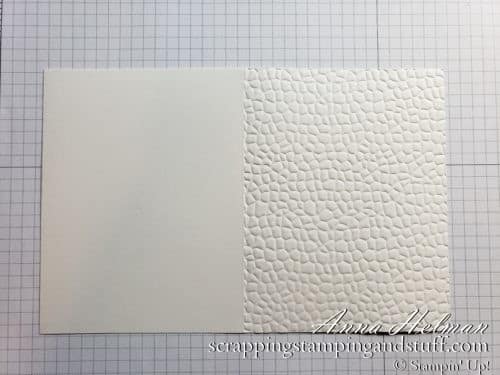
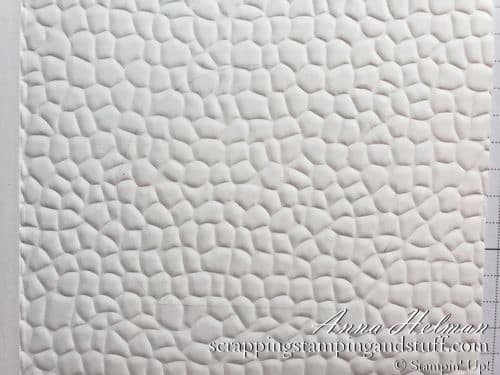
First, emboss the card front using the Hammered Metal embossing folder, which is new in the holiday catalog. When using it on white like this, I think it looks like ice or frost on glass!
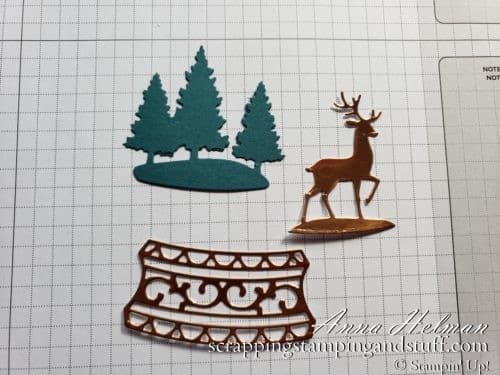
I prepared the die cuts for the snow globe. The trees are in Pretty Peacock cardstock, and the other two are from copper foil paper.
I cut a piece of copper foil measuring 4″ x 5 1/4″ and a piece of the Night Before Christmas designer paper measuring 3 7/8″ x 5 1/8″. I attached them together, then die cut out the snow globe shape.
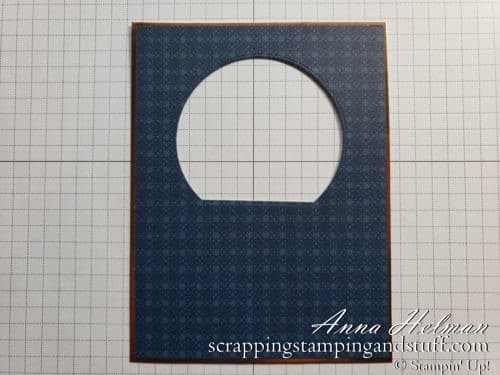
I laid the blue piece on top of the card front without using adhesive. I drew a very light pencil line inside the hole for the globe.
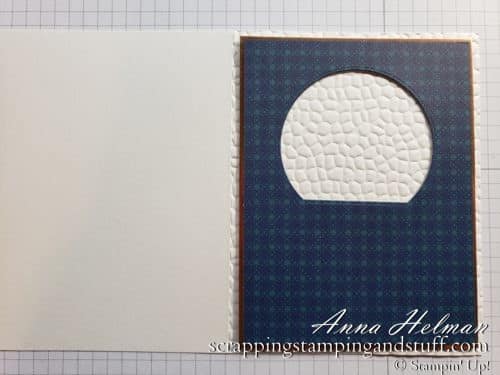
Then I lifted the blue cardstock off of the card. If you look very closely you can see my pencil line.
Using the pencil line as a guide, I attached the trees and deer on the card where they will show inside the globe.
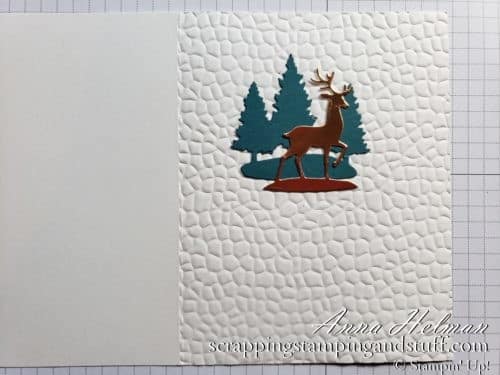
I laid a few snowflake sequins on top of the images.
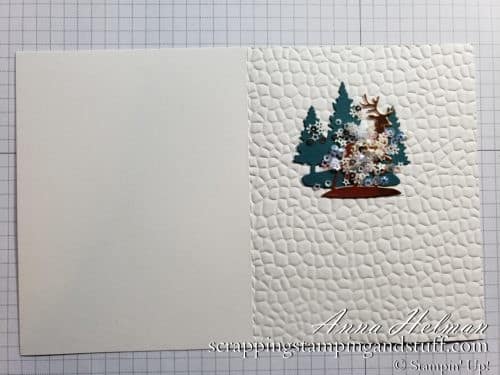
Next, I placed one of our Snow Globe Shaker Domes inside the card cutout, from the back.
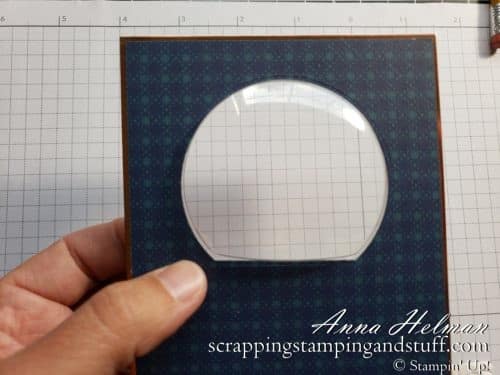
I pulled the adhesive strip off of the back of the shaker dome, and lowered the card front onto the card in the correct
position. Then I applied pressure all around the dome to make sure it was adhered well.
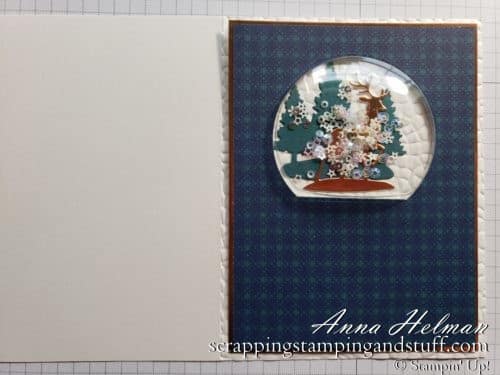
I lifted the blue card front back off, put adhesive on the back of it, then put it back in position. Next I adhered the base of the snow globe on top.
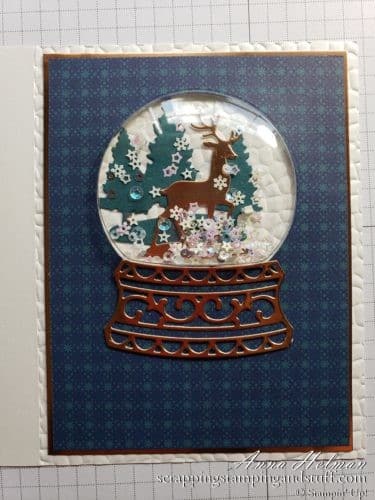
I stamped this cute greeting from the Perfectly Plaid stamp set and attached it to the bottom.

That’s it! What a beautiful card idea for those special people on your Christmas card list!
Holiday catalog products will be available for customer ordering beginning September 4. Don’t want to wait until then? Sign up for our Extra Extra offer, and you’ll get tons of free products and you can see and order holiday products now!
Please make me your Stampin’ Up! demonstrator!
- With your first order, you’ll receive a FREE annual catalog from me! Seasonal catalogs are also mailed to regular customers.
- Please use hostess code GZS46UCA when you order.
- Keep track of your Stampin’ Rewards and earn free stamps from me!
- When you order $150 or more, you’ll earn hostess credit through Stampin’ Up!
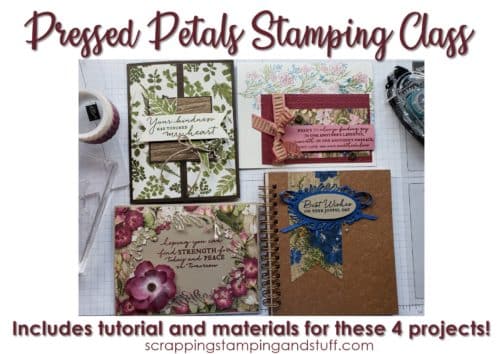
- Check out my current Project in the Mail, Pressed Petals (shown below)!
Order the products I used and make this card yourself!


I have a few questions. Will this mail well? I mean will the dome squish going through the postal machines? Will it cost extra postage? Wonder how this would look simply making it into a shaker card. Do so love how you made it. Nice to see the steps involved and how it turned out.
Hi Patricia! I went to the post office to find out answers to your questions! First, it wouldn’t mail well unless in a padded envelope. The dome would get squished otherwise. The worker told me it would probably cost around $3.66 to mail them. So…you probably wouldn’t want to mail a ton of them, but it would be something nice for a few special people! You mentioned just making shaker cards, and I think that’s a great idea. You could mail them with a regular stamp and they would be just as beautiful! Let me know if you have any more questions!