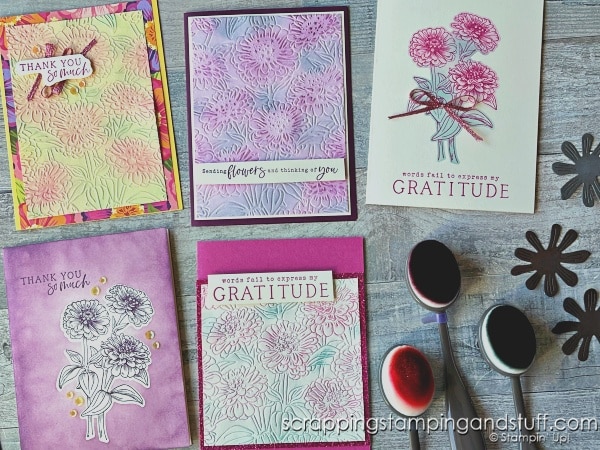
I’m excited today to share some brand new products with you, along with some creative ways to use blending brushes on your projects. This new set of products is called Stampin Up Simply Zinnia and it’s beautiful! I thought it would be fun to play around with unique ways to use blending brushes with the dies and embossing folder, so let’s get to it!
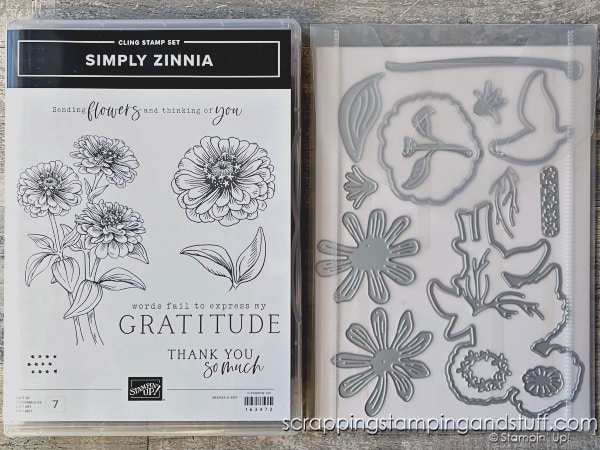
Stampin Up Simply Zinnia
Here you can see the Simply Zinnia bundle. What a pretty set! The flowers are so unique, and it includes nice greetings as well. I really love the large ‘Words fail to express my gratitude’ stamp.
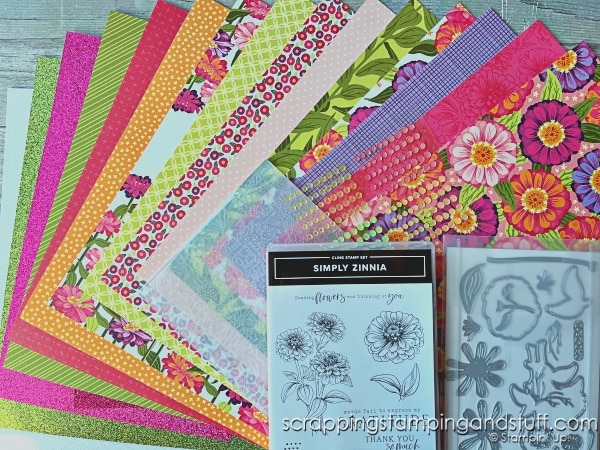
In addition, this set also has a coordinating paper pack called Zinnia designer series paper, the Flower Zinnias embossing folder, and Adhesive Backed Shiny Sequins.
Next let’s look at some neat ways to use these products with blending brushes! If you’re new to using blending brushes, you may want to take a look here to learn all about them first.
Creative Ways To Use Blending Brushes
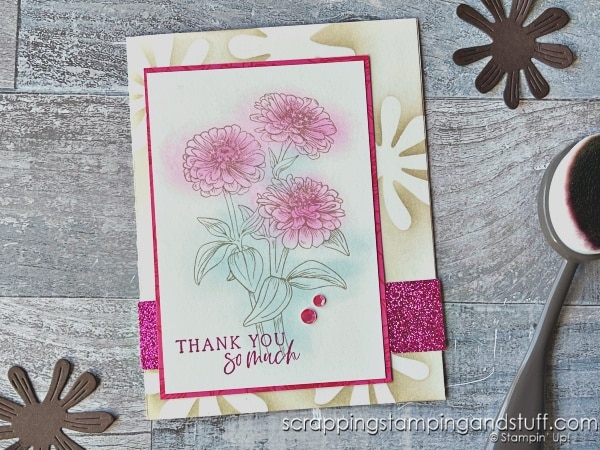
For this first technique, I created flower die cuts, attached them temporarily to my card, blended over the top, and then removed them. That created the subtle background, and then when I finished the card, I added a second technique over the top. For the flower image, I first stamped it, and then added color with my blending brushes.
For the second card, I created an embossed piece with Lemon Lolly cardstock and then blended over the top with Blackberry Bliss, Berry Burst, and Pretty Peacock inks. Isn’t this lovely, with that bright zinnia paper in the background?
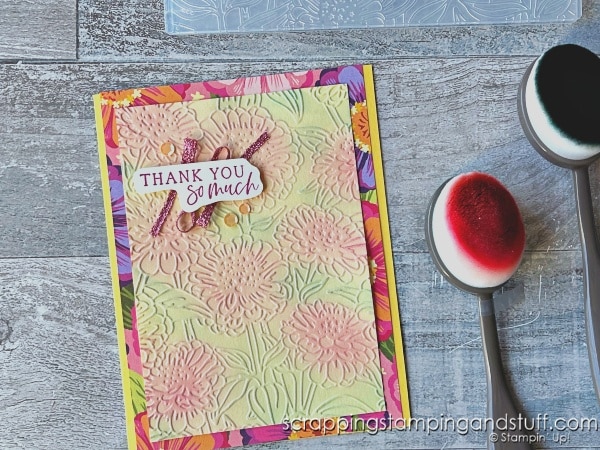
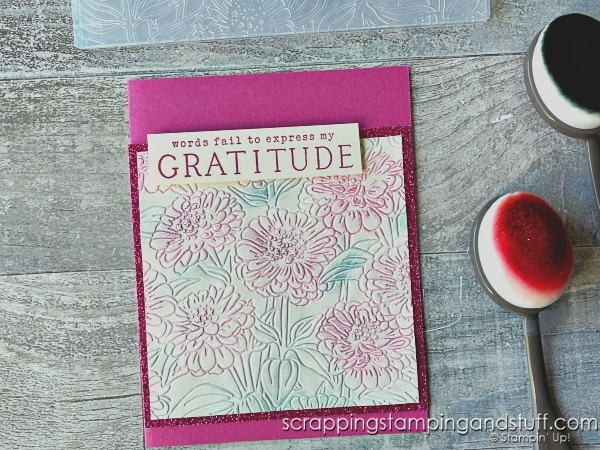
On this next card, I flipped the embossing over to the debossed side and blended ink on top. This gives a little different look than using the embossed side. I used Bubble Bath cardstock and blended over top with Blackberry Bliss and Pretty Peacock inks.
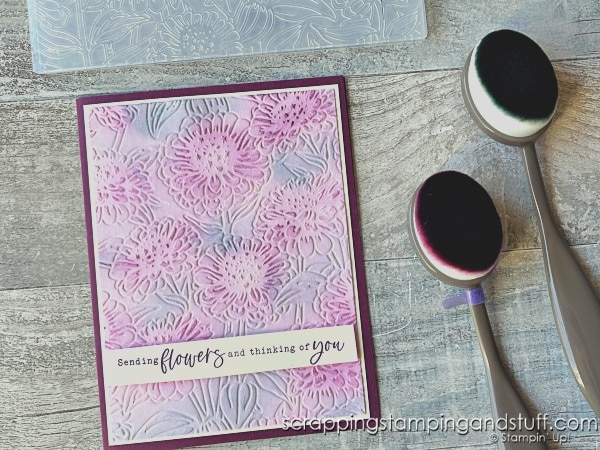
For my fourth card, I blended ink onto the embossing folder directly. Then I carefully inserted my paper and ran it through my Cut & Emboss machine. I love this look!
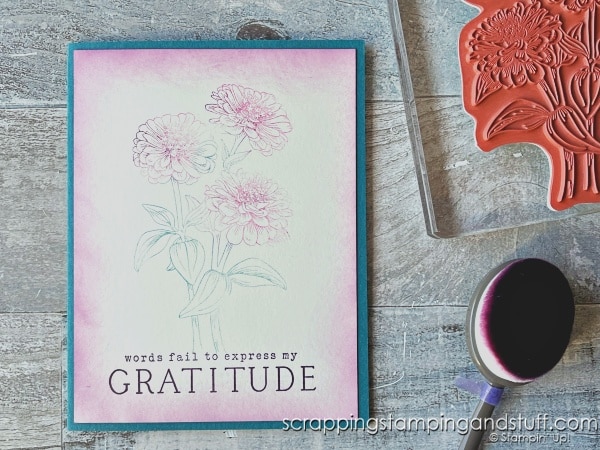
For the next card, I blended ink onto the stamp before stamping onto my card. This gives a very subtle look. As I was finishing the card, it seemed a bit plain, so I used my blending brushes and added some Blackberry Bliss ink around the edges. This was just the touch it needed.
On this sample, I stamped the zinnias onto my card front, laid the die cut overlay around it with temporary adhesive, then blended color inside. So simple but pretty!
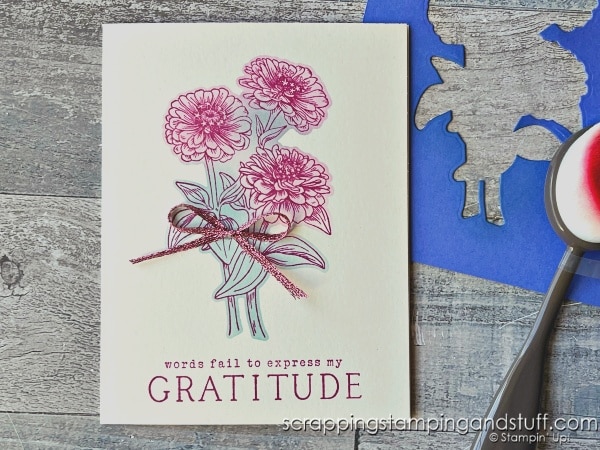
I did the reverse on this next card. I stamped the image, added the die cut on top, then blended color around it.
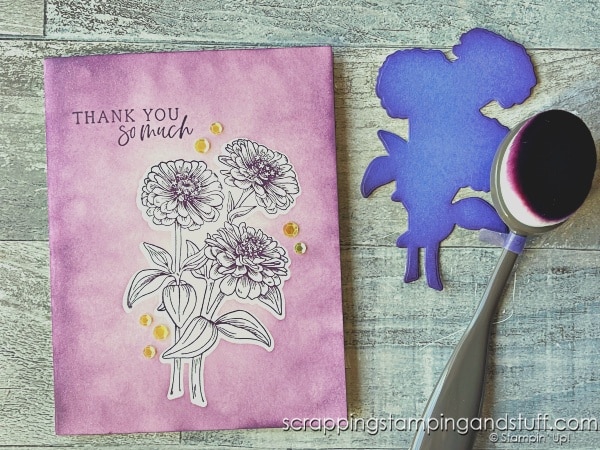
There are so many other ways to use blending brushes. What ideas can you think of?
Simply Zinnias Video Tutorial
Watch along here to see how I created these cards and also to hear some encouragement at the end!
Materials Used
Take a look at the supplies I used here!
Product List Learn To Make Cards
Shop Supplies
Rewards Program
Join My Amazing Team
Thanks for visiting to see the Stampin Up Simply Zinnias bundle and creative ways to use your blending brushes!


I like how you used by the embossed and debossed sides.