Hi stampers, I just had to sit down and use this amazing new bundle of products I have in my collection, and I decided I wanted to share how to make a group of cards in a short amount of time. I know from the past that you love ideas on making multiples of a card project simply, so that’s what we’re doing today. To make it a bit more interesting, I decided to start with simple yet beautiful card designs, and then show how to take these beginning level cards and step them up to make them more detailed. Let’s take a look at these lovely cards made with the Stampin Up Perennial Lavender product suite!
Stampin Up Perennial Lavender Product Suite
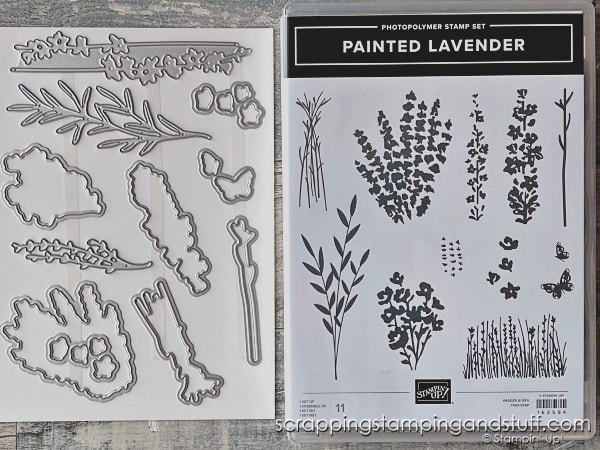
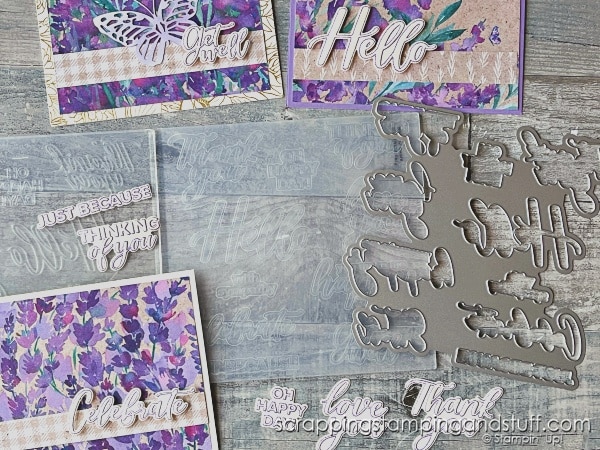
First I’ll quickly share the stamp and die sets I used for these lovely cards. I actually used two different bundles that are part of this product suite. The first bundle is called Painted Lavender and you can see it here.
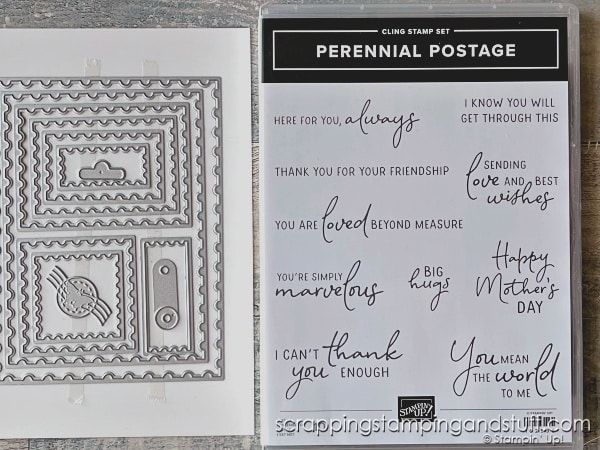
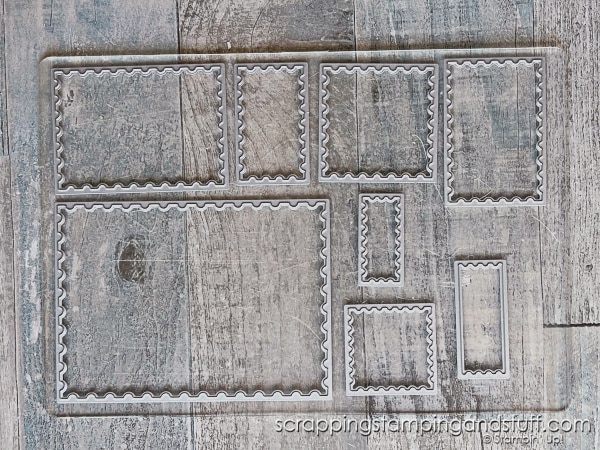
I also used the Perennial Postage bundle. I love both the dies and greetings in this bundle!
The entire product suite also includes a designer paper pack, set of gems, and butterfly die cuts. You’ll see more of them below!
Now let’s take a look at these lovely card designs.
Card Design 1
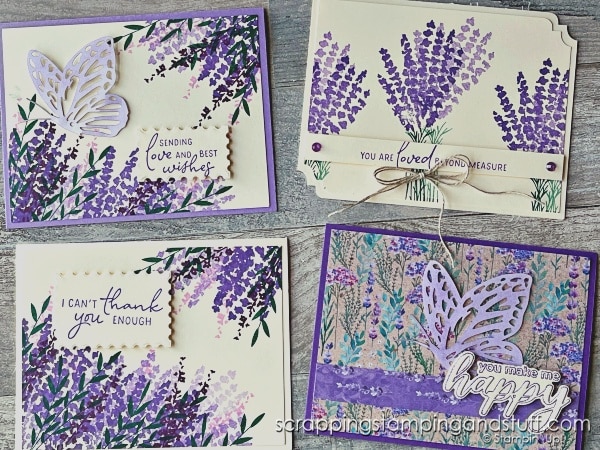
For the simple card shown at the top below, I stamped flowers on the corners and added a simple greeting right on the card front itself.
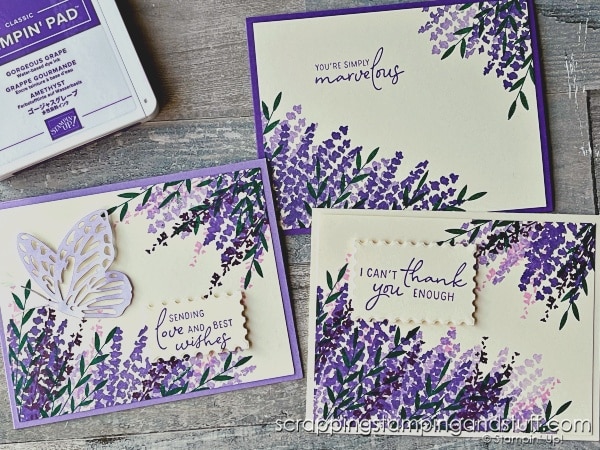
To step up my first design, I created the card shown at right above. I added more detail to the stamped flowers and the greeting is on a die cut instead of the card itself.
Anytime I’m die cutting when I’m making multiples of a card project, I try to simplify the die cutting. For these cards, I used the Perennial Postage Dies and ran several of them through at the same time as you can see below. This saves a lot of time!
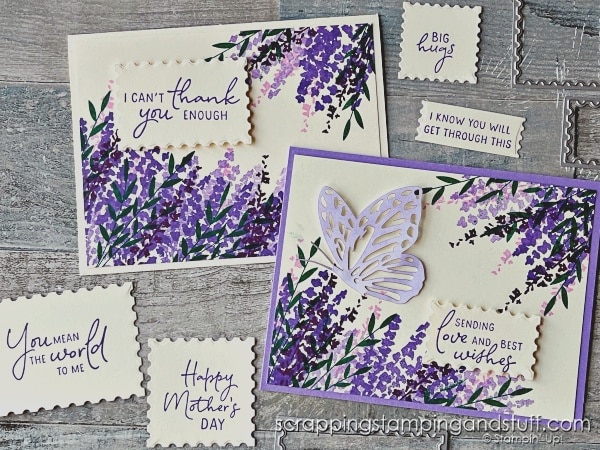
For my third card of this design I added one of the pre-cut Paper Butterfly Accents which I had used blending brushes to add a bit of color to. These are such as easy way to add detail to a card.
Next let’s look at my second set of designs! `
Card Design 2
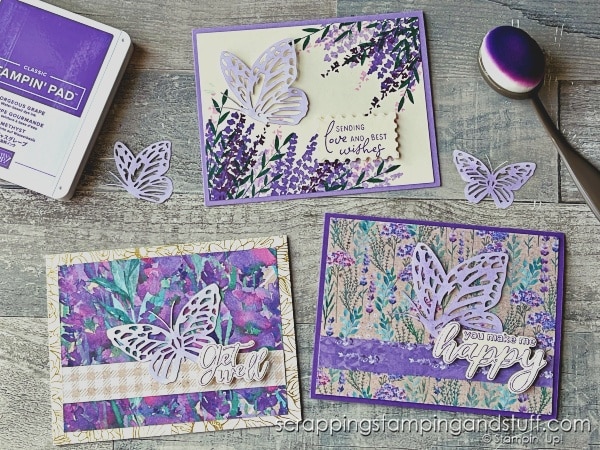
On this next card design I decided to keep it extremely simple and use some Perennial Lavender designer paper. For the card shown at left below, the large piece measures 4″ x 5 1/4″ and the small piece measures 3/4″ x 5 1/4″.
For the second card shown at the bottom right, I simply added one of the Paper Butterfly Accents.
On the third card shown at the top above, I decided to substitute a more decorative card base which has gold accents. This is from the Gold Foiled Flowers Cards & Envelopes set.
What really makes this set of cards special is the combination die cut and embossing greetings that I created using the Thoughtful Moments Hybrid Embossing Folder. In today’s video I explained how I used this set to create lots of these greetings with just one crank through my Die Cutting & Embossing Machine. Aren’t they lovely? To see more uses for this hybrid embossing folder, take a look here.
Card Design 3
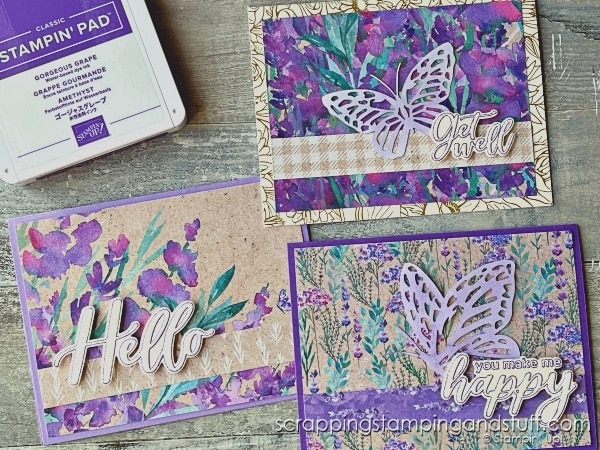
I went back to stamping the focal point for my third card design. For the card at the bottom right, you can see that I stamped three flower bouquets and added a greeting on the narrow strip.
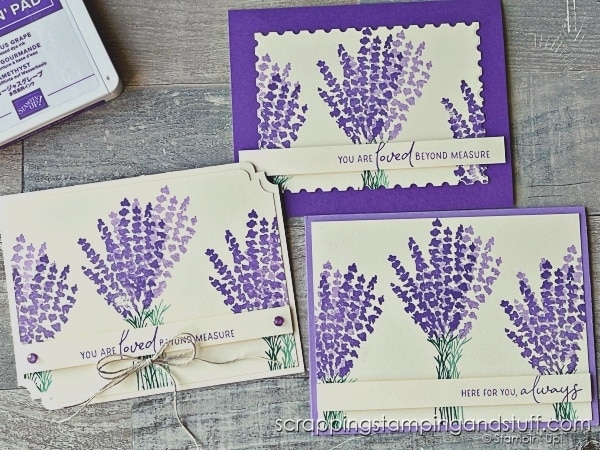
To step up the design, I used one of the Perennial Postage die cuts and stamped the bouquets on it for the card shown at the top above.
For the third card, I punched two of the corners using the Very Best Trio Punch and I added a linen thread bow and some gems. Twine and gems are always a great option to add more to a card!
9 Cards In 20 Minutes Video
Watch along here as I create these cards, and stick around for the end to hear about a scary accident we had recently in my family.
Materials List
Take a look here at the supplies I used to create these cards.
Product List")
")
")


 Designer Series Paper")
")


Learn To Make Cards
Shop Supplies
Rewards Program
Join My Amazing Team
I hope you enjoyed these cards with the Stampin Up Perennial Lavender Bundle!
Anna…..you just blow my mind with your ideas. This is such an ideal set, for a number of occasions. I hope the dsp doesn’t deplete for quite some time. Thank you for sharing your talent