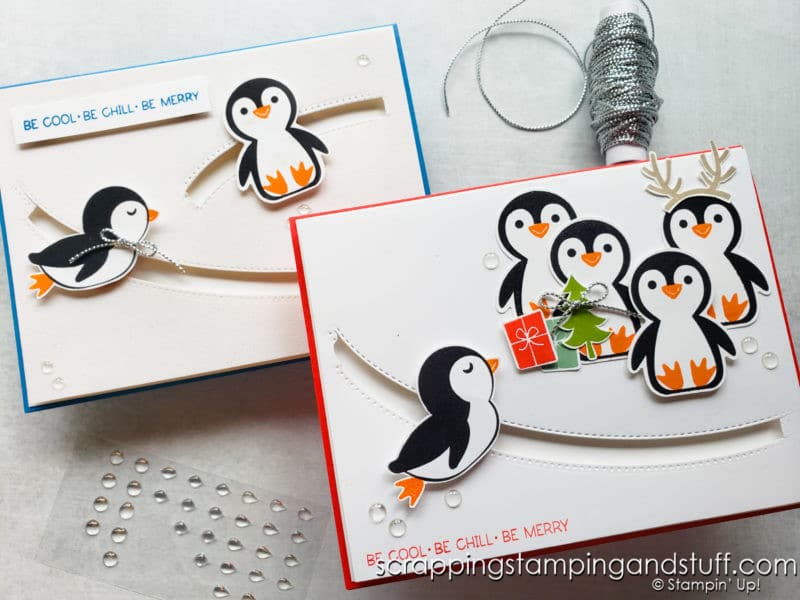
Welcome! I’m so excited for the upcoming kickoff of the Stampin Up Holiday Catalog and all the products included in it. Ordering for this catalog begins this coming week on Tuesday, August 3. One of the adorable products included is the Stampin Up Penguin Place stamp set and coordinating punch. I wanted to find a really fun way to use this set, and I did just that with this interactive penny slider card. You have to see it!
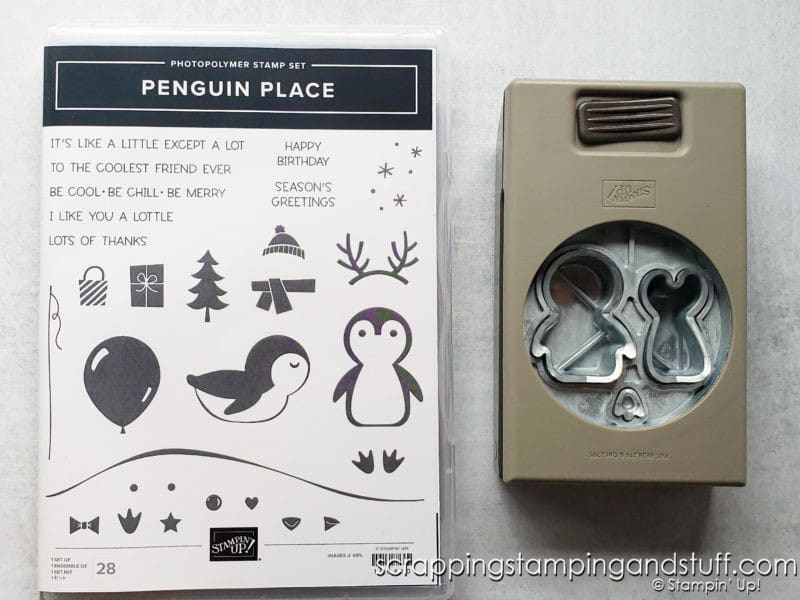
First let’s look at the product bundle I used on these cards.
Stampin Up Penguin Place Bundle
I’m excited to introduce you to the Stampin Up Penguin Place bundle! Isn’t this cute?!? The stamp set is full of cute images as well as sweet sentiment stamps. The punch coordinates with the upright penguin stamp, or you can use it to punch the black part of the penguin using the piece on the left and the white part using the piece on the right. I love that it allows you versatility to create penguins in the way that you choose.
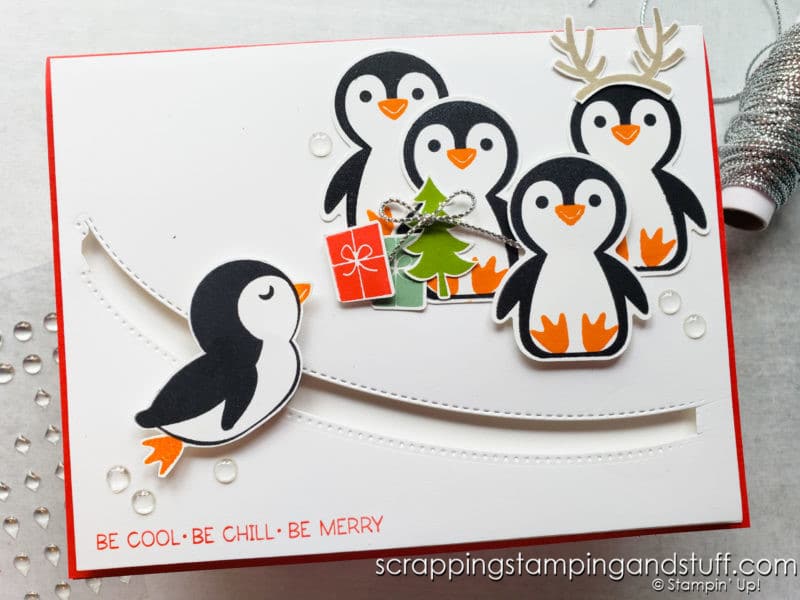
Now let’s look at today’s project!
What Is A Penny Slider Card?
A penny slider card uses hidden pennies to create sliding and spinning elements of interest. I used pennies behind each of the penguins, and when you tilt the card left and right, the penguins slide and spin back and forth. You have to see how it works in my video!
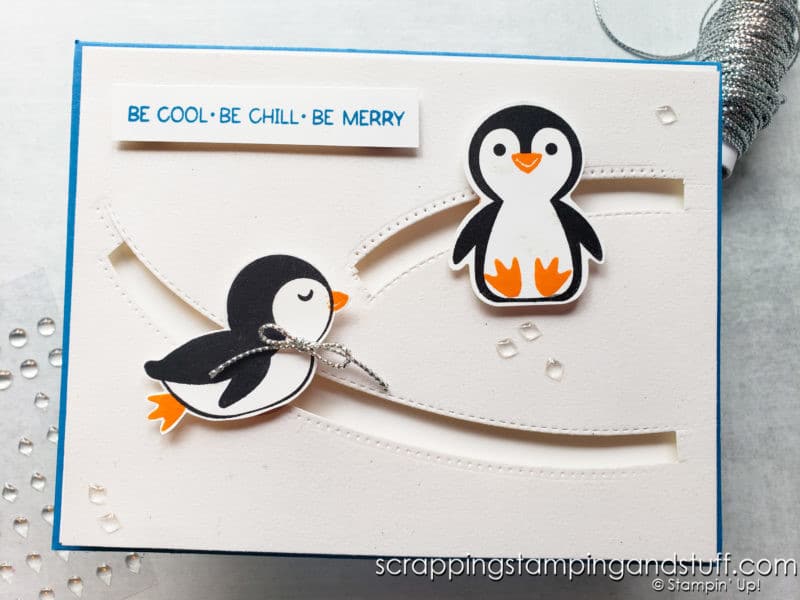
Penguin Place Penny Slider Video Tutorial
Speaking of today’s video, here it is. I hope you’ll watch along!
Next I’ll share the materials you need to make one of these adorable penny slider cards using the Stampin Up Penguin Place stamp set.
Materials Needed
Here’s what you’ll need:
- 5 1/2″ x 8 1/2″ card base
- 4 1/8″ x 5 3/8″ white cardstock
- 4″ x 5 1/4″ white cardstock
- Basic Borders dies
Assembling The Slider Mechanism
I’ll attempt to explain how to assemble the slider mechanism, but you may want to watch the video for details!
First, cut the curved grooves from your cardstock using the borders dies. Next, prepare the penguins and cut or punch them out. Attach a mini stampin’ dimensional to the center of a penny. Remove the paper backing and then place a second dimensional directly on top of it. Place this piece behind one of the grooves, so that the dimensionals fit through the groove. Remove the paper backing from the top dimensional and place a second penny on top. Now you can attach the penguin to the penny.
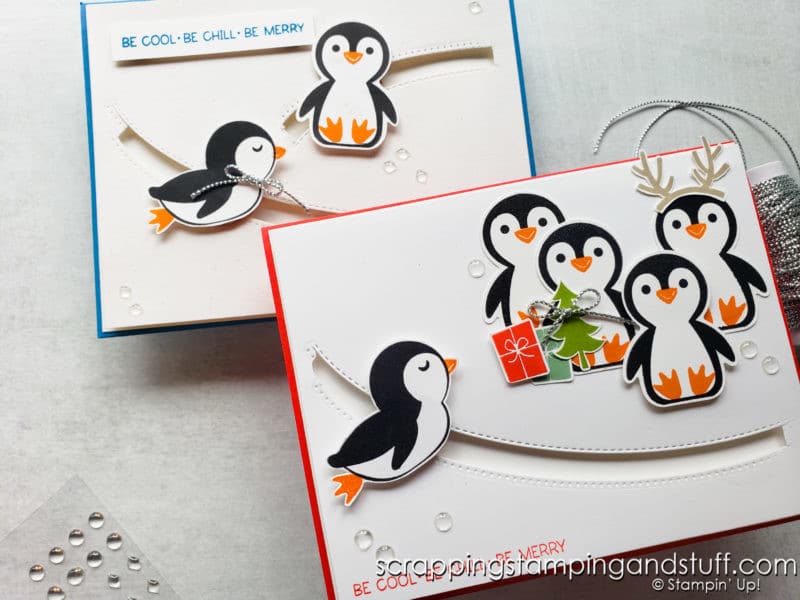
Tilt the card back and forth and be amazed! Add another penguin in the second groove if you created one. Next, place plenty of foam strips across the back of the cardstock piece, making sure to keep them out of the way of the sliding penny. Remove paper backing from the strips and attach this piece to the other piece of white cardstock. Finish the card as desired.
Your friends will love this!!
More Basic Borders Dies Ideas
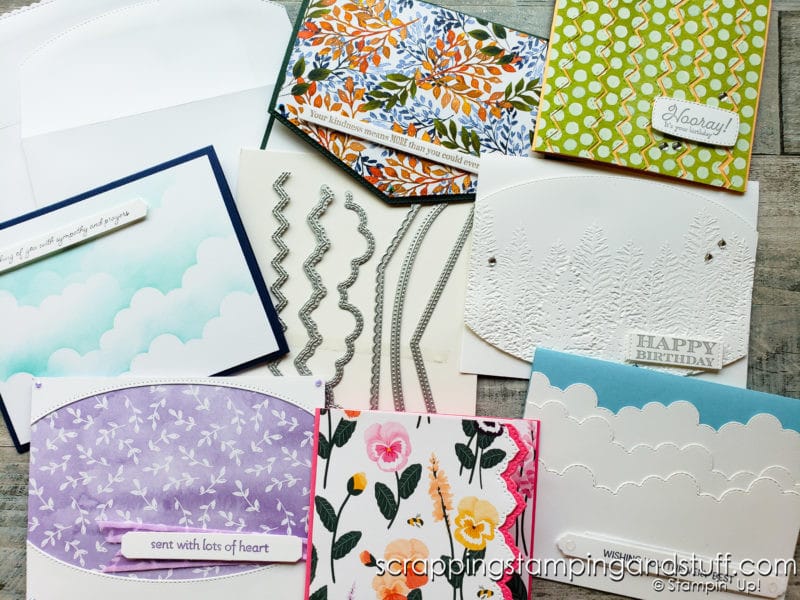
Since I used the Basic Borders dies on today’s card, I thought I would share a few other ideas for using this same product in other ways. Get six ideas for using borders dies here.
Thanks so much for visiting today!
Learn To Make Cards
Shop Supplies
Rewards Program
Join My Amazing Team
Here’s Another Project Idea You May Love:
I hope you’ve been inspired with today’s Stampin Up Penguin Place penny slider card!
[…] you see my recent tutorial on how to make these penguin penny slider cards? If not, you may want to take a […]