Welcome friends! Are you ready for some otterly amazing cards that I’m sharing today?! I had a ton of fun creating fun fold cards with the new Stampin Up Otterly Amazing suite. I wanted to share ideas with you for creating very simple fun fold cards that you can design yourself! Let’s take a look at them!
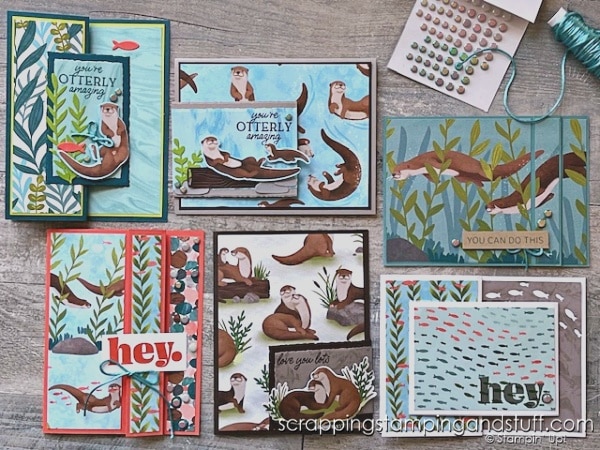
Design Your Own Fun Fold Cards Video Tutorial
Watch along here!
Stampin up otterly amazing
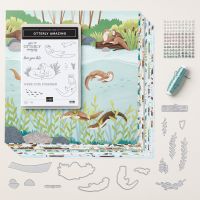
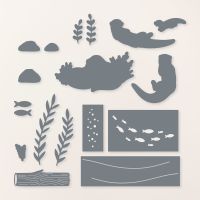
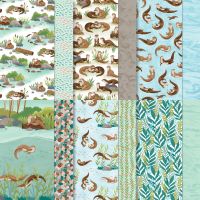
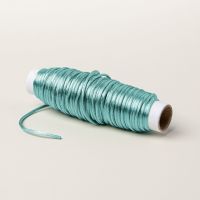
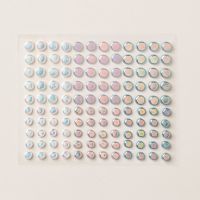
Here you can see the products that come as part of the Otterly Adorable Product Suite & The Otterly Amazing bundle. It includes an adorable designer paper pack, the stamp and die set, Riverside Pearls and Lost Lagoon cording.
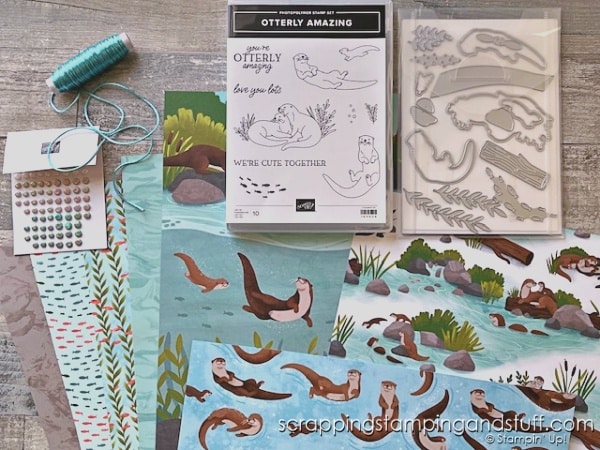
If you ever get frustrated with products that don’t coordinate, try starting with one of our product suites. It makes life easier and crafting more fun!
diy fun fold card ideas
I have six different cards to share, using three basic ideas for designing your own fun folds. Keep in mind, all of the cards use a standard card base measuring either 8 1/2″ x 5 1/2″ or 4 1/4″ x 11″. Let’s take a look at these ideas.
Fold back cards
To create one of these cards, simply create a score line on the front of your card near the edge, and fold it back to create a flap. You can attach the flap down with adhesive or leave it loose.
Card 1
For this card, I attached the flap to the card base with adhesive. Easy peasy, and it creates a fun effect different from a regular card base.
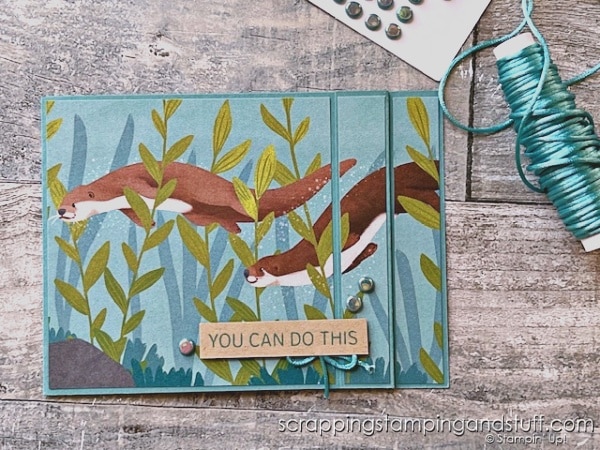
Card base: 4 1/4″ x 11″, scored at 5 1/2″ and 10 1/4″
Designer paper: 4 1/8″ x 5/8″, 4 1/8″ x 5/8″, 4 1/8″ x 3 7/8″
Inside mat: 4 1/8″ x 4 5/8″
Card 2
This card is similar to the first one, but I left the flap loose and attached a greeting tag to it.
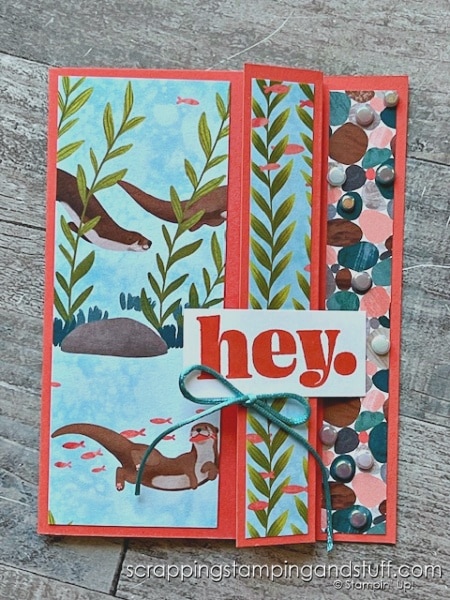
Card base: 5 1/2″ x 8 1/2″, scored at 4 1/4″ and 7 1/2″
Designer paper: 5 1/4″ x 3/4″, 5 1/4″ x 3/4″, 5 1/4″ x 2″
Inside mat: 5 1/4″ x 3″
Flap cards
To create a flap card, just add an extra panel, in any size, to your card base. You’ll need to score 1/2″ from the edge of the panel, fold this piece, and then attach adhesive to it to attach to the back of the card base. Then decorate it as desired!
Card 3
This card was easy to create with a rectangular flap that I prepared with the Deckled Rectangles die set.
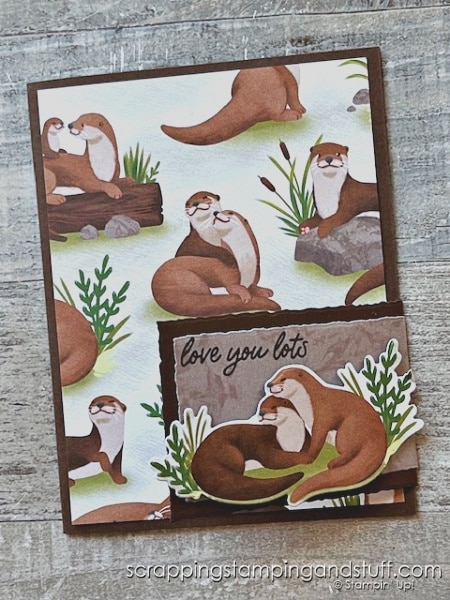
Card base: 5 1/2″ x 8 1/2″, scored at 4 1/4″
Designer paper and inside mat: 4″ x 5 1/4″
Flap: create 2 rectangles using the Deckled Rectangles die set, then score the larger one 1/2″ from the edge. Attach it to the back of the card base on the inside of the card. Trim the top rectangle to the appropriate size.
Card 4
I stepped up the flap on this card, and made it a double fold flap. To see how it opens, take a look at the video linked above.
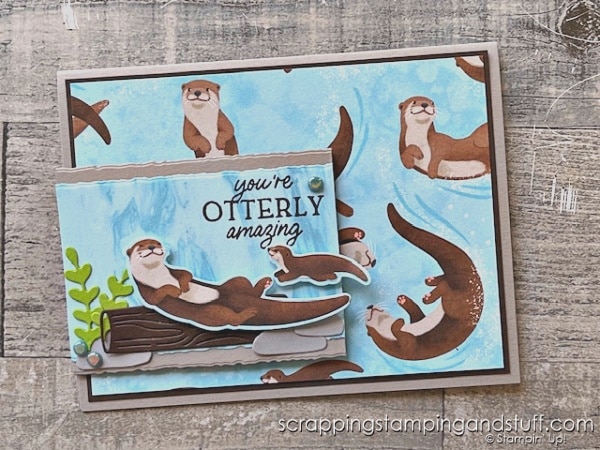
Card base: 4 1/4″ x 11″, scored at 5 1/2″
Designer paper: 3 7/8″ x 5 1/8″
Inside and outside mat: 4″ x 5 1/4″
Flap: Approximately 2 1/2″ x 7 1/4″, scored at 3 3/8″ and 6 3/4″, folded shut, then trimmed with a Deckled Rectangle die
half Back cards
To create this type of card, fold the front of the card back halfway, and then get creative with how to finish it!
Card 5
This is a simple and classic fun fold design! After folding the flap back, I just added a die cut piece over top of the card base.
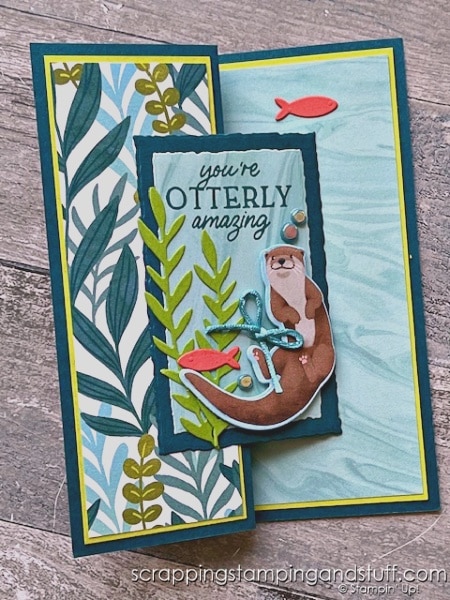
Card base: 5 1/2″ x 8 1/2″, scored at 2 1/8″ and 4 1/4″
Designer paper: (2) 5 1/8″ x 1 3/4″, 5 1/8″ x 3 7/8″
Mats: (2) 5 1/4″ x 1 7/8″, 5 1/4″ x 4″
Flap: die cuts from the Deckled Rectangle die set
Card 6
This card uses the same idea as the one shown above, but I made the flap with a double fold. Watch along with the video to see it!
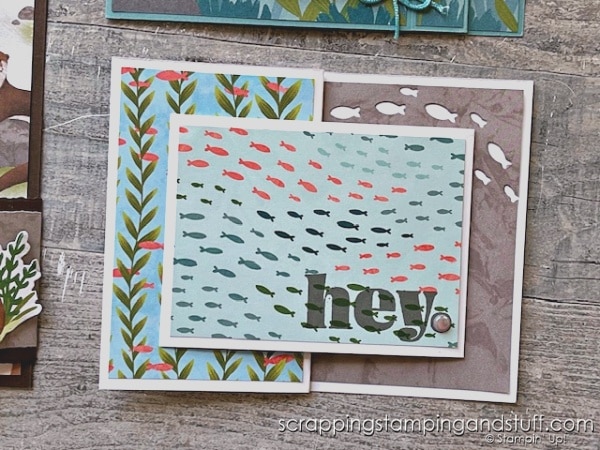
Card base: 4 1/4″ x 11″, scored at 2 3/4″ and 5 1/2″
Designer paper: (2) 4″ x 2 1/2″, 4″ x 5 1/4″, 2 3/4″ x 3 3/4″
Front flap: 3″ x 8″, scored at 4″
What else…
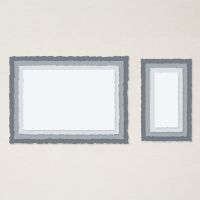
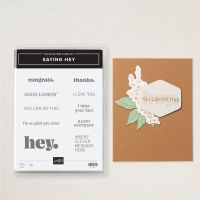
In addition to the Otterly Adorable products, I also used this cute stamp set and the Deckled Rectangles dies. This die set is one of my favorites!!
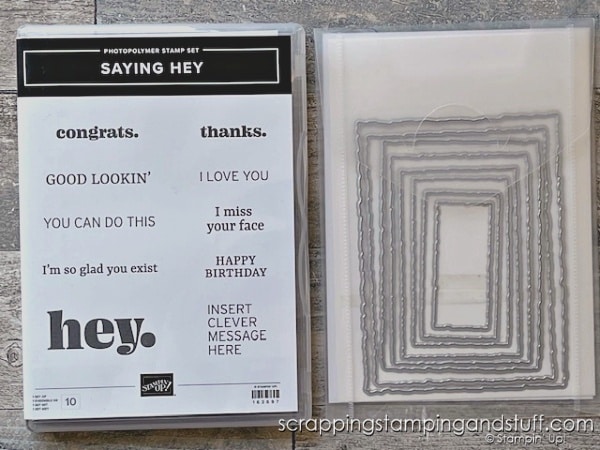
I hope you enjoyed seeing these cards! Take a look at the products I used below!
materials list
Product ListI hope you can use these ideas using the Stampin Up Otterly Adorable set and that you try designing your own fun fold cards soon!





Leave a Reply