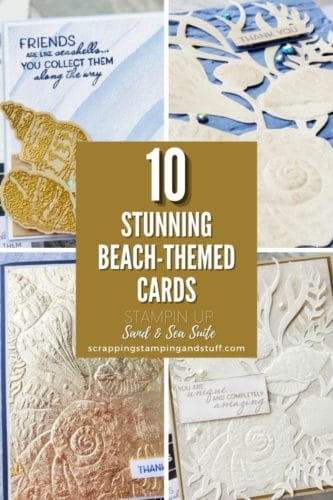
Have you had a chance to look at the new January-June Mini Catalog? If you have, I’m sure you’ve seen this gorgeous stamp and die set called Stampin Up Friends Are Like Seashells from the Sand & Sea Suite. I absolutely love this set. It has such a nice beachy, coastal feel. With temperatures in the negatives right now where I live, it’s nice to be reminded of warmer days to come. Today I’ll share with you 10 different ways to use the products in the Sand & Sea suite along with some neat techniques I used to achieve some beautiful card designs. Let’s take a look.
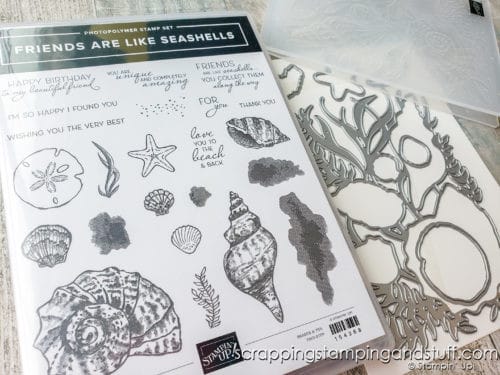
Stampin Up Friends Are Like Seashells Stamp Set & Suite
The Sand & Sea Suite is one of my favorite new collections. It comes with the Friends Are Like Seashells stamp set, pictured below, which is a two-step set. It includes several seashells and the two-step means that it also has coordinating stamps to add color after the outline has been stamped. This set also includes lovely greetings such as, “You are unique and completely amazing” and, “Love you to the beach and back.” Like I said earlier, this stamp set is part of the Sand & Sea Suite, so there are other components that coordinate with the stamps such as the Seaside Seashells Dies and Seashells 3D Embossing Folder. The ways you can combine these products are truly one-of-a-kind, and I can’t wait to share them. Keep reading and I’ll show you 10 different ways to create projects using the various parts of the suite.
Stampin Up’s Friends Are Like Seashells Video
If you would like to see today’s projects and hear me explain how I created them, watch along below or keep reading for more info.
Using the Sand & Sea Products Together
I made the cards using the Friends Are Like Seashells Stamp Set, Seaside Seashells Dies and Seashells 3D Embossing Folder. Here’s a quick rundown of how they coordinate and my method for using these products together.
First, create a die cut template by taking a 5 1/2″ x 8 1/2″ piece of cardstock and cut it using the Seaside Seashells Die. When it comes out of your Stampin Cut And Emboss Machine, do not remove the die cut from the surrounding cardstock. Tape the two pieces together and your template is ready.
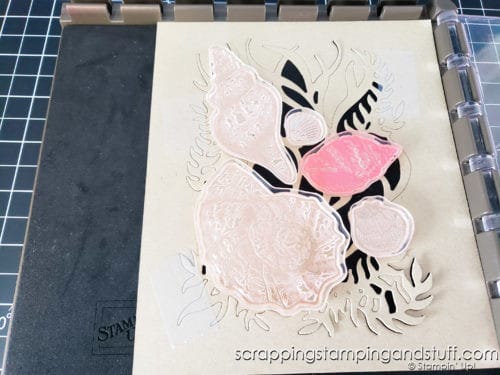
Next, lay the template on your Stamparatus and line up the Friends Are Like Seashells stamps on top, just like I did in the picture above. After that, rotate the plate over to adhere it to the stamps. Now your stamps are in place and will perfectly line up with the dies.
To use this template, first stamp onto 5 1/2″ x 8 1/2″ cardstock, then you can die cut second and the die will be perfectly lined up with your stamped images.
For some of the cards I created, I used a combination of the die cut with the Seashells embossing folder. To do this, simply cut out the die (either stamped or not stamped), and line up the die cut appropriately with the embossing folder. Run this through the Cut & Emboss machine, and you’ll have a gorgeous shell die cut with amazing life-like texture!
Now let’s get to the fun part…sample projects!
Stampin Up Friends Are Like Seashells Card Samples
Here are ten samples I’ve created using this gorgeous set. Take a look, and make sure to take a look at my video at the bottom for more details!
Die Cut & Emboss
- First, I created this lovely card with the Seaside Seashells dies and Seashells 3D embossing folder, then used a blending brush over the top with Early Espresso Ink.
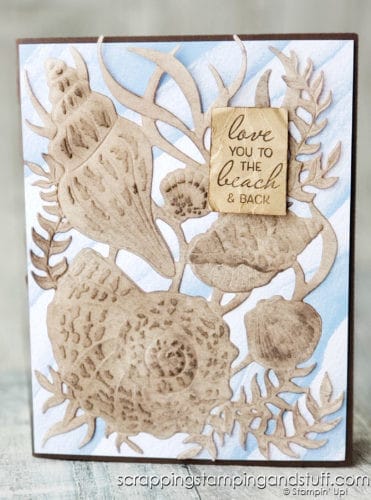
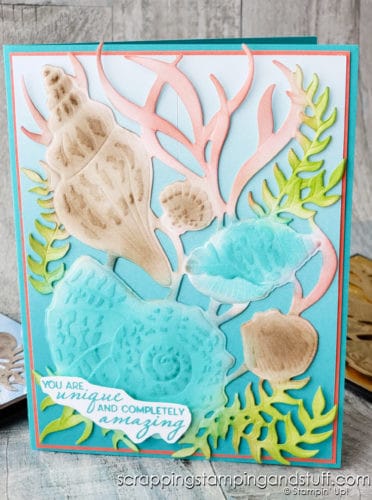
2. What a beautifully colorful card this one is. To start, I used the Seaside Seashells Dies and Seashells 3D Embossing Folder, then I used Blending Brushes to add several colors.
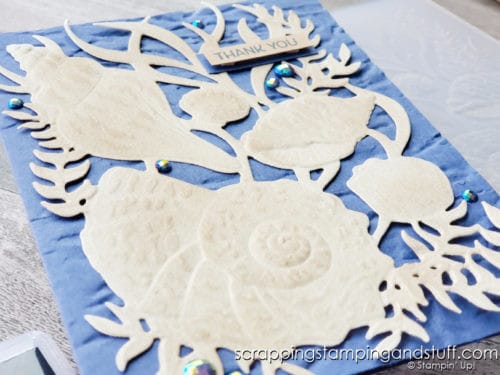
3. For this card, I first embossed the card background with my Old World Paper Embossing 3D Embossing Folder. After embossing the background, I used the Seaside Seashells Dies and Seashells 3D Embossing Folder with Velveteen paper to create the top layer. I did also add a hint of color with a blending brush.
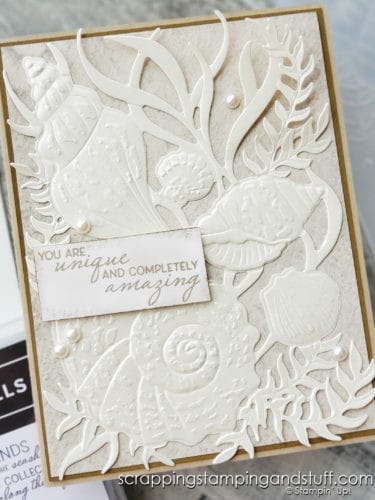
4. How stunning is this simple card? I created it with Pearlescent paper, the Seaside Seashells Dies and the Seashells 3D Embossing Folder.
Die Cut, Emboss & Stamp
5. This rich card is just amazing. It was first stamped with the Friends Are Like Seashells stamps and then die cut and embossed. I mounted it on beautiful Brass Foil Paper which was embossed with the Painted Texture Embossing Folder. To finish, I added Shimmer Paint for extra depth and contrast.

Cut Apart
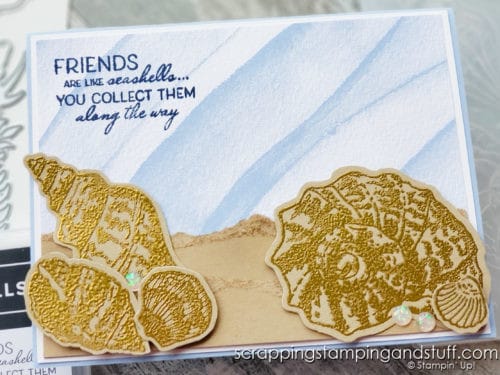
6. Take a look at this card. I first embossed the shells using the stamps, Versamark ink, and a heat tool. After die cutting this with the Seaside Seashells Dies, I cut the shells apart by hand.
Emboss Only
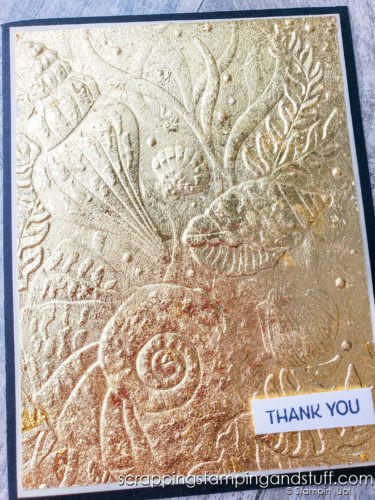
7. I created this stunning card with a Gilded Leafing technique and the Seashells 3D Embossing folder. I first embossed the cardstock then added the gilded leafing. To see how I applied the gilded leafing, click here.
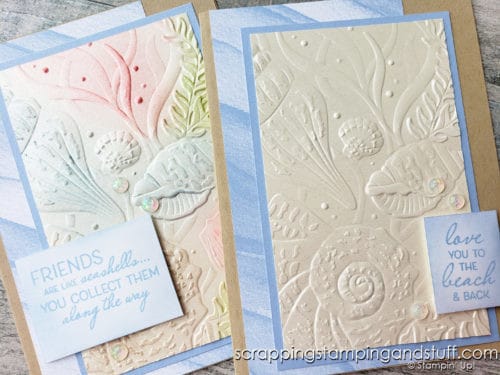
8. & 9. I created these cards with the Seashells 3D Embossing Folder and Pearlescent paper. First, I embossed the mats. I left the one on the right as-is, while I colored the one on the left with Blending Brushes.
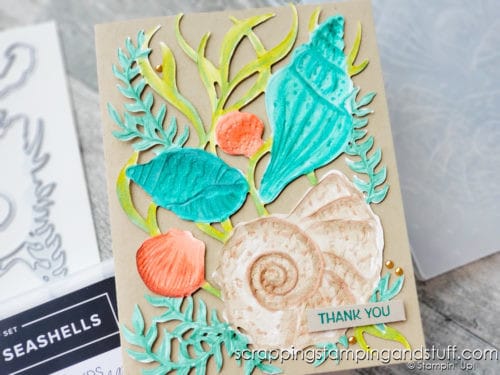
10. Check out the vibrant color on this card! I used the Seaside Seashells Dies and Seashells 3D Embossing Folder, then afterwards I flipped the image over and used my Blends Markers to add color.
Show Off Your Stampin Up Friends Are Like Seashells Work
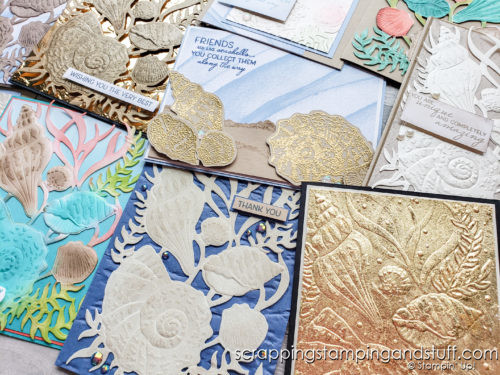
Aren’t these cards lovely and give you a nice warm feeling inside? I just love this coastal-themed suite by Stampin Up, and I know I’ll continue to create other beautiful cards with it in the future. Have you tried this set yet? Will it be on your next order? Let me know what you think!
Don’t Miss Out!
Please make me your Stampin’ Up! demonstrator! In doing so, you can earn rewards points towards free stamps PLUS a gift when you order. Use host code: Z23U72JU PLUS, with your first order, you’ll receive free catalogs in your thank you package!
You Might Also Like:
Stampin Up Blending Brushes & All You Need To Know To Use Them!


[…] some added products because we have so many products that coordinate with these waves. We have the Seashells embossing folder, Friends Are Like Seashells bundle, Let’s Set Sail bundle and Seascape […]