Hello and welcome! Do you love to use tags on your projects? If so, do you love to be able to create them quickly with punches? I have a really amazing punch to share with you that will be released in our upcoming 2021-2022 Annual Catalog (which I’m really excited about by the way)! The punch I want to share with you today is the Stampin Up Elegant Tag Punch. Oftentimes with a punch, you only have one or a few ways to use it to create different shapes, but with Stampin Up’s Elegant Tag Punch, there are endless shapes and sizes. I can’t wait to share all the different ways I’ve discovered to use this punch, so keep reading and I’ll do just that! At the end, I’ll also share a bonus idea of how to use your leftover punched paper scraps. Let’s take a look!
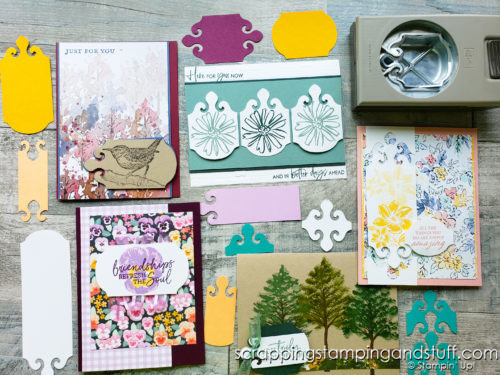
Stampin Up’s Elegant Tag Punch
Like I mentioned, Stampin Up’s Elegant Tag Punch is found in our soon-to-be-released 2021-2022 Annual Catalog. When I ordered this product during product pre-order, I knew it was capable of making a few different sizes of punches, but I had no idea exactly how many until I started using it. It’s many uses remind me of the Many Messages bundle and how you can make tons of tags in just minutes with this set. The same goes for this Elegant Tag Punch. You can make a ton of beautiful tags in just minutes. Below, I’ve listed out several different ways to use this tag.
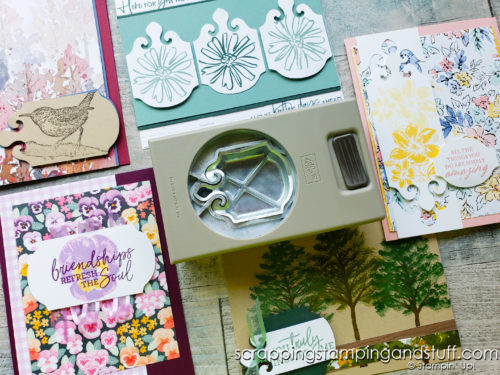
Check out my video at the bottom for a demonstration on how to create each of these shapes!
Basic Tag Punch
Below is a card made with three of the tags from the Elegant Tag Punch when I used it without any special techniques. It has a nice, unique shape, and is perfect for making cards with a more elegant shape and design.
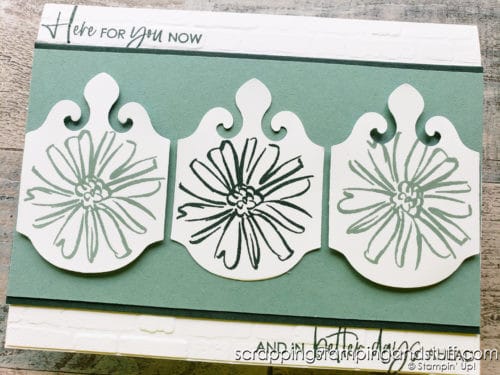
Do you like the stamps used on the card above? All the products used on today’s cards are previews of new products from our upcoming Annual Catalog!
Long Tag Punch
The pictures below show cards created with the same basic shape as the tag above, but they are longer. To get this look, cut strips of paper a little less than 1 3/4″ wide. Check out this video to see how to achieve any length of tag you desire.
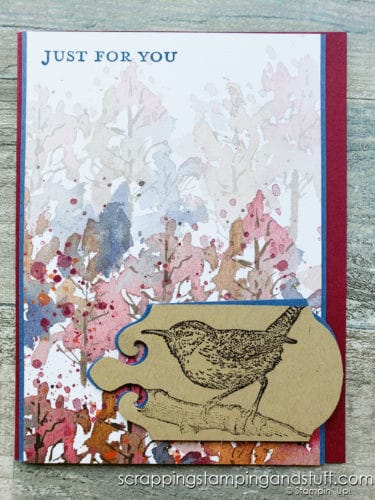
Narrow Tag Punch
The white tag on the card below used a paper strip that was about 1″ wide. I inserted it into the punch, centered it, and punched as usual.
Curved Ends Tag
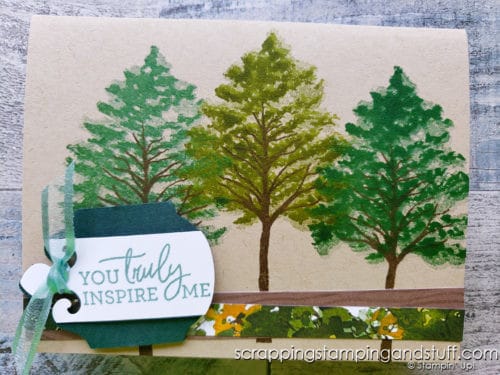
Next I discovered how to make a tag with two curved ends. For this look, use your 1 3/4″ paper strip and use the curved end of the punch on both ends. Again, see the video for details.
Detailed Ends Tag
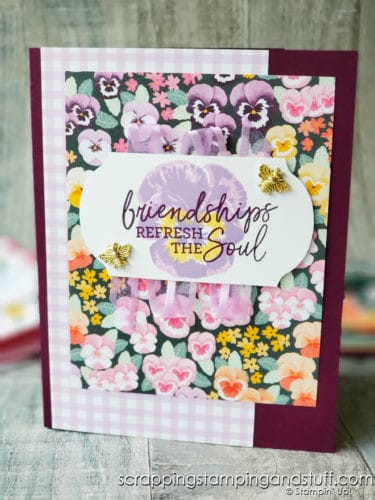
Another way to use the Elegant Tag Punch is to use the detailed end of the punch for both ends of the tag.
How to Use Paper Scraps from Elegant Tag Punch
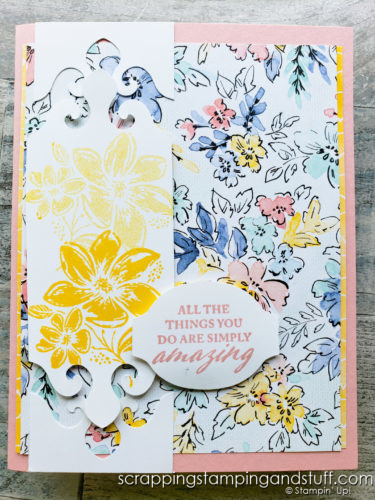
Take another look at the card above. As promised, here’s an example of how to use the leftover paper pieces after punching your tags. I just used them as details at the ends of the tag itself. I think it turned out great and accents the tag very nicely.

There are even more ways to use this punch. To see them in action, check out the video below.
Stampin Up Elegant Tag Punch Video
Follow along with all the fun ways for how to use the Elegant Tag Punch here!
Thanks so much for visiting! Order your Elegant Tag Punch anytime after May 4 using the link below!
Don’t Miss Out!
Please make me your Stampin’ Up! demonstrator! Earn rewards points towards free stamps PLUS a gift when you order. Use host code: J799T23Y PLUS, with your first order, you’ll receive free catalogs in your thank you package!

Order Stampin Up’s Elegant Punch:
You Might Also Like:
Thanks for joining me today. I hope you’ve enjoyed seeing so many ways to use Stampin Up’s Elegant Tag Punch!


[…] also includes the Elegant Tag Punch. This punch might look familiar because I recently shared, “Stampin Up Elegant Tag Punch Creates Hundreds of Different Tags” to show how you can created tons of different shapes and sizes of tags with it. Also included in […]