I have a fun tip to share with you today that will open up the possibilities for using your stamps in infinite ways. It involves stamping on your stamps before you stamp on your project. This probably doesn’t make sense, but it will soon!
Stamp On Your Stamps Video
Watch along here and this will make so much more sense!
How To Stamp On Your Stamps
I’ll attempt to explain this here. There are several ways to do this technique, but the basic idea is to ink one stamp, place it against a second stamp to pick up the pattern, then stamp on your project. Let’s look at some samples which should help make this more clear.
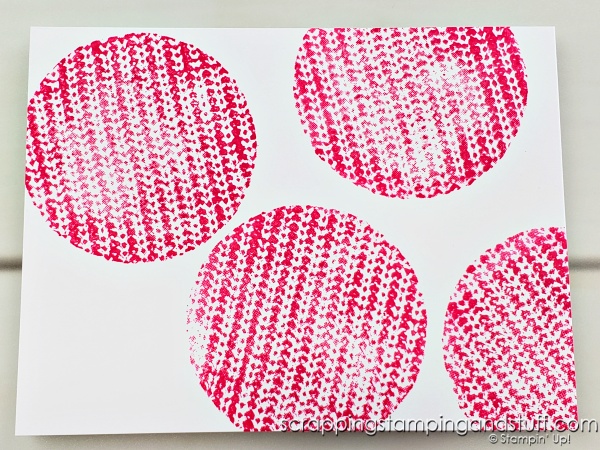
Here I inked the large Knit Together stamp with ink. I placed the circle stamp against it, then stamped on my project.
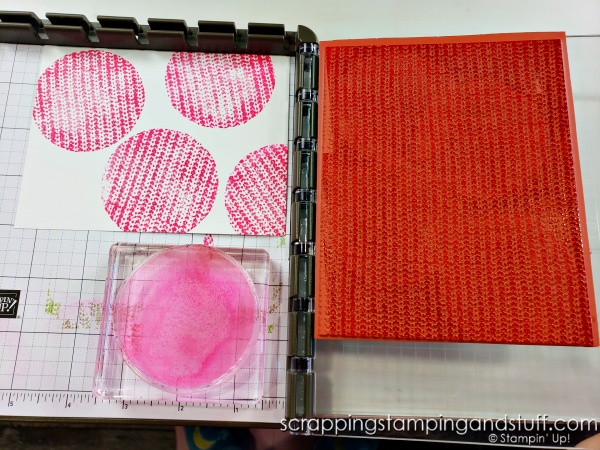
Isn’t this neat?! The circle now has the pattern from the Knit Together stamp. It’s still a circle…but with a fun pattern.
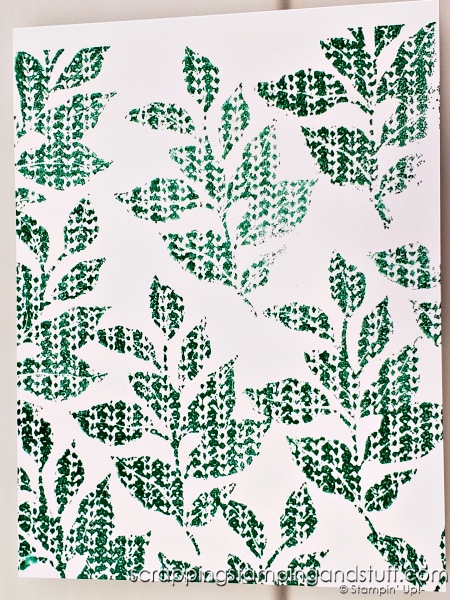
For the next one I inked the leaf stamp then stamped onto the Knit Together background. I did this repeatedly until the background stamp was covered with leaves, then I stamped on my project.
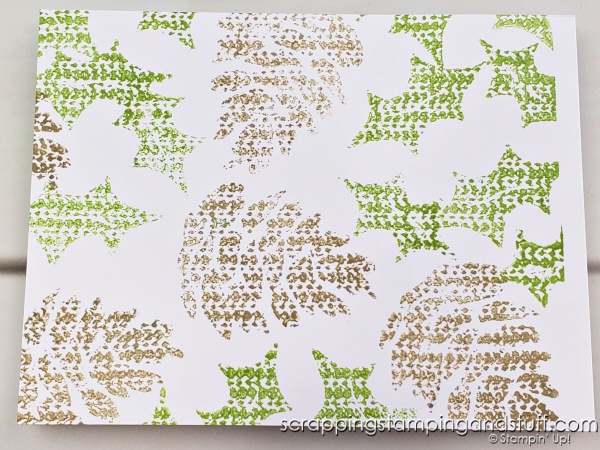
I did this one in a similar way except I used the holly and pinecone from the Christmas Season stamp set.
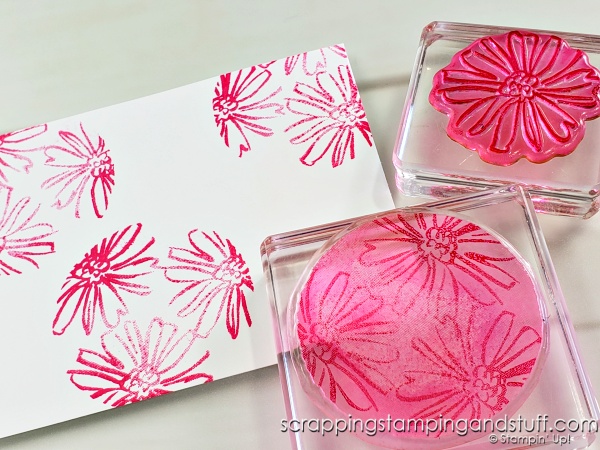
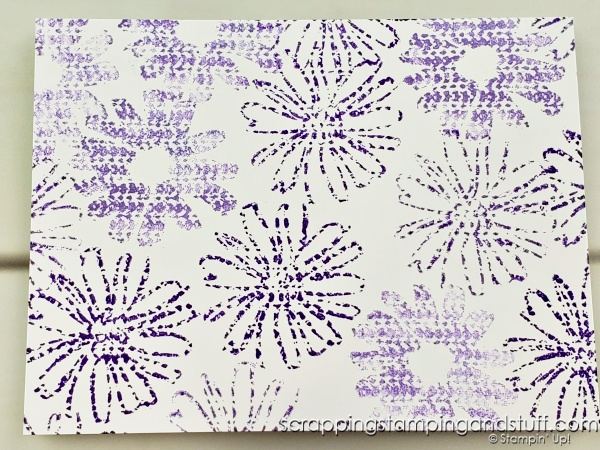
Same idea for this one but I used the flower stamps from the Color & Contour set.
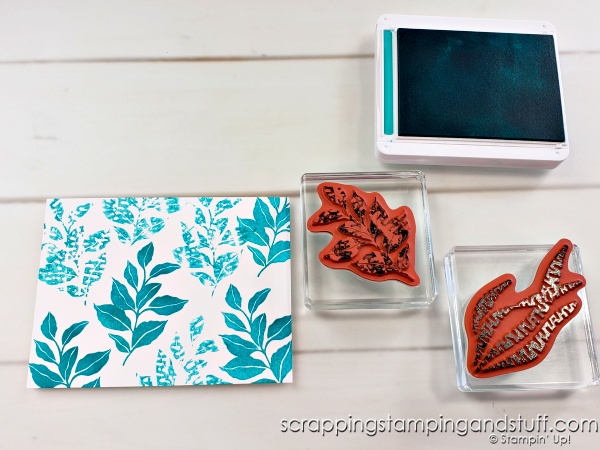
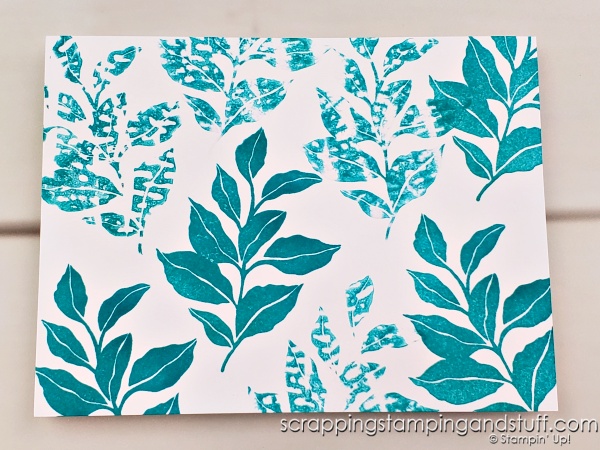
For this next sample, I inked the textured leaf stamp from the Botanical Layers stamp set, then stamped against the solid leaf stamp. I stamped onto the cardstock several times like this, and stamped several times by inking the solid stamp the regular way to show the contrast of stamping the normal way compared to using this technique.
For the next few, I used the Watercolor Shapes stamp set that I used on the first example above. You can see these past projects by clicking the link.
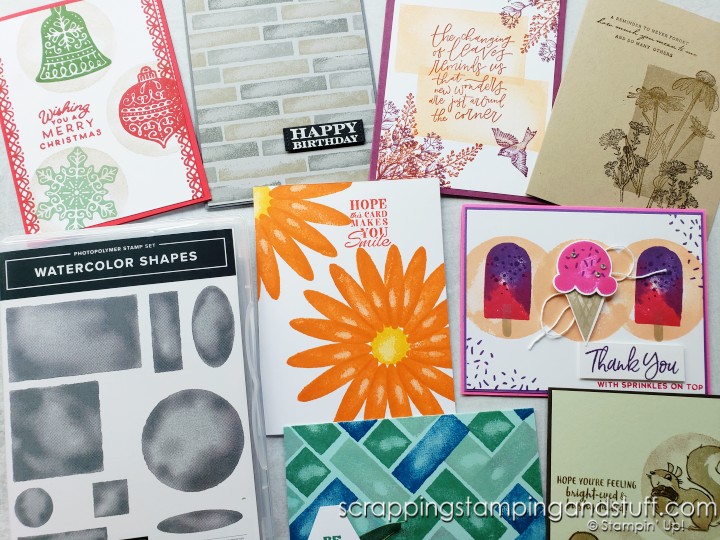
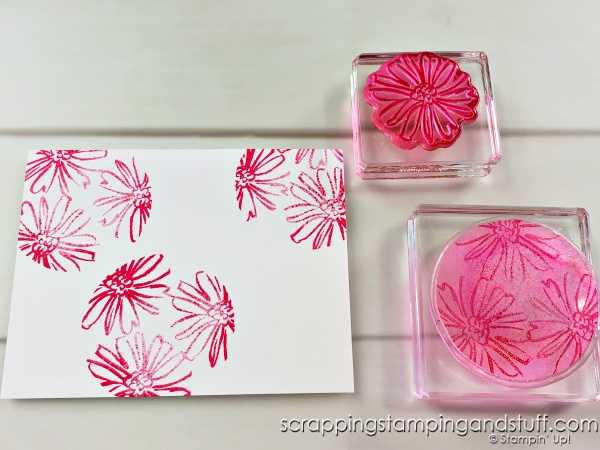
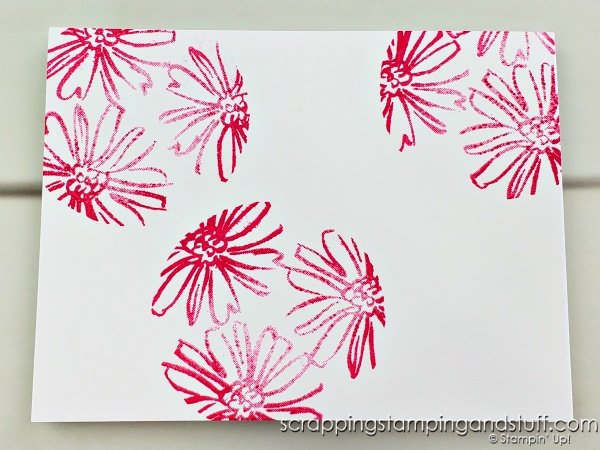
Watercolor Shapes is a wonderful set to use with this technique. For the sample below, I stamped flowers onto the circle stamp, then stamped onto my project.
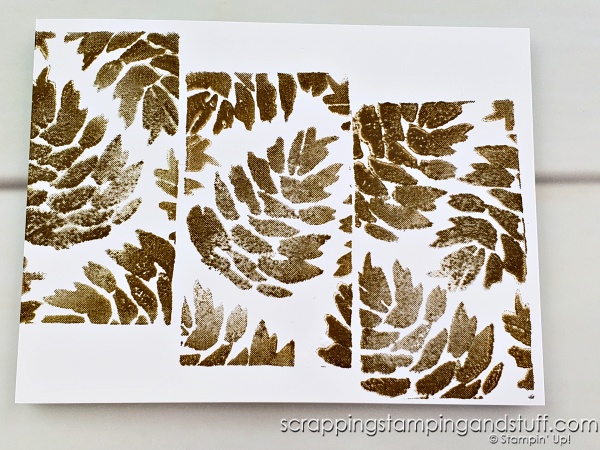
For this one, I stamped pinecones onto the rectangle stamp, then stamped on my project.
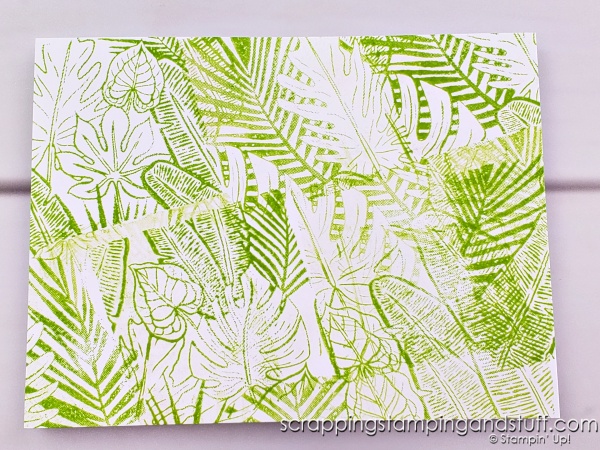
For this one, I inked the Tropical Hideaway background stamp, then put the square stamp against it to pick up ink. Then I stamped on my project and repeated the process several times.
I think this is a really fun way to get unique results. Try it out today!
Supply List
Here are links to the stamps I used above!
Product List Learn To Make Cards
Shop Supplies
Rewards Program
Join My Amazing Team


Leave a Reply