Welcome, and thanks for visiting today! I’m so excited about today’s tutorial. I’ve been playing around with alcohol markers all week, and today’s spritzed alcohol marker technique is my favorite. I honestly don’t browse the internet a lot for card making ideas, but that being said, I’ve never seen this technique done before. I wasn’t sure if it would work, but I love how it turned out!
Spritzed Alcohol Marker Backgrounds Video
Watch along here to see exactly how I created these backgrounds.
Supplies
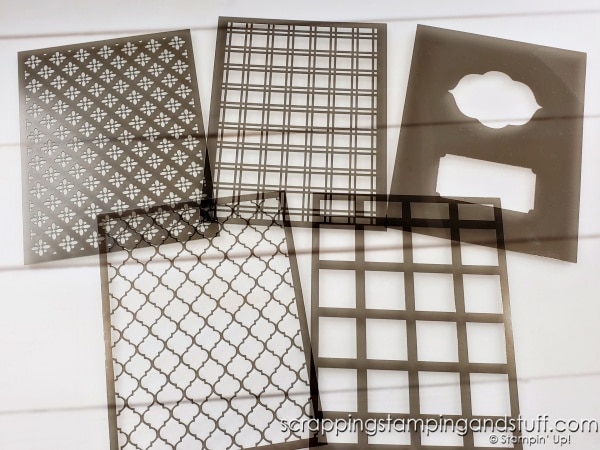
To do this technique, you’ll need the following: white cardstock, one or more colors of Blends markers, a spritzer filled with rubbing alcohol, and a mask or stencil. The set of masks I’m using for my cards today is called Artistic Mix, and you can see it below.
Creating The Basic Background
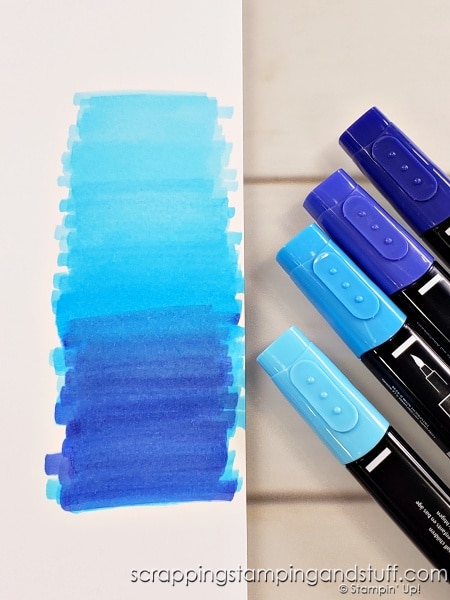
Your first step is to create a scribbled background using the basic technique I shared earlier this week. Get details on how to create this alcohol marker background here. After your background is created, move on to the next step.
Spritzed Alcohol Marker Technique
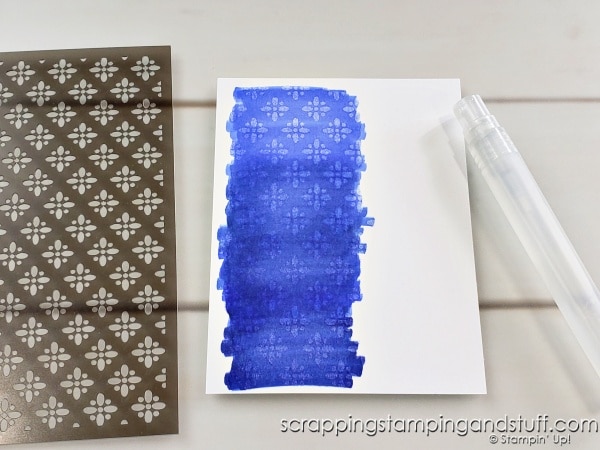
Next, lay a mask over top of the background and either hold it in place or tape it down. Fill a spritzer with rubbing alcohol and spritz over the mask several times, making sure to cover the entire area. Carefully remove the mask, making sure not to smudge the wet areas. Watch the magic as the alcohol dries and the pattern from the mask appears on the background.
Spritzed Background Card Samples
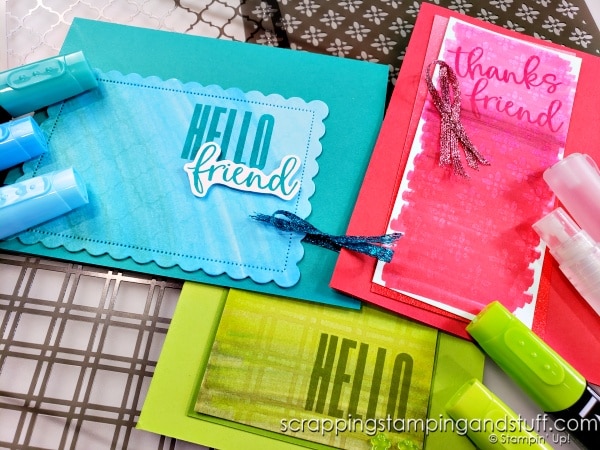
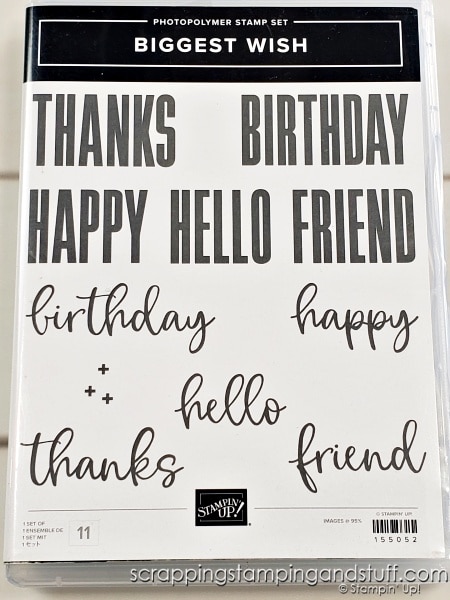
Below are a few samples I created, all using the Artistic Mix set of masks. I finished each of these cards with the Biggest Wish stamp set…a favorite of mine.
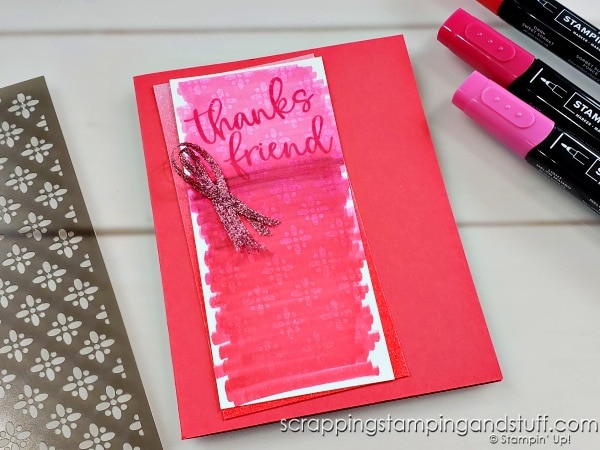
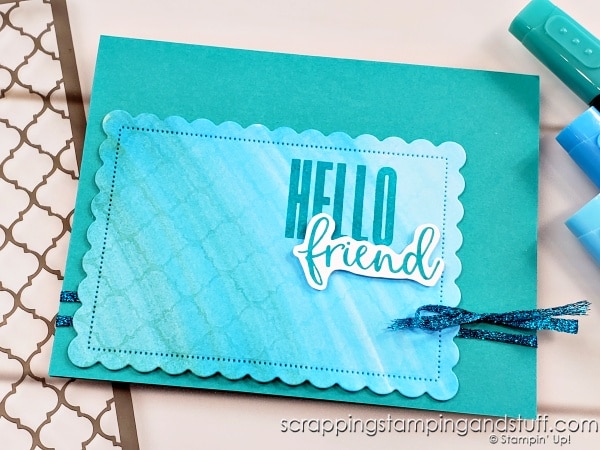
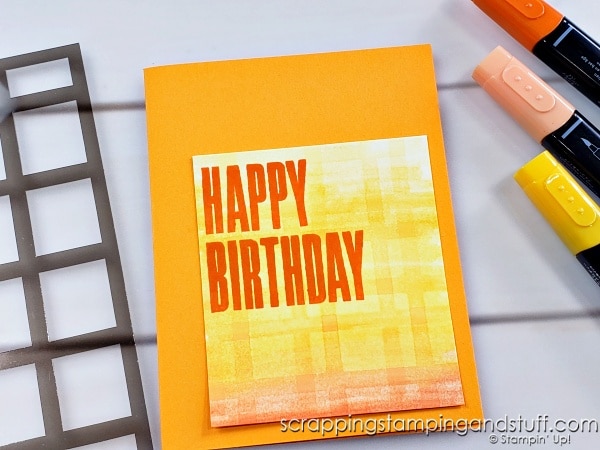
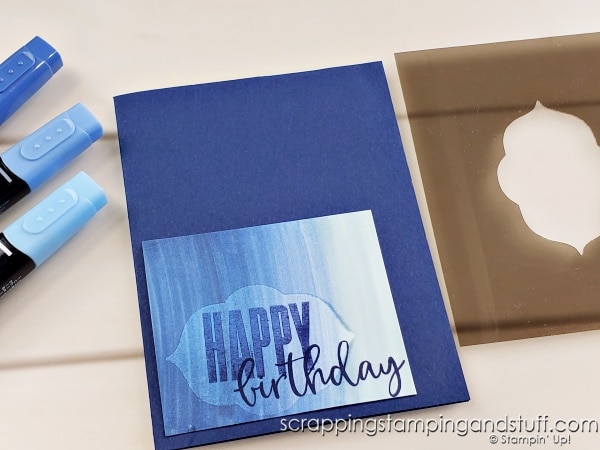
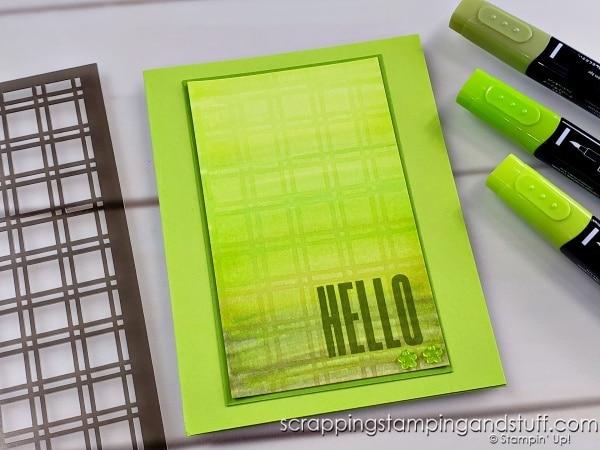
These were so much fun to create. I want to make more right now!
Supply List
Here are the supplies I used on these projects, along with links if you would like to take a look or add them to your collection.
Product List Learn To Make Cards
Shop Supplies
Rewards Program
Join My Amazing Team
Try this spritzed alcohol marker technique and let me know how it goes!


Leave a Reply