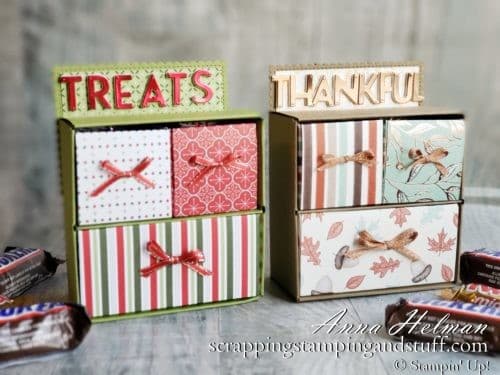
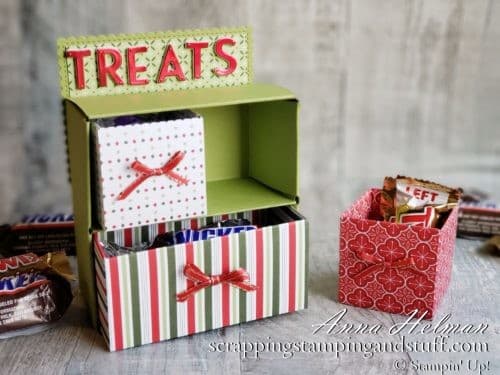
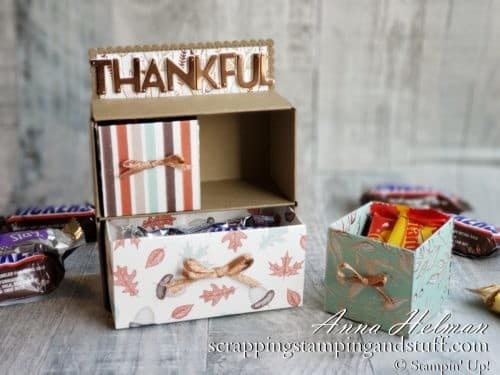
Today’s project is so much fun, I don’t want to waste any time getting into it. Join me for this paper treat chest tutorial. You’re going to want to make these as soon as you have a few spare moments!

Chest Of Drawers Tutorial
I found the tutorial for this paper treat chest, which was originally called Santa drawers, here. The ingenuity of this treat box design is fantastic, and I really wanted to recreate it. I thought they would be perfect for Halloween coming up, but when I realized my Halloween designer paper stash was a bit low, I decided to create one for fall and Christmas.

Fill The With The Goods
I filled my chest with assorted fun size candy bars. You could include other kinds of treats, K cups, hot chocolate packets, tea bags, crayons, other art supplies, office supplies, or toys.

Materials
The paper supplies needed to create this paper treat chest include:
- 12″ x 12″ cardstock
- 8″ x 8″ cardstock
- (2) 9-3/8″ x 9-3/8″ designer paper
- 11-3/8″ x 9-3/8″ designer paper
- Additional papers and ribbons for decorations.

Instructions
The best way to learn to make this paper treat chest is to watch along below as I create one myself.
Thanks for visiting for this fine treat box tutorial. I hope you will stop back again soon!
Don’t Miss Out!
Please make me your Stampin’ Up! demonstrator! Earn rewards points towards free stamps PLUS a gift when you order using October host code: FZR7RJZY. PLUS, with your first order, you’ll receive free catalogs in your thank you package!

Sign Up For My Upcoming Virtual Card Classes!
Order the products I used and make this project yourself!
You May Also Like:
Stitched Nested Label Die Desk Organizer And Mini Calendar Tutorial


[…] on October 11, 2020 by Anna Helman Earlier in the week I shared a treat box that I thought would be perfect for Halloween. The downfall of this project was that it does take a bit of time to create. If you are looking for […]