Hi all! Are you ready for a winter festival?? It may be the beginning of November, but winter is approaching (I whispered that so maybe it didn’t hear me!). We have many reasons to begin making winter projects, including that Christmas will be here in a few short weeks! Hop along with us today and check out the many awesome projects we have to share! I’ll even be sharing the tissue paper stamping technique with you!
Take a look at what I have to share today – a Merry Moose card and framed art piece.
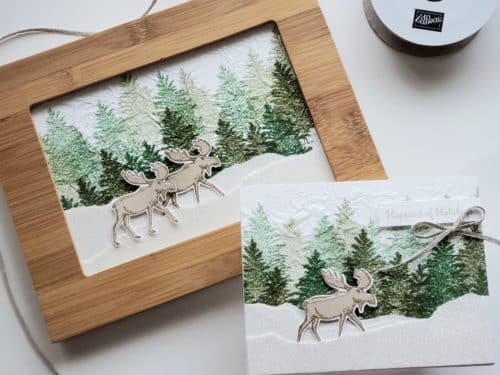
When I heard the topic of today’s blog hop, I knew I had to use this adorable moose set. I decided to use a couple of techniques for some special effects. Keep reading because I’ll show you exactly how to make them!
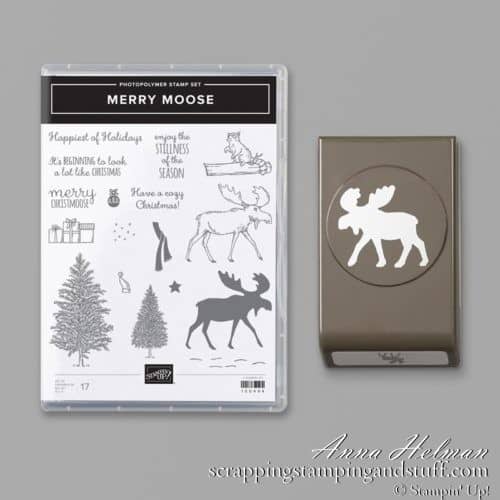
First, I want to show you the Merry Moose stamp set and coordinating Moose Punch. So cute! One of my favorite parts of this set, besides the moose of course, is the stamp that says ‘Merry Christmoose!’
If you would like to try the tissue paper stamping technique, or if you would like to make this project, I’ll show you!
Tissue Paper Stamping Technique
First you need pieces of tissue paper that are at least 1″ larger than your project. For the card front, this means your tissue should measure at least 5 1/4″ x 6 1/2″. For my 5″ x 7″ frame, I started with tissue that was about 6″ x 8″. Once your tissue is cut, you will stamp directly onto the tissue paper. For these trees, I stamped some with full strength ink, and I used stamping off for the faded trees. I used both Garden Green and Mossy Meadow inks for some color variation.
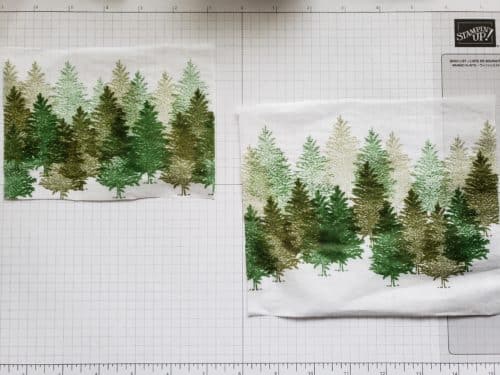
Next you will want to gather the rest of your supplies. I used 4 1/4″ x 5 1/2″ and 5″ x 7″ pieces of whisper white cardstock. I also used Sparkle Glimmer Paper to make some ‘snow drifts’ I did this by trimming the glimmer paper to the proper width (5 1/2″ and 7″) and then I tore it by hand. You’ll want to lay it on top of your project to make sure you like the looks of it. I had to alter my drifts a little bit to make them look how I wanted them to.
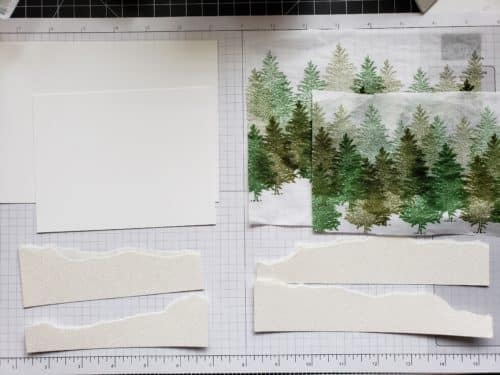
Now it’s time to attach the tissue to your white cardstock. As painful as it may be, you’ll need to wad them up. After they are nicely crinkled, then flatten them back out but make sure to leave some crinkles. Don’t smoothe them completely.
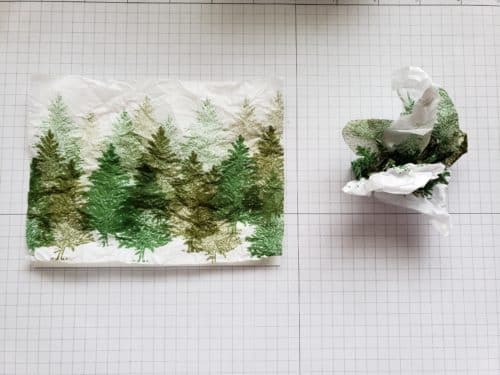
Now you’ll need to cover one of the pieces of white cardstock completely with glue stick. Once it’s covered with glue, and before the glue begins to dry, lay the tissue paper loosely over the top.
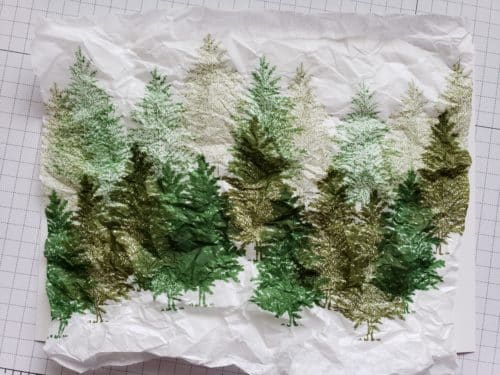
Then press directly down onto the tissue paper to adhere it to the cardstock. You do not want to smoothe it. Just press down so that you get the wrinkled effect. Press firmly all across the paper to make sure it is fully adhered.
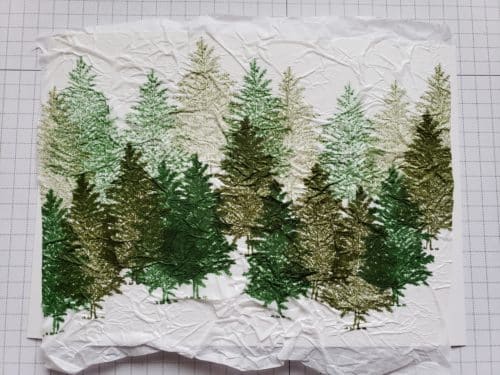
I did that with both pieces of tissue paper, then I trimmed off the excess tissue around the edges. I also attached the snow drifts using Multipurpose Glue.
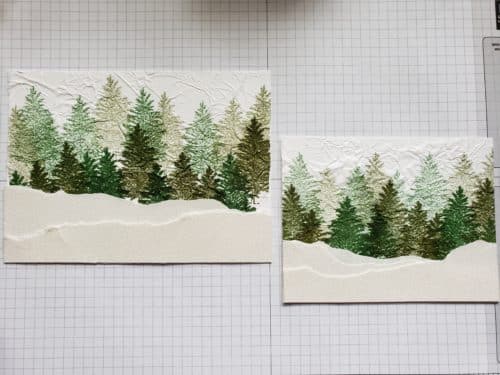
I wanted the trees to have the look of snow buildup on them, so I used Fine-Tip Glue pen to make horizontal lines on some of the branches, then I sprinkled Dazzling Diamonds Glitter over the top. If you look closely, you can see the glittery branches.
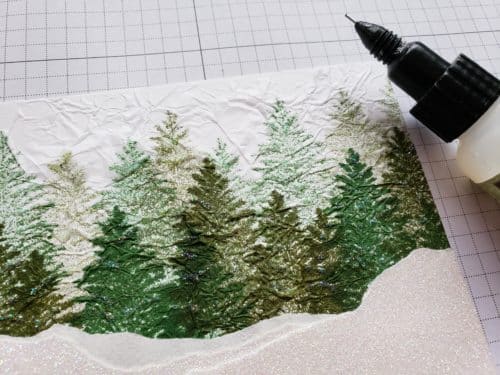
Now it’s time to prepare some moose…meese…mooses?? I know, I know. The plural of moose is moose. Meese sounds more fun though!
I stamped these guys onto white cardstock using crumb cake ink, then I used the outline stamp with Soft Suede ink. I punched them out with the Moose Punch. Oh how I love this set! If only I knew how to make a moose sound to celebrate!
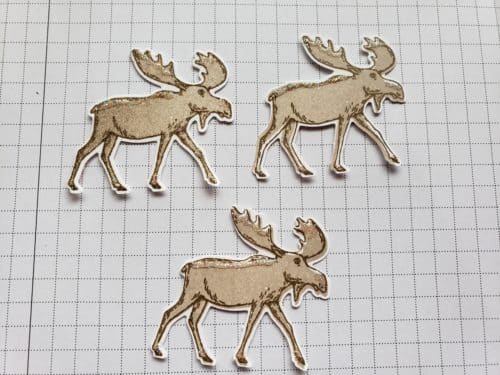
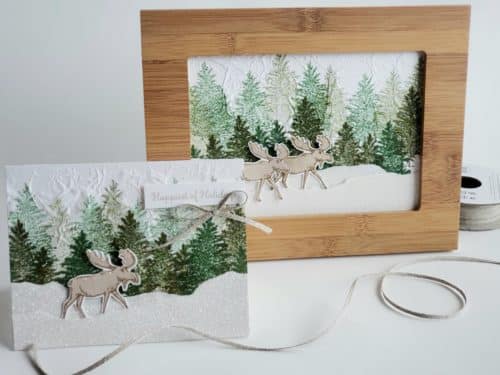
I attached the moose using dimensionals, and then finished everything up. I attached the card front to a card base, and added a greeting and bow, which you can see in the next photo below.
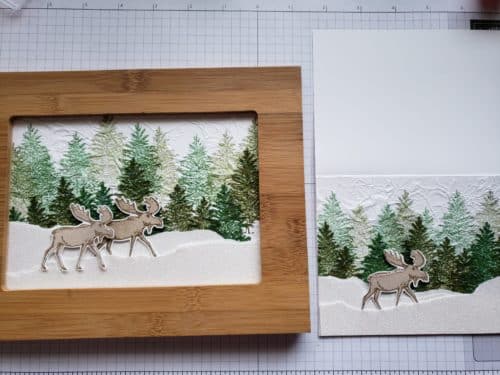
What a nice gift this would make for someone! I purposely did not include a Christmasy greeting on the frame so that it can be used throughout winter.
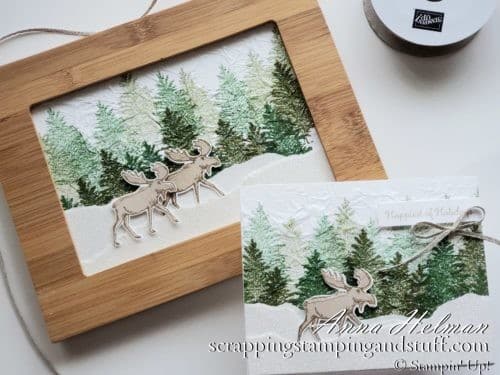
Thanks for visiting to see my moose projects and the tissue paper stamping technique! Use the links below to see the other amazing wintery projects, and if you’re looking for a SU demonstrator, you can order using the links at the bottom!
Please make me your Stampin’ Up! demonstrator and order from me using the product links at the bottom! Earn the free gifts shown below when you order using the current hostess code. PLUS, with your first order, you’ll receive free catalogs in your thank you package!
- Sample all of the papers, ribbons, and embellishments that Stampin Up has to offer with Product Shares.
- Check out my current Project in the Mail, Tags Tags Tags (shown below)!

Order the products I used and make this project yourself!


Leave a Reply