Hi everyone! Welcome to the October One Stamp at a Time Blog Hop. Our theme this month is Oh My, Pumpkins and Pie!
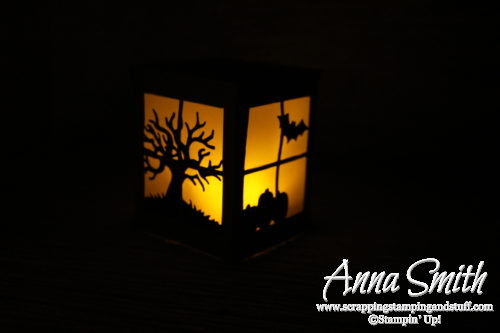
For some reason, not much was striking me for the ‘Pumpkins and Pie’ theme. I love fall. I love pumpkins. I just couldn’t come up with a great ‘pumpkiny’ idea. However, I had made up the paper lantern in the picture below, and I decided that it should count. It does have 3 little pumpkins on one side, therefore it is totally pumpkin-themed. Next I just needed to make a matching card. I’ll admit, the card is slightly less pumpkin-themed.
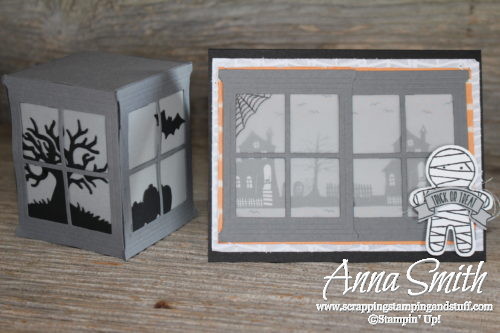
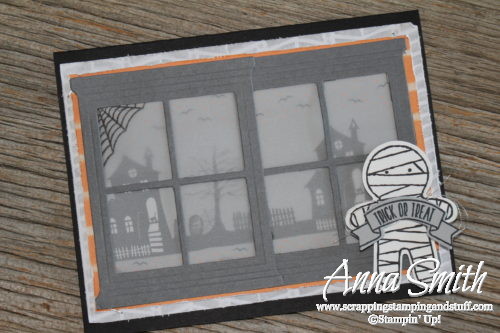
Let’s look at the card first. I used vellum behind the window frames to fade out the haunted house scene in the background, which is just a piece of paper from the Halloween Night designer paper pack.
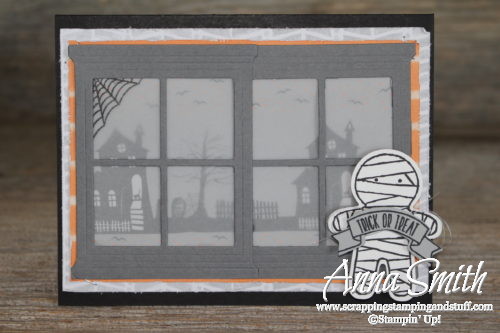
I’ve been wearing out my Cookie Cutter Builder Punch, and this card wouldn’t have been complete without a cookie cutter creature attached. I had a hard time choosing between the skeleton, vampire, and mummy, but clearly, I went with the mummy.
Now, on to the lantern. I’ve seen these made up for Christmas, but I thought it would be really fun to make a Halloween one. This was the project my stamp clubs made last month.
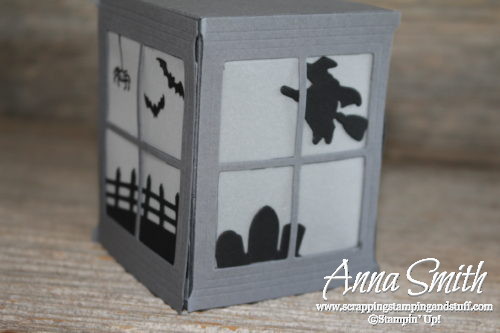
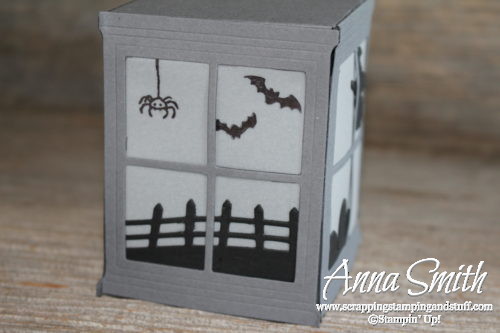
I used the Halloween Scenes edgelits dies for most of the silhouettes. The bats and spider shown below were stamped using the Spooky Fun stamp set, which comes together in a bundle with the edgelits dies for 10% off.
Now for the best part…
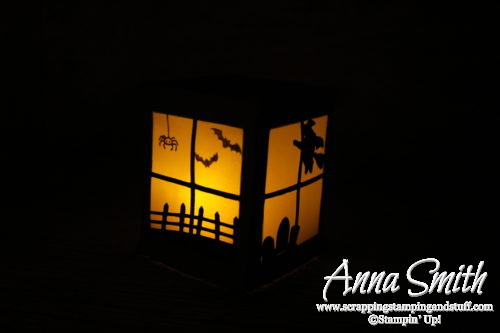
I used a battery operated tealight candle for the spooky glow. Would it be considered ‘stating the obvious’ to say that you probably shouldn’t light a candle to put inside it?
I think a few of these on a porch would be perfect for Trick-or-Treat night!
Continue reading below for instructions on how to make the lantern, and make sure to continue on to Melissa’s website to follow along with the hop!
To make the lantern, you need:
- 4 – Basic Gray Hearth and Home window die cuts
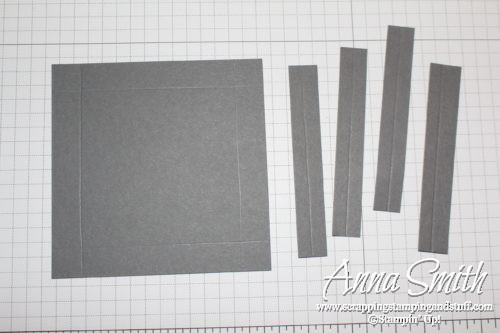
- 1 – Basic Gray piece that measures 3 3/4″ x 3 3/4″
- 4 – Basic Gray pieces that measure 1/2″ x 3 3/8″
- 4 – Vellum pieces that measure 2 1/2″ x 3 1/4″

Begin by scoring the 3 3/4″ square 1/2″ from each side. Then, score the 1/2″ strips down the centers.
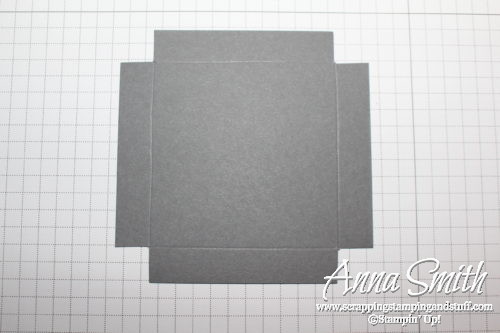
Trim the corners out of the square.
**Next, create your window scenes. Stamp on the vellum or attach die cuts as I did. Then place them behind the window frames before moving on to the next step.**
Attach window frames to the flaps on the square as shown below.
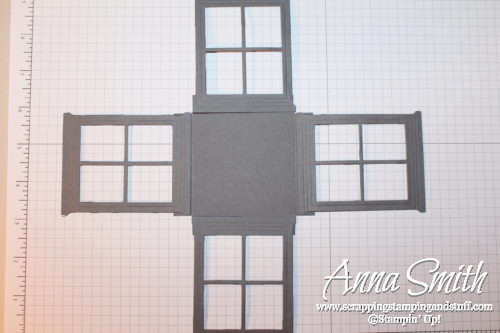
Next, fold two adjacent windows down, and attach them together at the corner using one of the 1/2″ strips. I would suggest using Tear & Tape adhesive on the 1/2″ strips. I used Fast Fuse, and as strong as it is, I wish I would have used something a tad stronger like Tear & Tape. Repeat until all four corners are secured.
If you make up any of these, I would love to see them!
Please shop with me and combine these offers to get great deals!
- Use hostess code DP4EZK6D during the month of October and I will send you a free gift!
- Keep track of your Stampin’ Rewards and earn free stamps from me!
- Any purchase of $150 or more will earn you hostess credit through Stampin’ Up!
- Join online stamp club and get free projects. Join now through October 15 and get bonus gifts!
- During October, I’ll donate 10% of your purchase to the American Cancer Society!
Product List


Fabulous ideas using the window die cut! Thanks for the inspiration!
I followed your easy instructions to make this tonight! It is so cute. Thank you so much for sharing.
Wow Anna, how cute is that little lantern all lit up??? LOVE it!! Thanks for showing us how to make it! Your card is super adorable too!
Anna, your card is very sweet, and love your use of the vellum! BUT that lantern blew me away! AWESOME!!!!!
the lantern was great can’t wait to make one!
Thank you!