Welcome to this month’s OSAT Blog Hop! We have amazing new products in the 2020-2021 Stampin’ Up! Annual Catalog to play with, and I can’t wait to see all of the fun creations. I’ll be sharing a unique wedding gift card holder made with one of my favorite new bundles!
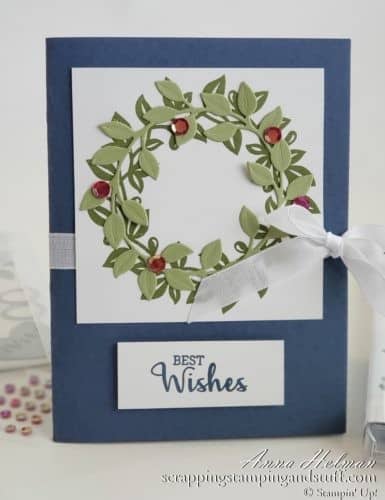
Does time ever get away from you? I’ll be honest, it happened when I was preparing for today’s blog hop. Just yesterday I realized that this event was happening today, so I looked around to see if I had any projects already made up that would be fitting. Luckily, I had this very pretty card prepared for my upcoming Stamp Camp and thought it would be perfect to share today.
On the outside, it doesn’t appear much different from a regular card…
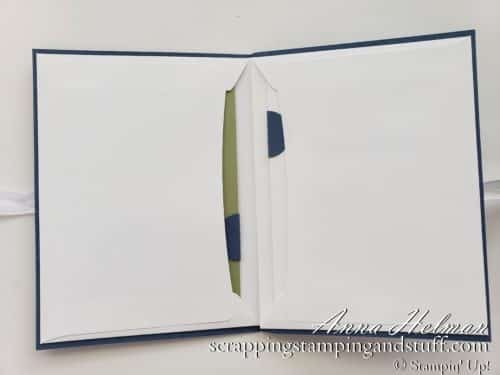
…but on the inside, it has an envelope pocket on each side. When the card inserts are removed, you can see that the one on the left has a pocket for a gift card, check or cash. On the right side, you can stamp a sentiment and leave a nice note with your signature.
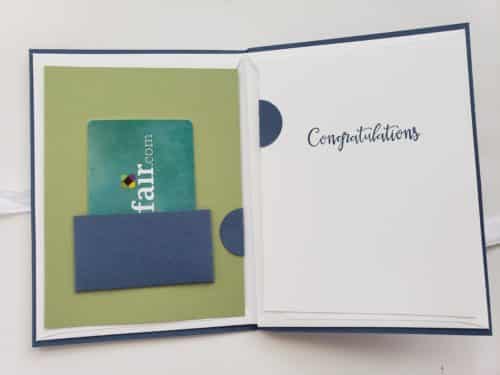
I just love this idea for a special occasion card. It’s perfect for a wedding gift, but it would also be great for graduation, birthday, Christmas, or anytime you plan to give money or a gift card as a gift.
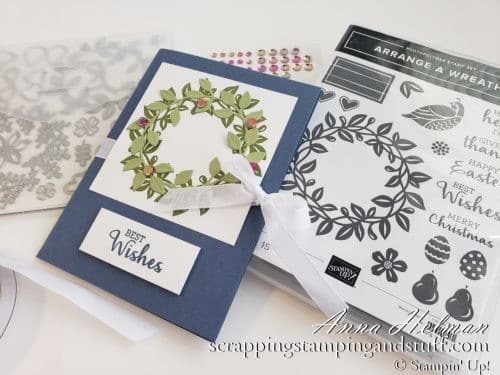
Below you can the Arrange a Wreath Stamp Set and Wreath Builder dies that I used to create this card. I LOVE this set and cannot wait to play around with it more! What beautiful wreaths we will be able to create with this bundle!
Speaking of bundles, have you heard about Stampin Up’s Pick a Free Bundle offer this month? Anyone signing up with SU will receive the regular starter kit offer, including $125 in product of your choice, free shippings, catalogs, and more goodies for just $99. In addition this month only, you can choose ANY BUNDLE OF YOUR CHOICE absolutely free!! What an amazing offer! Please contact your demonstrator for more information, or use the links at the bottom to learn more.
Instructions For Wedding Gift Card Holder
You will need:
- 2 white envelopes
- 6” x 9” Misty Moonlight scored in the center at 4 1/2″ (card base)
- 22” Flowers For Every Season ribbon
- 3 ¾” x 3 ¾” Whisper White (front)
- 3 ¾” x 3 ¾” Pear pizzazz (for wreath)
- 1” x 2 ½” Whisper White (front)
- 2” x 3 ¾” Misty Moonlight scored ½” from both short edges and 1 long edge (pocket)
- 4” x 5 ¼” Pear Pizzazz (insert)
- 4” x 5 1/4” whisper white (insert)
- 2 Misty Moonlight 1” circle punches (inserts)
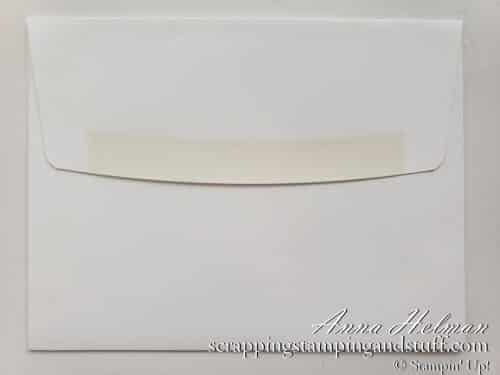
Begin with the two envelopes. Lay one envelope with the front side facing you and the flap open. Place adhesive onto the flap, then fold it down to attach to the envelope.
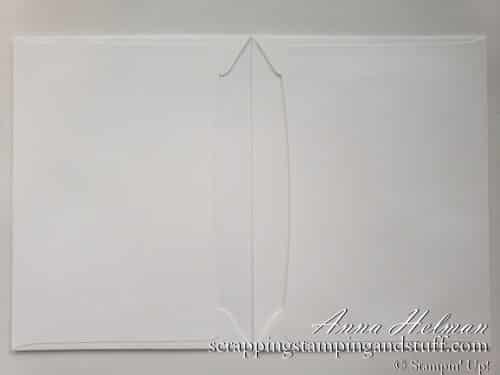
Lay the second envelope with the back side facing you and the flap open on the right side. Place adhesive onto the flap, then lay the envelope from step one onto the flap, aligning the edge at the flap crease. The openings for both pockets should line up in the center.
Next you will adhere the double envelope pocket inside of the 6″ x 9″ Misty Moonlight cardstock, which has been creased in the center.
The next step is to attach a 22″ ribbon around the outside for your bow. At this point, you can stamp and decorate as desired.

I will be sharing a tutorial video in the near future on how to make this wedding gift card holder. Make sure you are a subscriber to my YouTube channel (and that you receive notifications) so that you don’t miss it!

Thanks for visiting! Make sure to visit the rest of the creators’ blogs to see their fun projects!
Please make me your Stampin’ Up! demonstrator! Order from me using the product links at the bottom! Earn rewards points towards free stamps PLUS a gift when you order using June host code: YYUMNHJJ. PLUS, with your first order, you’ll receive free catalogs in your thank you package!
Pick A Free Bundle In June Only

Sign Up For My Upcoming Virtual Card Classes!
Order the products I used and make this project yourself!
You May Also Like:


What a great idea! Love it!
Thanks Candy! I got this idea from Debbie 😉
Fantastic idea Miss Anna! LOVE it!