Welcome! I’m so glad you’re here for today’s OSAT Blog Hop. This month’s theme is Manly May, and that means we are featuring cards and projects for men! It’s always hard to come up with appropriate ideas for men, so get ready and make sure you visit all the blogs because it’s going to be awesome. Today I have a paper toolbox tutorial to share, and I’m really excited about it, so let’s get started.
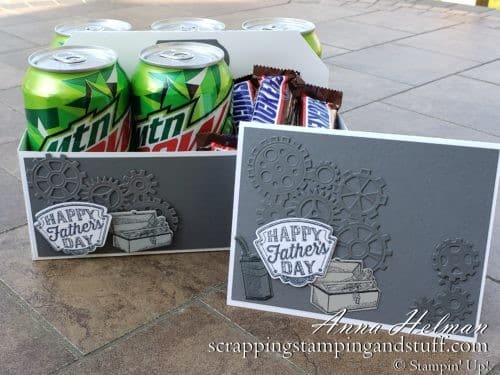
Here you can see the Father’s Day card and paper toolbox drink carrier that I made.
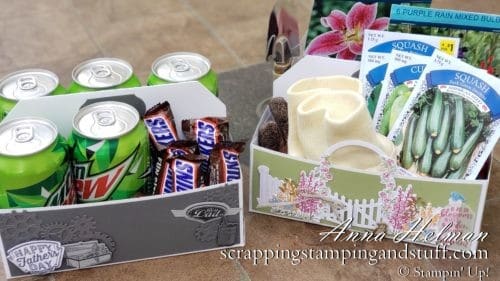
I love how the toolbox drink carrier turned out! I began with the idea of making a toolbox to fill with treats, but at some point I decided it would be really cute if it could hold drinks as well. I revamped the measurements, and it turned into the project you see here! As you can see, I also made a more feminine version that would be perfect for Mother’s Day, birthdays, or other occasions as well.
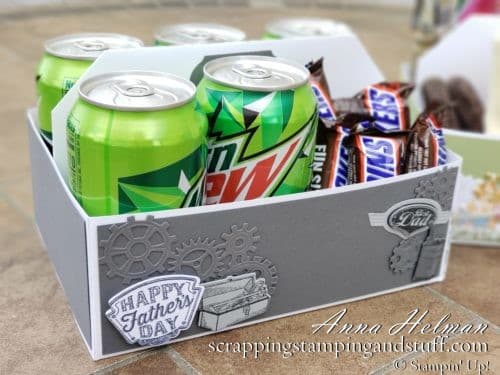
I just love this idea for a men’s gift! Men are so hard to buy for, but they like their pop, beer, and treats, so this is just perfect. I decorated the box with the Geared Up Garage stamp set and Garage Gears dies. This was a quick and easy set to use for some cute (masculine cute) decorations.
I decorated the feminine toolbox using the Stampin’ Up! Grace’s Garden stamp set and Garden Gateway dies. It could be filled with treats, tea, a notebook and cute office supplies, or anything really, but I loved the idea of filling it with gardening supplies.
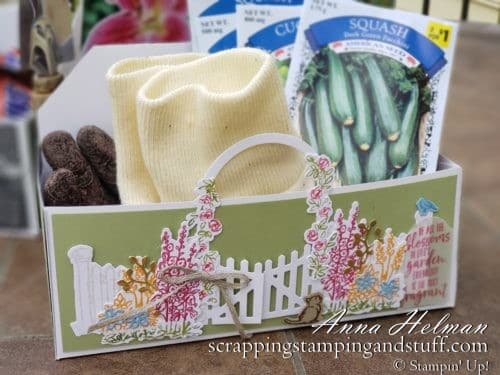
Here is the paper toolbox tutorial video that I put together to show you how to make these. I have also included measurements and photo instructions below.
Paper Toolbox Tutorial
You’ll need two pieces of cardstock or cardboard measuring 10″ x 12″ and two pieces measuring 3″ x 6″. I used the cardboard pieces that comes in our designer paper packs to make my drink carriers.
Lay one of the 10″ x 12″ pieces vertically on a scoring board, and score at 1″ and 9″.
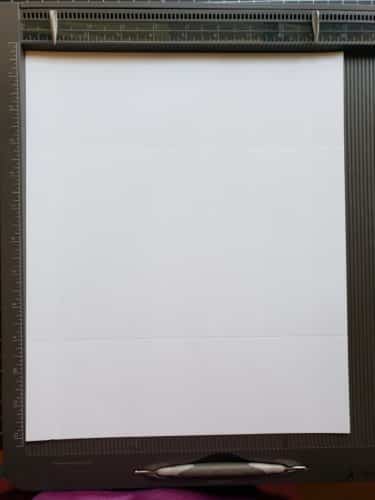
Turn the paper horizontal, and score at 3″ and 9″.
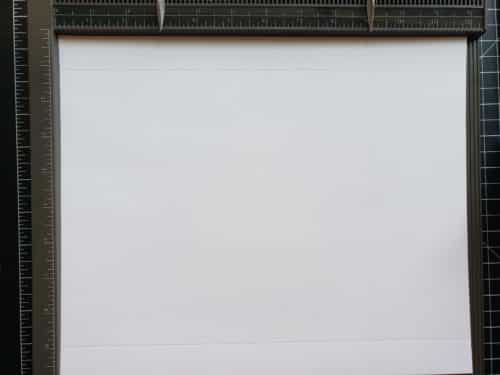
Fold on the score lines, and trim as shown.
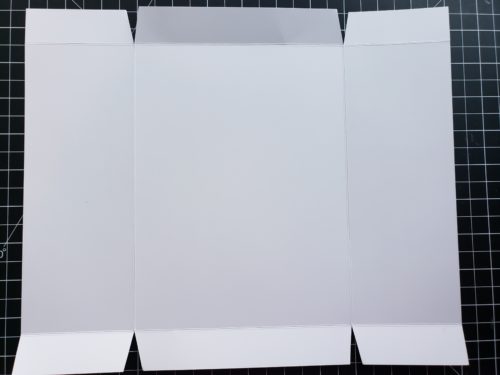
With the other piece of 10″ x 12″ cardstock, score at 1″ and 9″.

Turn horizontal and score at 1″, 6″, and 11″. You’ll also need to make partial scores at 3 1/2″ and 8 1/2″ as shown in the video.
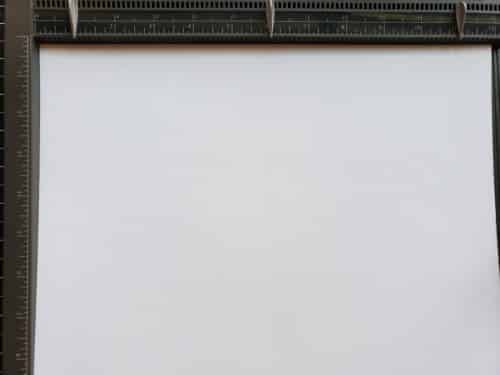
Fold on score lines and prepare as shown.
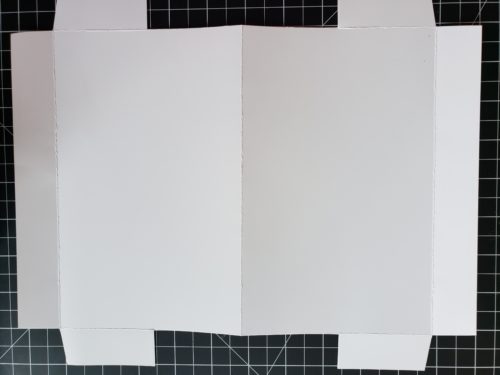
At this point, you’ll need to attach Tear and Tape adhesive or other strong adhesive to the flaps, and fold up as shown in the video. Then decorate, fill, and give away to brighten someone’s day!

I hope you enjoyed today’s paper toolbox tutorial! Make sure to continue on the blog hop to see some other fun creations 🙂
Please make me your Stampin’ Up! demonstrator! Order from me using the product links at the bottom! Earn rewards points towards free stamps PLUS a gift when you order using May host code: GX4HDEZ7. PLUS, with your first order, you’ll receive free catalogs in your thank you package!
Sign Up For My Upcoming Virtual Card Classes!
Order the supplies I used and make this project yourself!


These toolboxes are fantastic Anna!
Thanks Ashley!
Anna, what a wonderful idea! I love these boxes. Super cute!
Thank you Melinda!
Thank you!