Hi friends, and welcome. It’s exciting to be using a lot of brand new products from our new catalog which was released last week, and today I’ll be sharing several new stamp sets. I decided to play around with some marker techniques, so I’m sharing different ways to use our Stampin Write markers on your card projects. Let’s take a look!
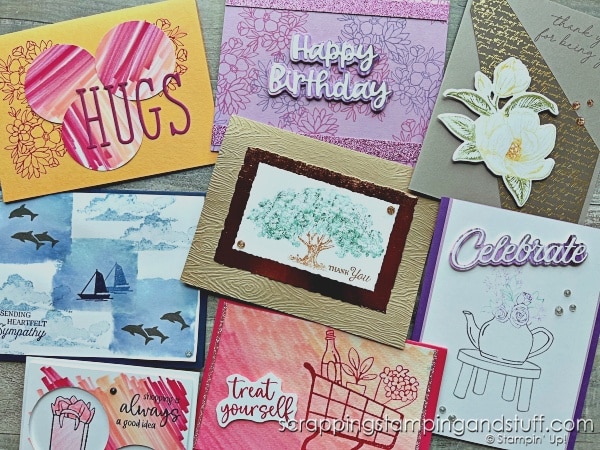
Stampin Write Vs. Alcohol Markers
First, I want to mention that I’m using water-based markers today, not alcohol markers. I did a tutorial last week on alcohol markers if you want to take a look at it.
For a great introduction to learn all about our Stampin Write markers, take a look here. Now let’s get started with some fun marker techniques!
Ways To Use Markers For Card Making
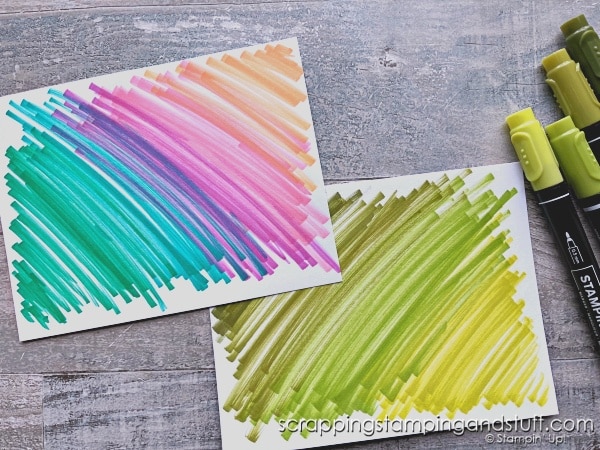
Create Scribbled Backgrounds
I really enjoy creating these, and I think they make fun backgrounds. You could use them as they are, or play around further as described below.
Use Backgrounds For Punching
I took one of the backgrounds I created and punched three circles from it. Here you can see I made two different cards using the background itself and the punches.
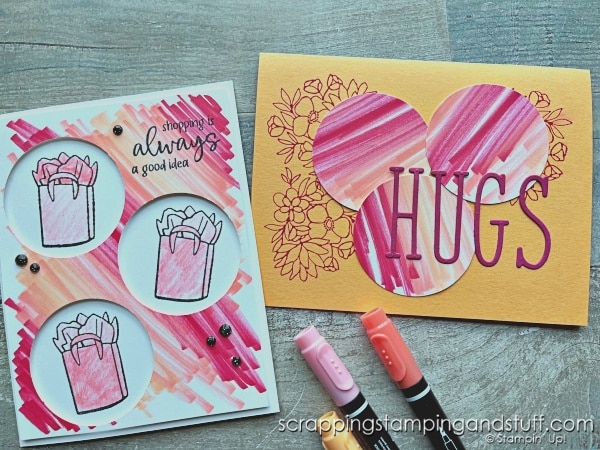
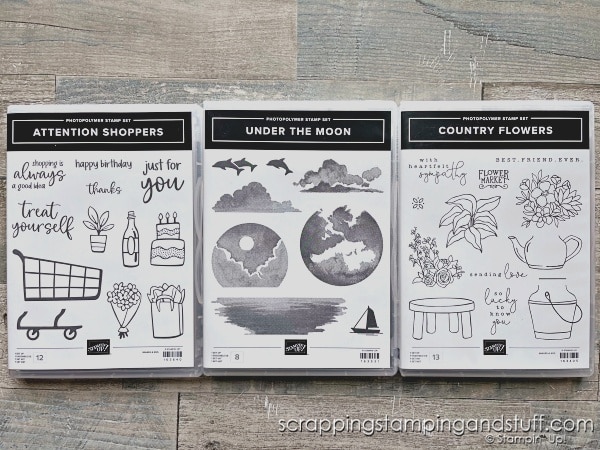
I created the card on the left with the Attention Shoppers stamp set. The card on the right was finished with the Country Flowers stamp set and Alphabet A La Mode dies.
Here you can see the stamps I used on several of today’s projects.
Use Backgrounds For Die Cuts
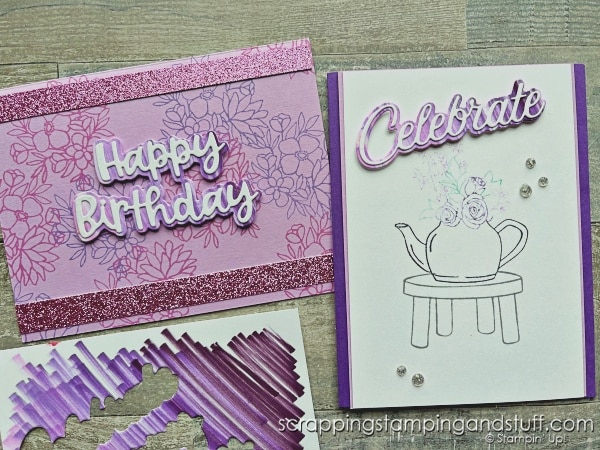
For these cards, I used a purple scribbled background and the Wanted To Say die set to cut out layered die cuts. I made both of these cards with the Country Flowers stamp set.
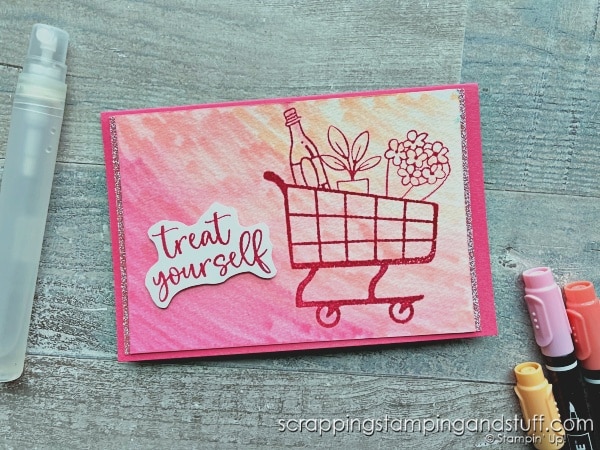
Create Scribbled Backgrounds On Watercolor Paper
This technique is basically the same as coloring onto regular white cardstock, except you’ll be using watercolor paper and after you color, add a few spritzes of water to it with a spritzer. The colors will bleed together. Let it dry, or help it dry quicker with a heat tool. Then use the piece as you like. I stamped this cute card with the Attention Shoppers stamp set.
Add Multiple Colors Of Ink To A Stamp
Another way to use markers is to use them to ‘color’ a stamp in multiple colors before you stamp. This is the technique I used to create the lovely magnolia shown below.
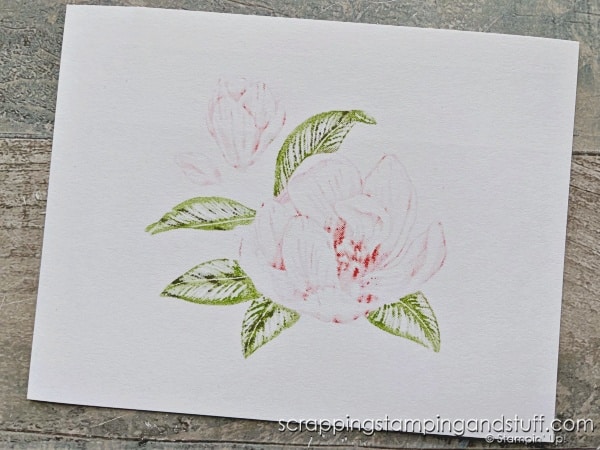
Here’s another one I created using different colors.
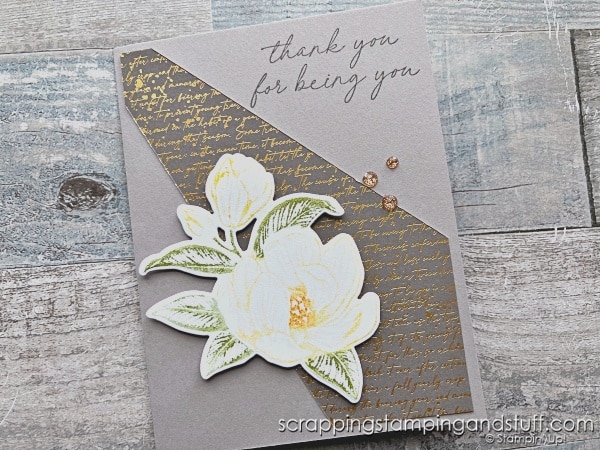
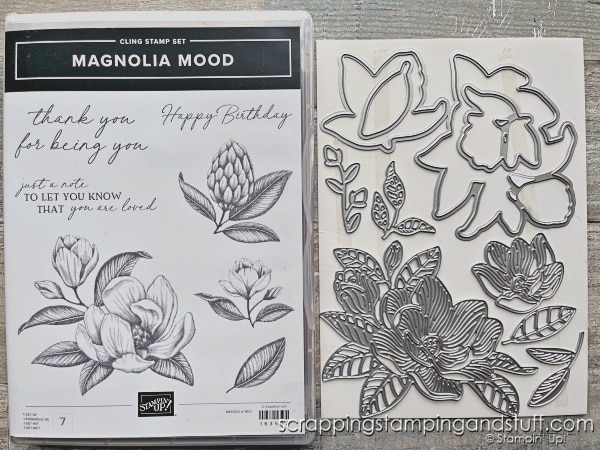
I used the Magnolia Mood bundle and Nature’s Sweetness designer paper on the card shown above.
Add Multiple Colors Of Ink Using ‘Thumping’ Technique
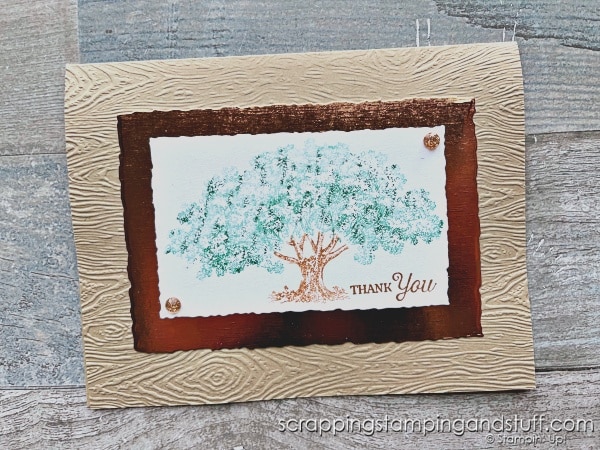
The thumping technique is another way to add multiple colors of ink to a stamp, but it’s less precise and helps create more of a natural appearance. Basically, you’ll add your lighter color of ink to a stamp, and then ‘thump’ a marker against the stamp in various places to add color variation. I created this card with the Loveliest Tree stamp set.
Add Color To An Acrylic Block & Spritz For Backgrounds
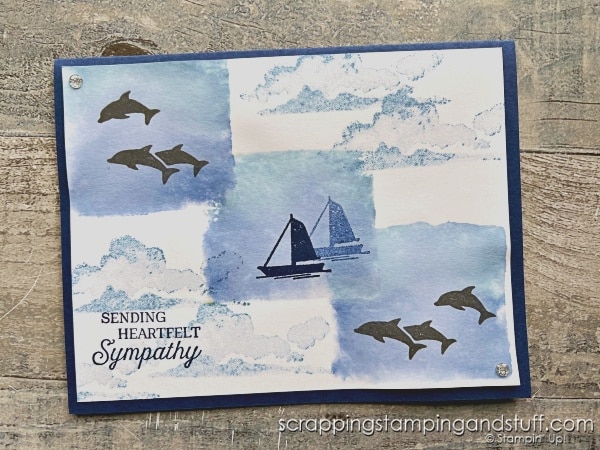
I love this technique! Color two or three colors of ink onto an acrylic block, spritz it several times with water, then stamp it onto cardstock. These make lovely backgrounds! After I created the blue background, I decided the Under The Moon stamp set would be the perfect way to turn it into a finished card.
Marker Techniques Video Tutorial
Watch along to see these techniques in action and to hear what I’ve learned about thyroid problems!
Materials List
Shop for supplies to make these projects here!
Product List Learn To Make Cards
Shop Supplies
Rewards Program
Join My Amazing Team
I hope this helped you learn about marker techniques for card making!


Leave a Reply