Hi everyone! Thanks for joining in with the Inspire Create Share Blog Hop for this month – It’s a Love Thing! We have some great projects in store for you, so make sure to hop all the way through to see all the projects!
I decided to make a card that looks like a Valentine’s card, but since I don’t need any more Valentine’s Day cards, I used greeting stamps to make it appropriate for a wedding card. Here it is!
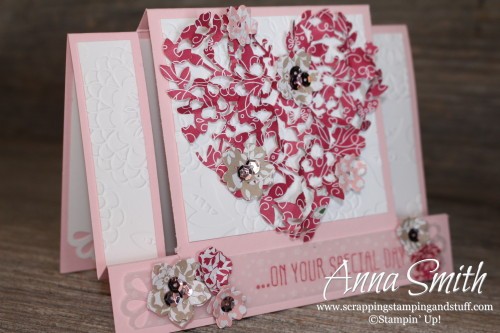
Does anyone know if this fancy fold has a name? I saw one like it once, but I didn’t have any instructions or information about it. I would love to know if it has a name! Comment below and let me know if it does. For now I’m going to call it a Mt. Everest fancy fold card!
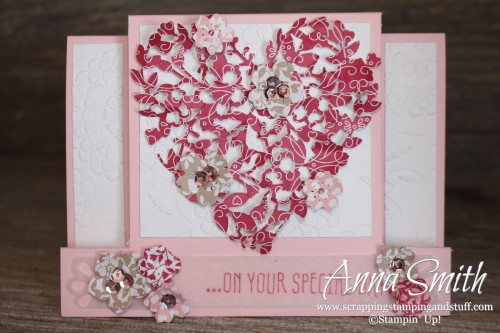
Almost all of the products I used are new in either the Occasions or Sale-a-bration catalogs…the Love Blossoms designer paper and embellishment kit, Botanical Gardens designer vellum, Bloomin’ Heart thinlits dies, Botanicals For You stamp set and the Wink of Stella glitter brush. Stella and I are bffs now in case you’re wondering.
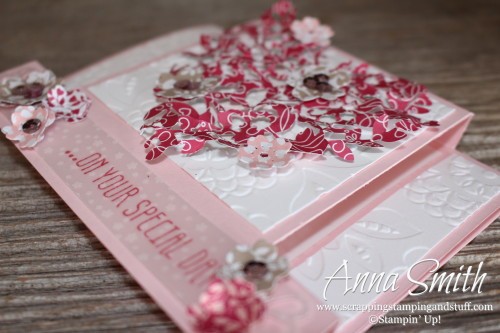
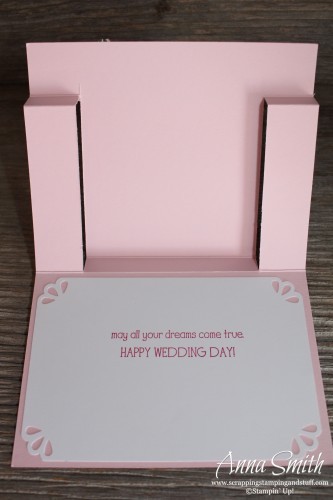
This shows what the inside of the card looks like. I am in love with the Curvy Corner Trio Punch. The greeting comes from the Big News stamp set.
For those of you who want detailed instructions on how to make this card, please continue reading below. For everyone else, please continue on to Terri’s blog to see what wonderful project she has to share!
To make this card, begin with a 5 1/2 x 8 1/2 card base. Line it up at 1″ on your trimmer.
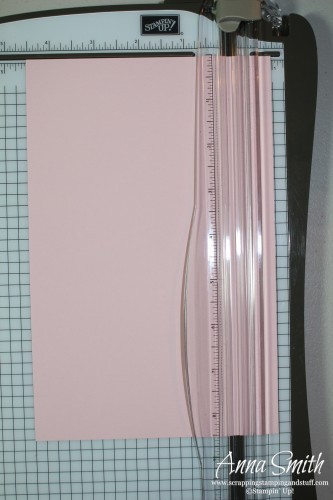
Using the vertical ruler on the bar that holds the blades, make a cut from 1″
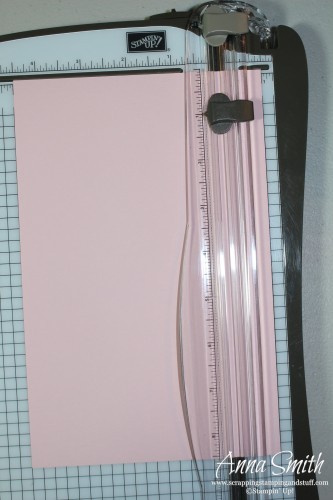
to 4 3/4″.
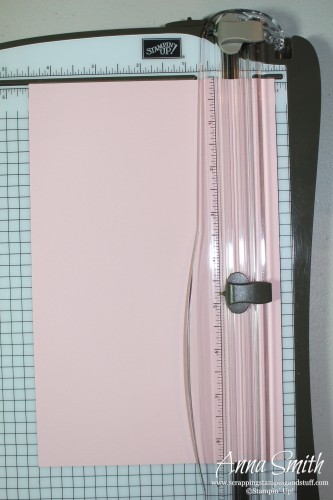
Flip your paper over (make sure the cut you just made is towards the top left of the paper) and repeat the previous step. Line it up at 1″ and cut from 1″ to 4 3/4″.
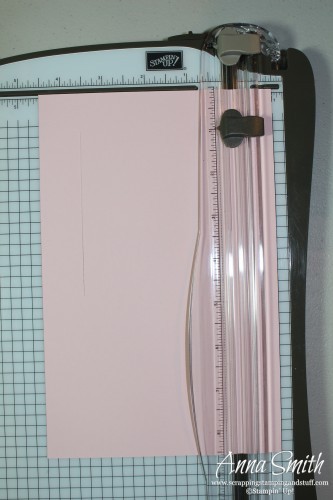
Your cuts will look like this.
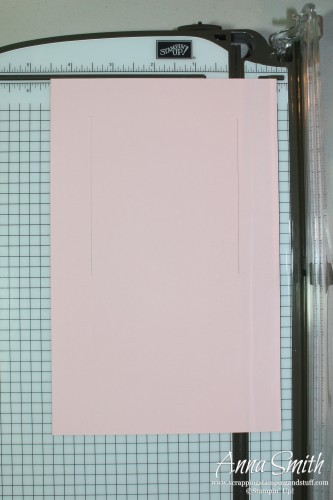
Lay the cardstock on your trimmer landscape style with the cuts towards the side left of the paper. Line the left edge up at 1″.
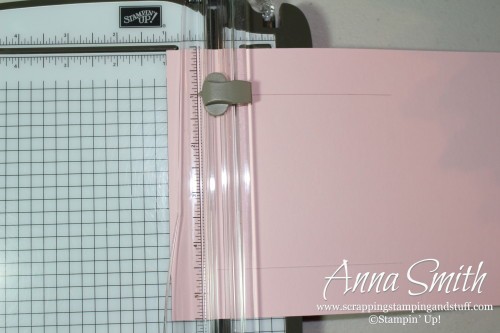
Score from the top line you cut upwards.
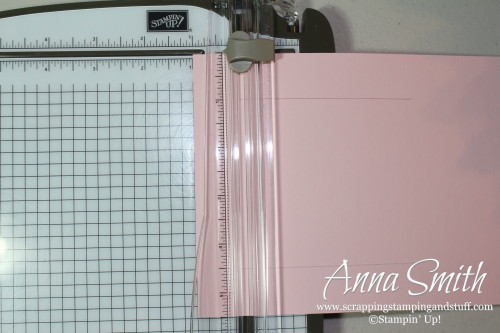
Also score from the bottom line you cut downwards.
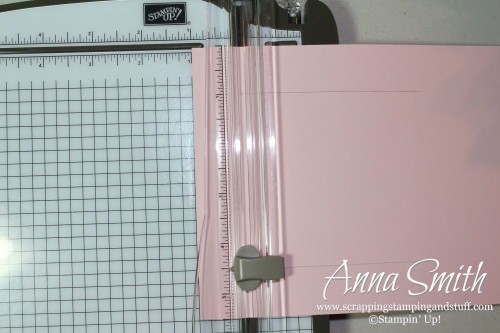
It will look like this.
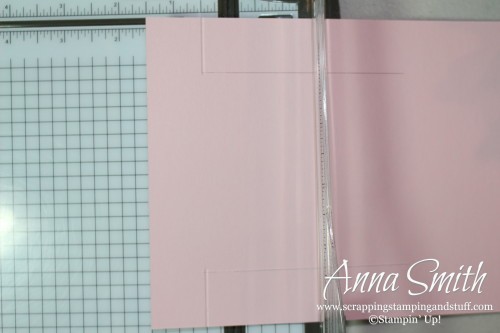
Move the cardstock to the 1 1/2″ mark and repeat scoring above and below the cut lines.
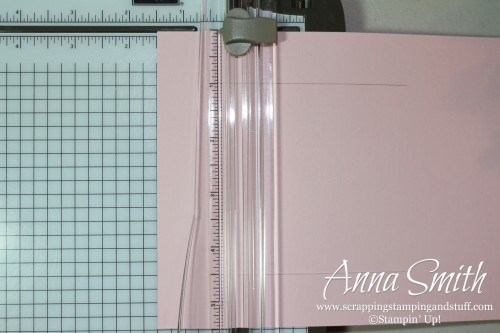
Here is the result.
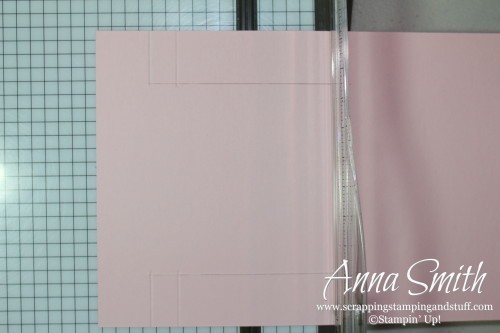
Move the cardstock to the 4 1/4″ mark and score between the upper and lower cut lines.
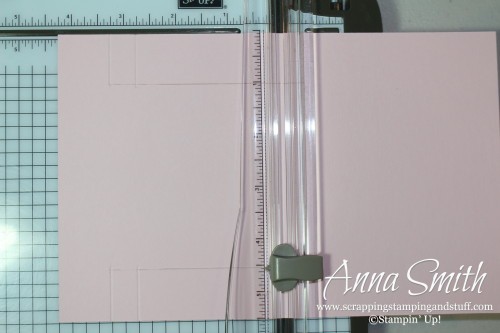
Move the cardstock to the 4 3/4″ mark and score above and below the cut lines.
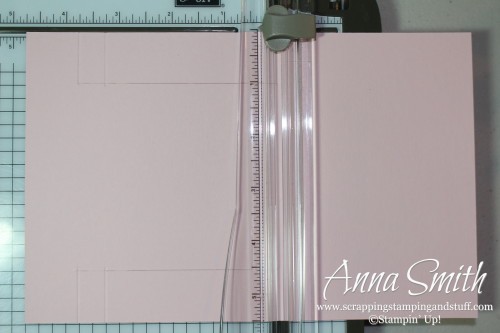
Here is what the cut and score lines should look like.
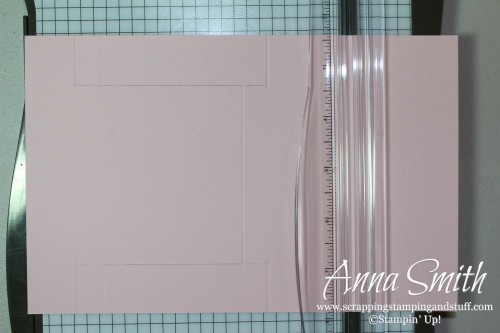
If you end up with extra score lines, don’t fret. Your card will probably still work. Some of mine ended up slightly imperfect and they were just fine 🙂
Next, bend the score lines until your card looks like this.
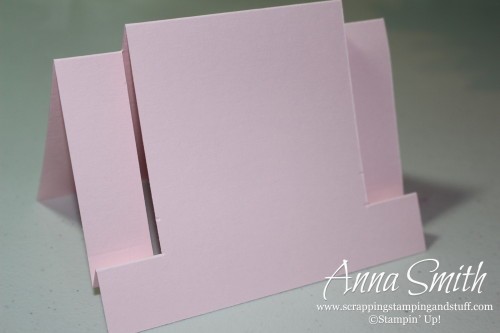
Now you’re ready for decorating! Here are the measurements for the other pieces of paper I used:
- Large block on the front – 3 x 3 1/4″
- Side strips on the front – 3 x 3/4″
- Vellum strip at the bottom – 3/4″ x 5 1/4″
- Piece on the inside of the card – 3 1/2 x 5 1/4″
I hope you liked my Valentine’s card and that you found the tutorial helpful! Thanks for visiting! Use the links below to do your shopping or contact your demonstrator to order! Make sure to continue on to Terri’s blog to follow along with the blog hop!

Well I don’t know the name of this fancy fold but this is one absolutely GORGEOUS card! You are right, it would be perfect as a wedding card. 🙂
Anna, this is breathtaking! Love!
I simply love this card!
Absolutely gorgeous! and with instructions!
Stunning! Thanks for the cutting directions too!
Wow that is lovely! And thanx for the tutorial also!!!!
I absolutely love this card and can’t wait to try my hand in this center step (?) card
Absolutely stunning card, thanks so much for the detailed instructions.
I love this fold and your card! Stunning!~
All the details in this card are fantastic! Thanks for the additional details of the fold…I’m going to have to try it!
Thx for the instructions for your awesome card!
Anna your card is amazing! Fabulous job!
Wow! I love your center step card, so elegant.