Do you remember a little while back when I shared how to make hundreds of tags in minutes using the new Many Messages stamp set and coordinating die? Well, this same bundle inspired me again, and I can’t wait to share how you can create even more tags in just minutes using the same Messages die, BUT with individual stamps of your choosing. This is such an amazing time saving technique that will help you make and assemble cards more quickly by having premade tags on hand. Let’s talk about it!

How to Use the Many Messages Bundle
First, let’s talk about this bundle and what’s included in the set. The Many Messages Bundle comes with the Many Messages stamp as well as the coordinating Messages die. The stamp is one large stamp including 19 different greetings on it. The die is just one large die, but it cuts 19 separate tags.
To use the Many Messages Bundle, first mount the stamp to your Stamparatus. Because it is a large stamp, it’s easiest to use the Stamparatus for this, but you can also use a large acrylic block. Ink the stamp and rotate the plate to stamp onto your cardstock.
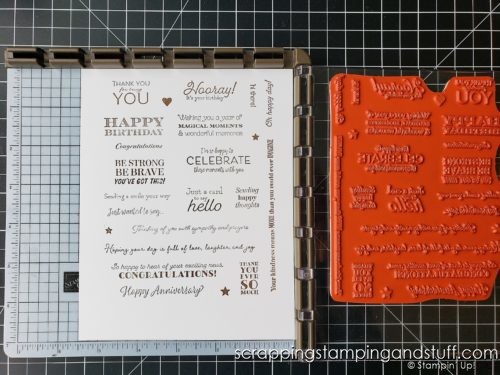
Here comes the neat part. The Stampin Up Messages Die fits PERFECTLY over the stamped phrases. Simply line up the die over the stamped cardstock and crank it through your Cut & Emboss Machine.
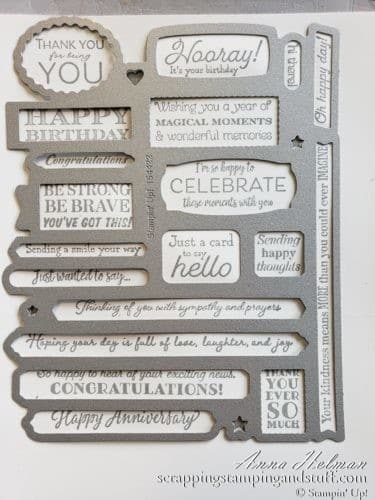
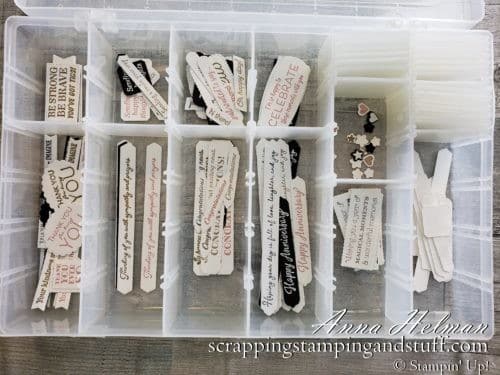
You’ll be able to create hundreds of tags in minutes — which is amazing since tags usually take some time to create. Now that you have all these tags, what do you do with them? If you’re not ready to attach them to cards, a fishing tackle box makes the perfect storage container.
To see my video highlighting this original bundle, click here, but don’t miss the rest of today’s post to see how you can use the Messages Die to create even more tags in minutes!
How to Create Even More Messages
I love that I’m able to use this bundle to not only create a bunch of tags using the the Many Messages stamp set, but that I can also create hundreds more tags in minutes using the Messages die and stamps of my choosing. Let me show you how.
Create a Template
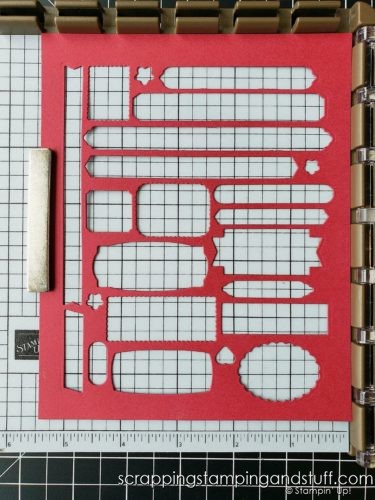
First, place the Messages die on a piece of cardstock of your choice, and run it through the Cut & Emboss machine. This will create a template for the tags.
Line Up Stamps
Hold the template in place on your Stamparatus using one magnet (never use two at one time!). Take a look through your stamp collection and find stamps that will match up size wise with the openings in the template. Here’s a list of the stamp sets I used:
- Friends Are Like Seashells
- Lots of Heart
- Ornate Thanks
- Hydrangea Haven
- Flowering Cactus
Begin lining stamps in the openings.
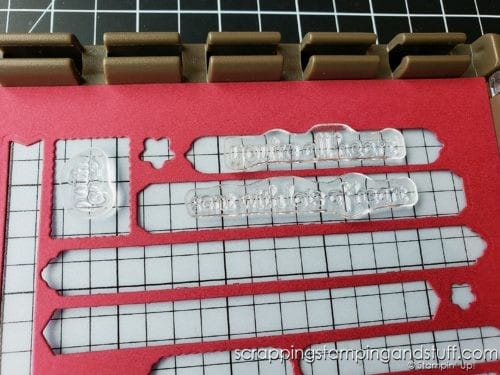
As you place a stamp in each opening, you can rotate the plate over to attach them or you can wait until you get every hole filled and attach them all at one time.
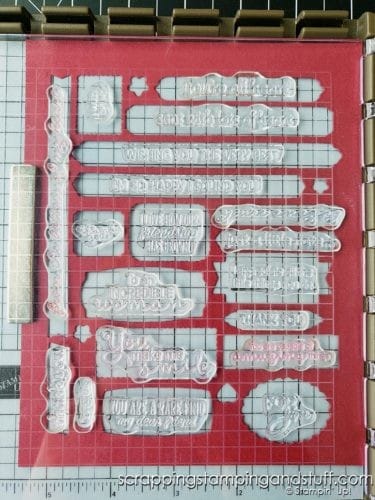
If you have a hard time getting the stamps lined up perfectly, I found that the using the pointed end of my Take Your Pick Tool to move them around worked well.
Test It
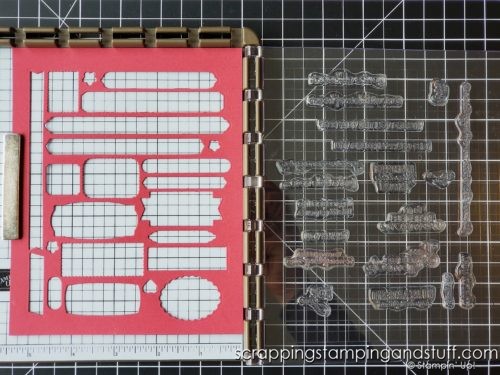
Next, ink the stamps and give it a test run by stamping onto plain cardstock. Then lay the Messages die cut template on top and see if the greetings are centered and straight in each hole. If they line up nicely, you’re in business. If not, you can remove just the stamps that need fixed and try again.
Now Make Tags Galore!
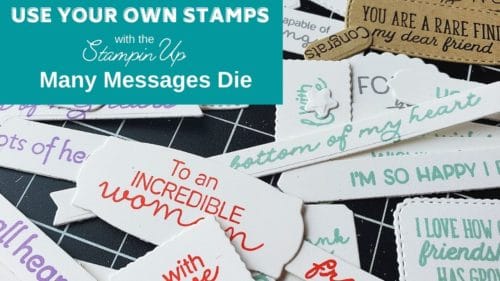
Once everything lines up and you’re happy with it, run your cardstock and the Messages Die through your Cut & Emboss Machine. There you have it – 19 tags created! Now stamp a few more times using different colors of ink and with different cardstocks, and you’ll soon have hundreds of tags to coordinate with your soon-to-be-made cards!
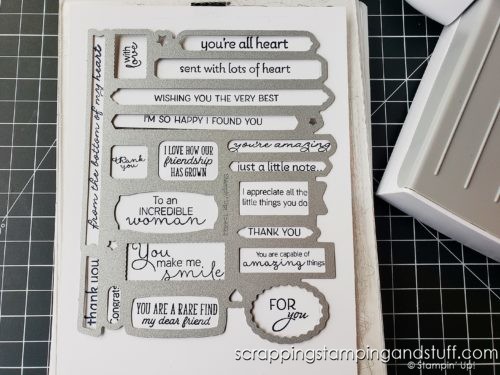
*Hint* I found I was able to use this trick with both Photopolymer stamps and rubber stamps, but not at the same time. You’ll need to use either all Photopolymer or all rubber stamps when doing this.
Hundreds More Tags in Minutes Video
If you’d like to following along as I show exactly how this works, click here!
This is a wonderful time-saving trick to create and organize hundreds of tags. I hope you enjoyed it! Leave me a comment with ideas for which stamp sets you think would work well with this trick!
Don’t Miss Out
Please make me your Stampin’ Up! demonstrator and order from me using the product links at the bottom! Earn the free gifts shown below when you order using the current host code: JGJR9MZD. PLUS, with your first order, you’ll receive free catalogs in your thank you package!

Shopping during Sale–a–bration comes with many benefits!
- For every $50 that you order, choose a free gift from the Sale–a–bration brochure. Order $100 and choose two items (or one of the special items only available with a $100 order)! Order $150 and choose three free items plus regular hostess benefits!
- Host a party with over $300 in sales and you will get the exclusive Punch Party stamp set for free!
- Sign up with Stampin’ Up! and choose $125 of products for just $99! In addition, you will receive free shipping, extra goodies from Stampin Up and FIVE full packs of 6″x6″ designer paper! What an amazing offer! I signed up during Sale–a–bration seven years ago. Best decision ever!
Order Products to make this Project Yourself:
You Might Also Like:
3 Paper Saving Tips To Get More Use From Your Beautiful Papers!


Newsletter email