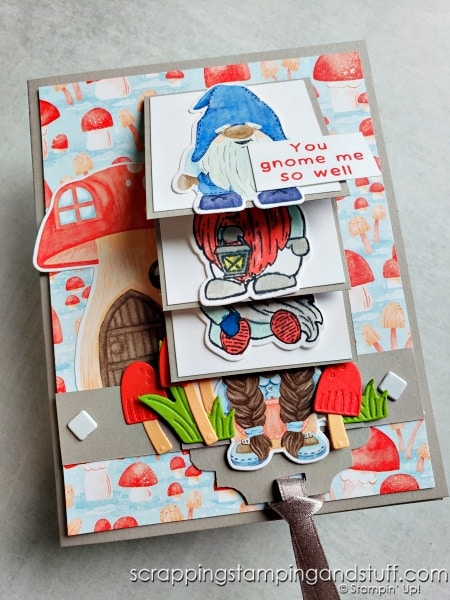
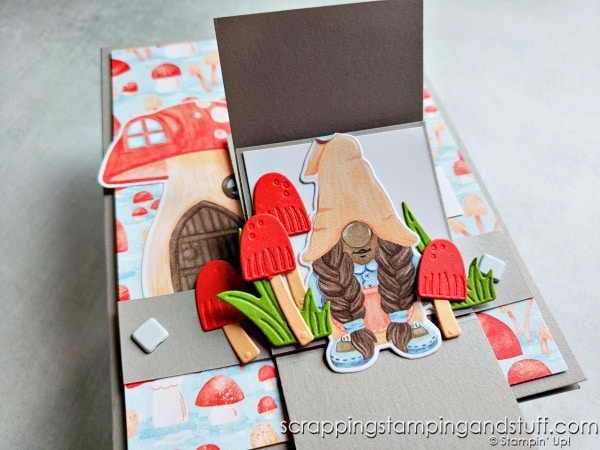
It’s time for a fun fold and interactive card in one! Do you know how to make a waterfall card? If not, you need to try one. They take a little bit of prep work in cutting, but once the cutting is done, it’s a cinch to put together! Let’s take a look at this adorable card made with the Stampin Up Kindest Gnomes bundle!
Stampin Up Kindest Gnomes Waterfall Card Video
Watch along here and create one of these cards yourself!
Stampin Up Kindest Gnomes
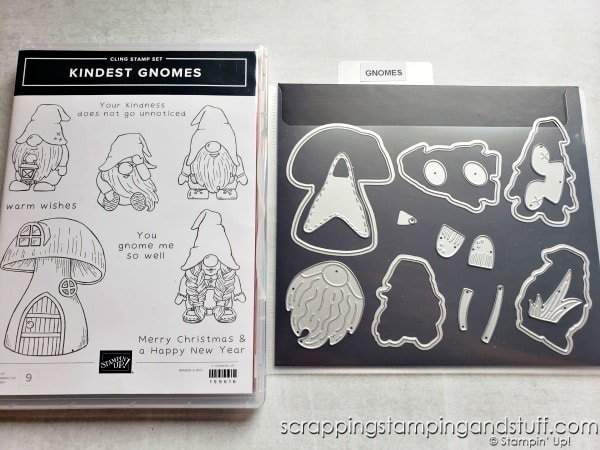
The bundle I chose to use for this card is shown below. Aren’t these little gnomes just so cute?! I tried to pick a favorite gnome, but I just can’t do it – I love them all.
Waterfall Card Materials List
Here is what you’ll need to create one of these cards:
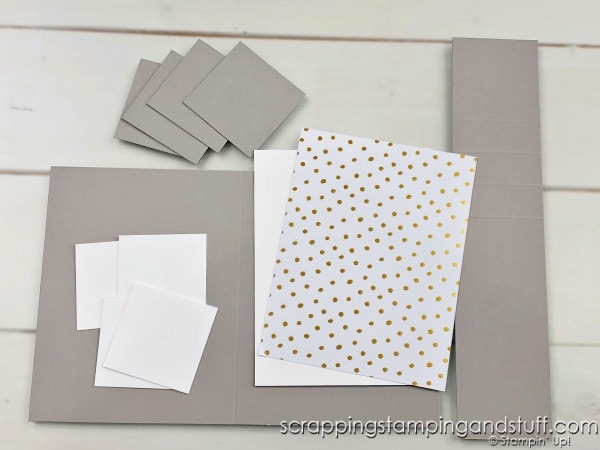
5 1/2″ x 8 1/2″ card base, scored at 4 1/4″
4″ x 5 1/4″ designer paper
4″ x 5 1/4″ white cardstock to layer behind designer paper (optional)
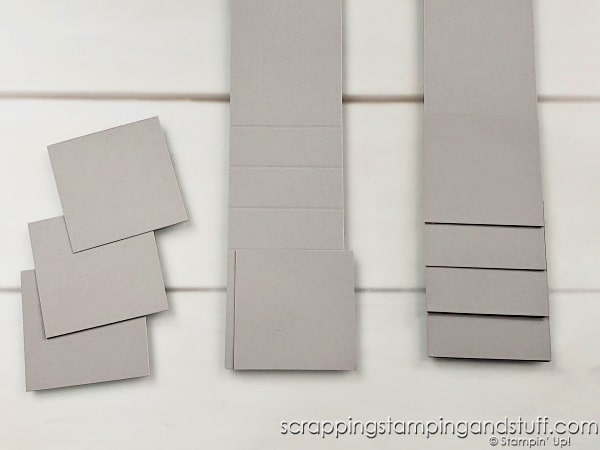
2″ x 9″ cardstock, scored at 4 3/4″, 5 1/2″, 6 1/4″, and 7″
3/4″ x 4″ cardstock
4 – 2″ x 2″ cardstock
4 – 1 7/8″ x 1 7/8″ white cardstock
How To Create A Waterfall Card – Step By Step
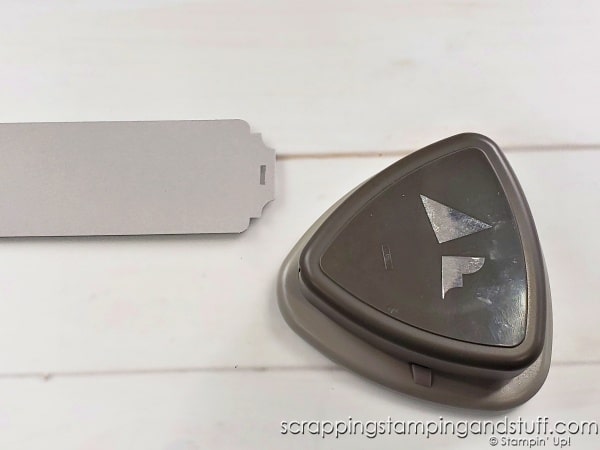
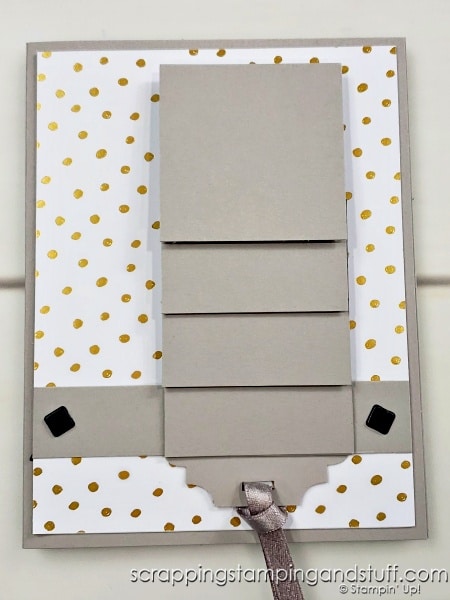
Using the 2″ x 9″ piece of cardstock, punch a hole in the center of the end with no score lines. Then punch a decorative corner on both corners.
With the strip oriented vertically with score lines near the bottom, begin attaching 2″ x 2″ squares one by one. Use a single line of adhesive at the very top of the square, and place it just at or below the score line. Begin with the bottom square/score line, and move upwards until all four have been attached.
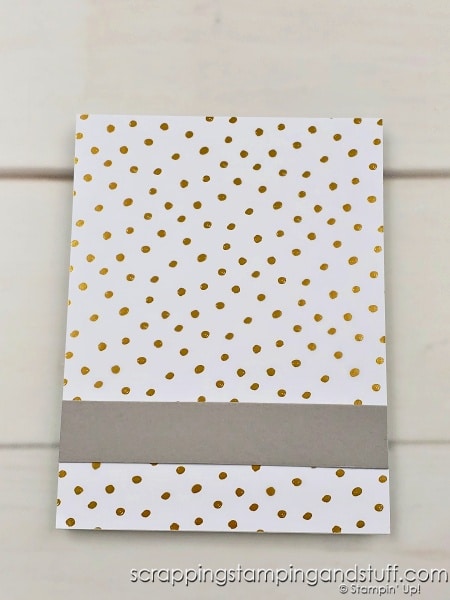
Mat the designer paper with a piece of cardstock of the same size. Attach the 3/4″ x 4″ strip about an inch from the bottom, and only use adhesive on the very left and very right sides (there cannot be any adhesive where the waterfall apparatus will be located).
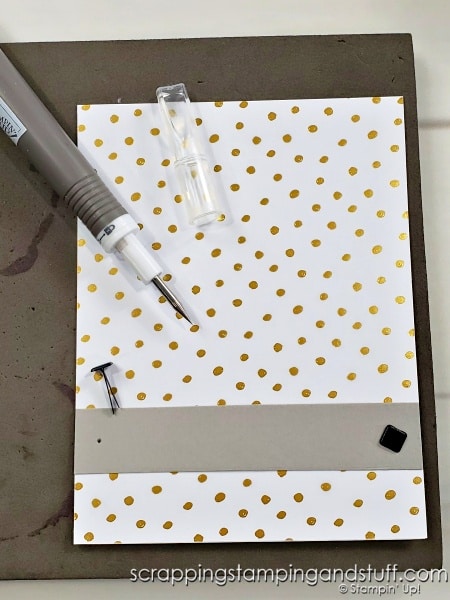
Lay the mat on a Stampin Pierce Mat and use the Take Your Pick tool to pierce holes near the left and right edges. Insert brads.
Attach this piece to your card base.
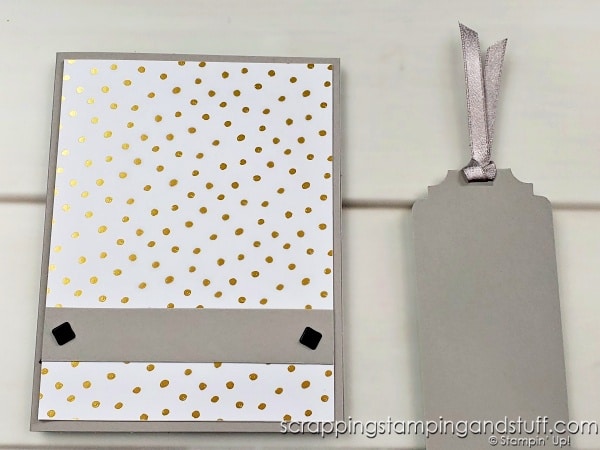
Fold the waterfall apparatus in half. Insert the piece with the ribbon down and behind the strip on the front of your card.
Place strong adhesive on the back of the bottom of the waterfall apparatus. Attach this to the front of the small strip on the card front.
Decorate as desired! Here is a waterfall card I made with the hippo stamp and die set you can get for free right now during Sale-a-bration.
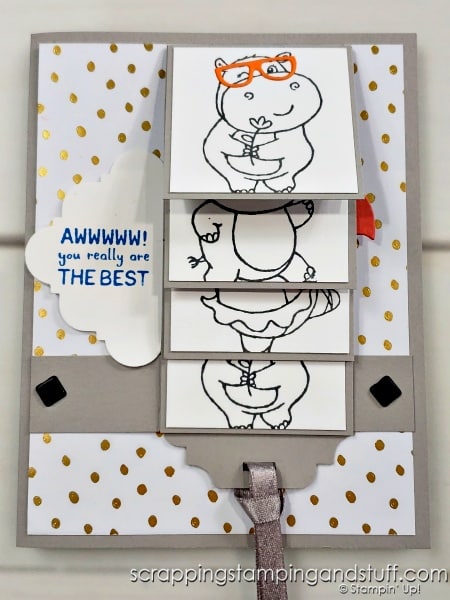
And here you can see what happens when you pull on the ribbon!

Interactive cards are so much fun. Try making one of these today!
Supply List
Take a look at the supplies I used here:
Product List")
")

 Designer Series Paper")
")

 Designer Series Paper")


 Shimmer Ribbon")


Learn To Make Cards
Shop Supplies
Rewards Program
Join My Amazing Team
Thanks so much for visiting to see how to make a waterfall card featuring the Stampin Up Kindest Gnomes bundle!
Anna, I love your gnome waterfall card! So fun. Your video was wonderful showing step by step instructions making it easy to follow along. I really liked that you were focused on the card and not talking about other things or to other people. It makes it much easier to just sit down and make the card without having to try to fast forward thru unrelated things. You did a fantastic job and I look forward to more tutorial videos. Thank you so much for sharing this card and the magical gnomes.
Thank you so much Kathi! I try to make good use of your time because I know it is valuable I hope you can find a lot of inspiration here! Have a blessed day.
I really love your card and would love to make it. Thank you so much. Leigh Rose
Great, have fun with it!