Hi! Thank you for joining me all week as I’m sharing handmade projects using Stampin Up’s Butterfly Brilliance special release bundle. I’ve had such an enjoyable time all week playing around with different ways to use this set. As I was developing these ideas, I got to thinking about the lovely butterflies from this set and the thought of spring and new beginnings. Those thoughts led me to create this slimline butterfly card perfect for bridal showers and weddings. The wings on the butterflies are so intricate and delicate, and I’ve combined them with embossed Pearlescent paper for a simple yet stunning handmade card. Let’s take a look at how to make this card, and while we’re at it I’ll share a tip for how to emboss a card front for a slimline card when your embossing folder isn’t large enough.
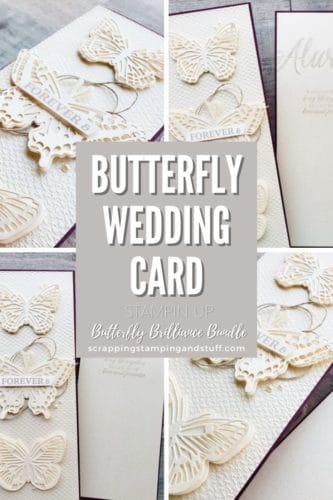
Slimline Butterfly Card Video
Learn all about this card in my video tutorial below, or keep reading for more info!
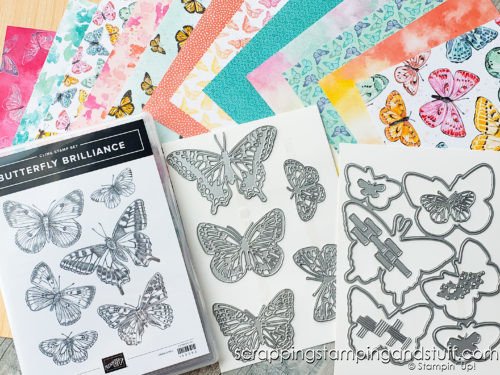
Butterfly Brilliance Collection
If you haven’t yet seen Stampin Up’s gorgeous Butterfly Brilliance bundle, here’s a picture of what comes in the collection. The pieces and parts are each stunning, and they coordinate together beautifully.
Butterfly Brilliance Project Samples
All week I’ve been sharing ideas and projects for how to use this collection. Below are a few of them I’d like to share. I’ve also included links if you would like to get more information about any of them.
I created this beautiful card using the Butterfly Bijou Designer Series Paper and Brilliant Wings Dies. The next few cards are also included at this link.
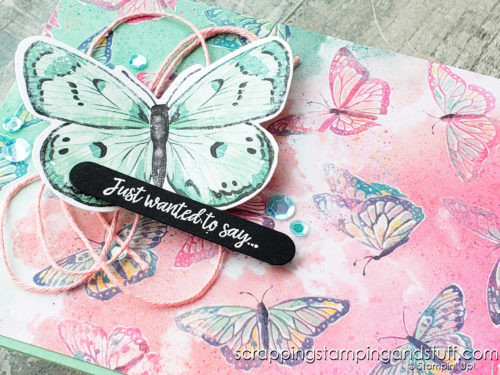
This card was created using watercolors. I just love the effect I get from using this technique.
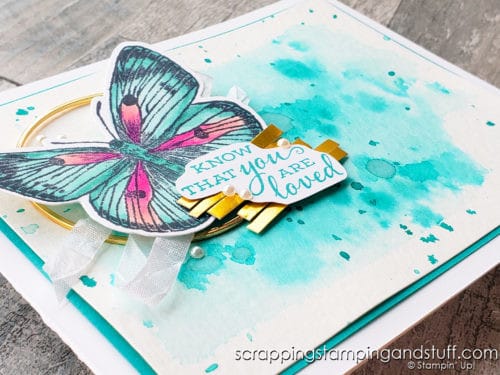
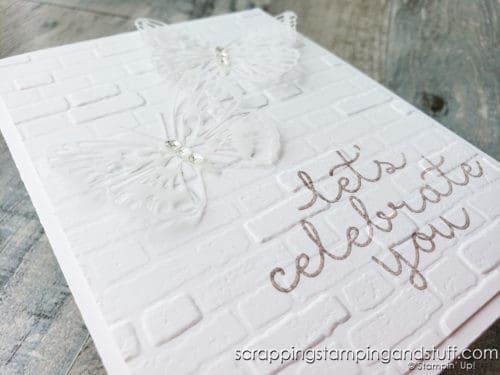
The card below was created using the Brilliant Wings Dies from this collection and vellum.
Embossing A Slimline Butterfly Card
Embossing a slimline card can be a challenge if you don’t have a specialty embossing folder. Most embossing folders are simply not long enough to emboss 8 or more inches of paper all at once. What I did for this card was cut the large paper for the card front into two pieces, and I hid the cut behind the center butterfly. To see exactly how I did this, take a look at my tutorial video.
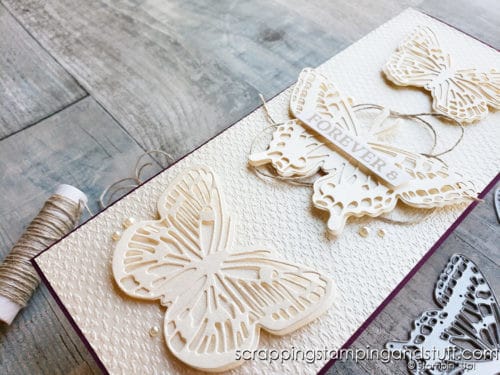
Slimline Butterfly Card
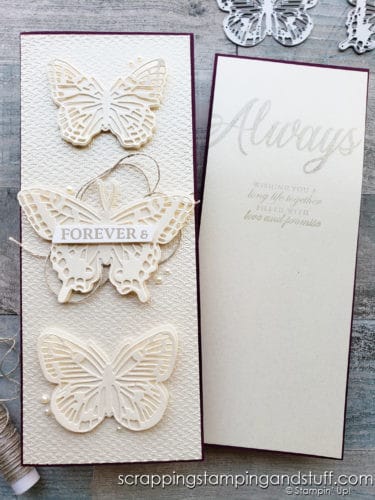
To begin making this slimline butterfly card, you’ll first want to prepare a few things. See the list below for measurements.
Measurements:
- Blackberry Bliss Card Base measuring 7″ x 8 1/2″ scored and folded in half at 3 1/2″
- 2 Pieces of Pearlescent Paper measuring 3 3/8″ x 8 3/8″. Emboss one of them as instructed.
- Die cut solid butterflies and overlays
Next, let’s talk about how to assemble the card.
Assembling the Card:
Start by attaching the embossed Pearlescent paper to the card base. Next, build the die cut butterflies by adhering the detailed cut outs to the solid outlined butterflies. Attach these pieces to the card using dimensionals. You can use some linen thread behind the center butterfly like I did, if you like. Once attached, pearl embellishments and a greeting can be added for finishing touches.
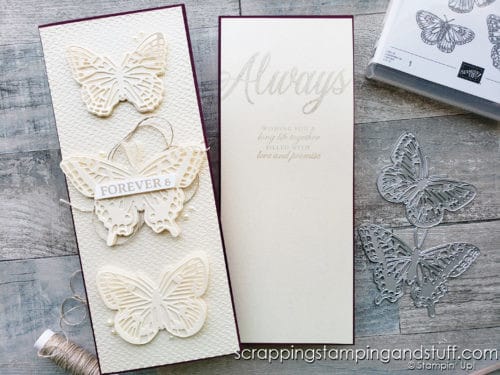
I really hope you enjoyed seeing this card as much as I enjoyed making it. Let me know what you think of this project by leaving a comment below!
Order with me!
Please make me your Stampin’ Up! demonstrator! Earn rewards points towards free stamps PLUS a gift when you order. Use host code: EUPGXHR6 PLUS, with your first order, you’ll receive free catalogs in your thank you package!

Project Supply Ordering Links:
You Might Also Like:
Stampin Up Vine Design and a Floral Wedding Scrapbook Page Idea


All your cards are lovely, Anna! In the wedding type card, what ink did you use for the sentiments? I couldn’t find it listed anywhere, but I’m not really good at using all the features on uTube videos. Thank you Stephanie.