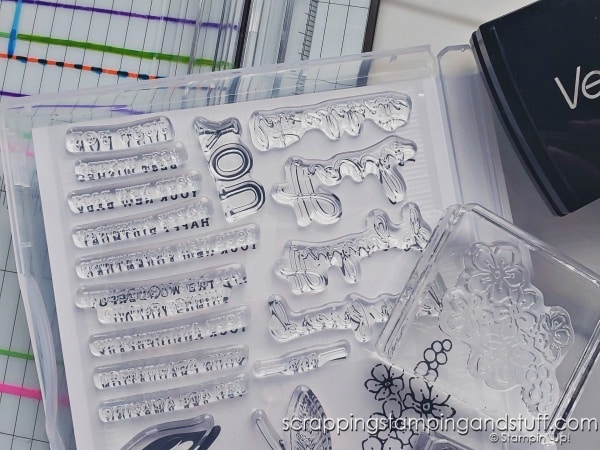
Hello stampers! You may know that when my new stamps arrive, I have a special way I like to prepare them for use. I realized I never shared all the details for how I prep my clear stamps stamps in one place, so let’s do that right here and right now! Hopefully you’ll see a tip or two that can help you.

How I Prep My Clear Stamps
Here’s what I do when my new stamps arrive:
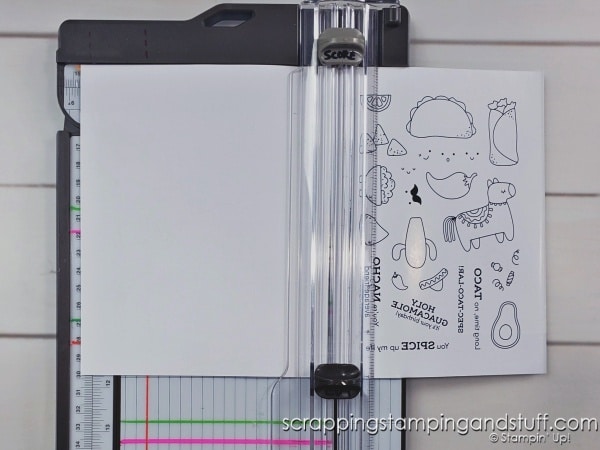
1. Trim the cover sheet into two pieces and move the piece on the back right to left side.

2. Apply Versamark ink to all stamps, then clean it off. This helps to prevent the stamps from staining as badly.
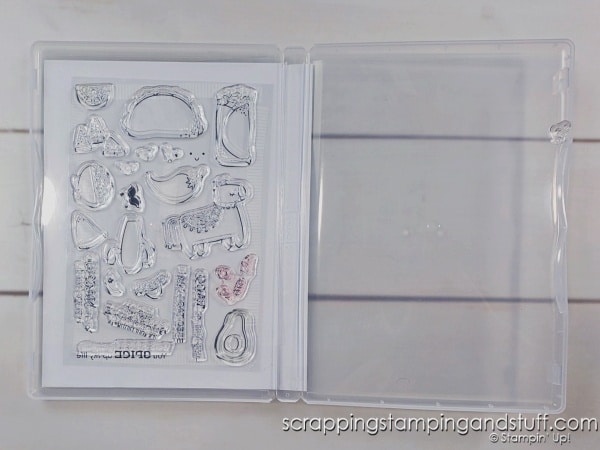
3. Use the thin plastic sheet and attach it to the left side of the stamp case using Seal+ adhesive.
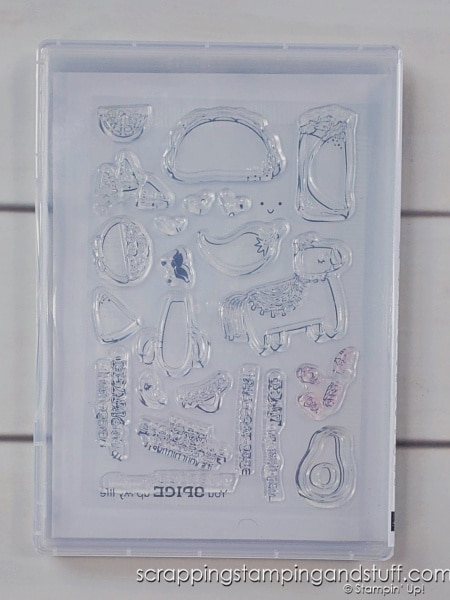
4. Then place stamps on the inside of the case.

5. Place the extra plastic sheet between the two cover papers in the stamp case.
This helps me a ton and makes it so quick and easy to remove a stamp, use it, and place back in the case. I can see what’s inside, and make sure all stamps are in place before I put them away. It takes time when my stamps first arrive, but it is so worth it for me.

Prepping Stamps Video
Watch along here as I share the steps above as you can watch along!
Learn To Make Cards
Shop Supplies
Rewards Program
Join My Amazing Team
Thanks for visiting today to see how I prep my clear stamps – stop back again soon for more tips and tricks to help in your craft area!
Anna, you showed how to do this with a photopolymer set. Can you show us in a video also what you do with Cling stamps? I do like the way you did the photopolymer stamp set, and plan to try that with mine. I’ve purchased “used stamps” from others where they cling well and you can see from the back of the case, but when I try this, mine are just falling around inside the case?
Did you see my tip about using the clear protector sheet on the inside of the case? I have to attach that sheet and then attach the stamps to it. Watch along with the video if you aren’t sure what I mean. Yes, I need to do one of these for rubber stamps!
Thank you Anna for this very helpful video. I am just wondering if just applying the adhesive to the clear sheet that the stamps are originally adhered to (then placing it on the left side of the stamp case as you did) instead of the thinner “top” sheet would work – saving the thinner top sheet, as you did with the “firmer” sheet..?? I hope this makes sense. I love that you provided a way to see the stamps from the back, and the prepping with versa mark is what I am definitely going to do from now on. Thank you!
Hi Barb, I haven’t tried this but I’ll have to sometime. You could try. As long as you get a good hold then I would think it would stay in place.
Where do your get the second page of pictures of the stamps. Mine come with a picture of the stamps on the front and pictures of 4 squares showing how to remove the stamps from the folder.
Are you making a copy of the front page?
Thank you.
I cut the piece and move it. If you watch along with the video I show what I do.
Thank you! Have a Blessed Day!