I’m taking a break from card making this week to share about one of my other loves – cooking and baking! I want to share some of my favorite recipes for the holidays, some of which I use throughout the year as well. When I think about baking for the holidays, one recipe comes to mind immediately which been used every year since I was a child – my recipe for holiday cut out cookies. This recipe is easy to work with, the dough doesn’t get sticky, and the cookies are soft and delicious. I’ve tried other recipes and always come back to this one! I’ve made a few improvements to this recipe over the years, and I think it is a perfect one that anyone can have success with when it comes to making cut out cookies. I’ll also share my go-to frosting recipe. Let’s get to baking!
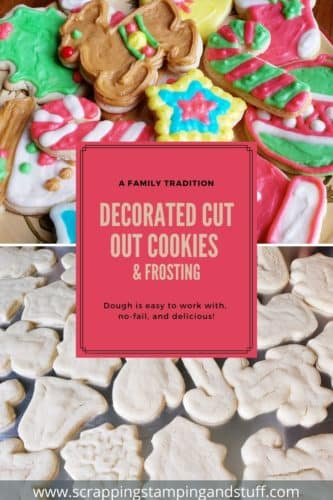
Why Make Decorated Cookies?
Just because! The cookies are delicious, but it’s more about the memories. It’s fun, and it’s another way we can use our creativity. Even our older kids enjoy decorating them, so it makes for a fun time with family in the kitchen.
Why Make These Cookies?
I’m pretty sure I already mentioned this, but these cookies are the best! My husband is somewhat difficult to impress when it comes to food, and he absolutely loves these cookies. Basically everyone else does as well. Our family always expects that we will bring decorated cookies to our holiday gatherings because, well, we do it every year, and these cookies disappear quickly off of our mixed cookie plates.
In addition to the amazing flavor, you should try making these cookies because they dough is so much easier to work with than many other recipes out there. It doesn’t get sticky, it’s easy to roll, as well as cut out and lift of of your work surface onto baking sheets. If you’ve tried other holiday cut out cookie recipes and failed, I encourage you to try again with this recipe!
Preparation
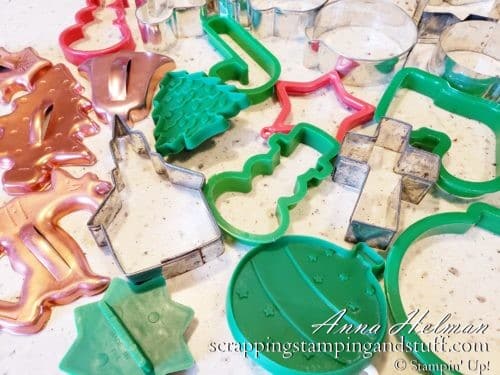
Gather the ingredients, kitchen supplies, and cookie cutters. When choosing cutters, I highly suggest that you use simple ones. Not too big, not too small. Not the ones that imprint texture into the cookies. The simple open cutters are the best. Especially if you are just learning – go simple!
Making Our Holiday Cut Out Cookies
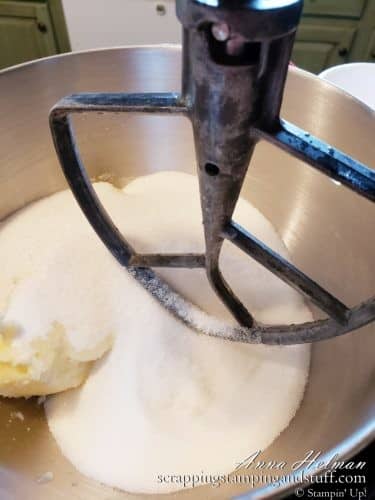
Let’s begin making these wonderful cookies. Begin by adding softened butter and sugar to the mixing bowl.
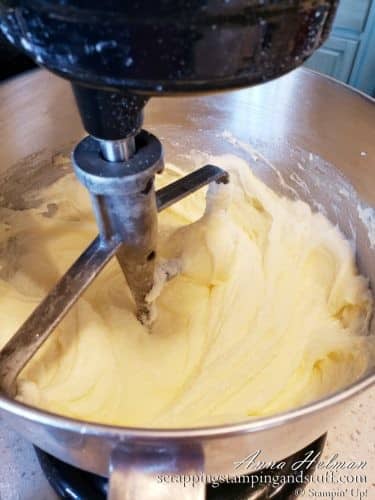
Mix until well combined.
Add eggs and mix well.
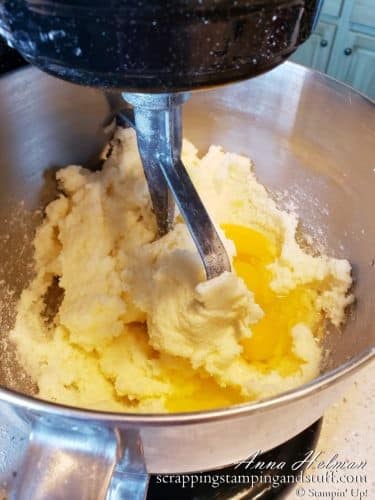
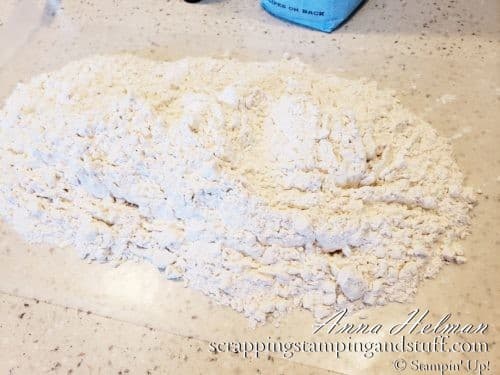
Mix dry ingredients in a bowl or on top of a piece of waxed paper like I do. This is how I was taught to mix dry ingredients, and it has always stuck!
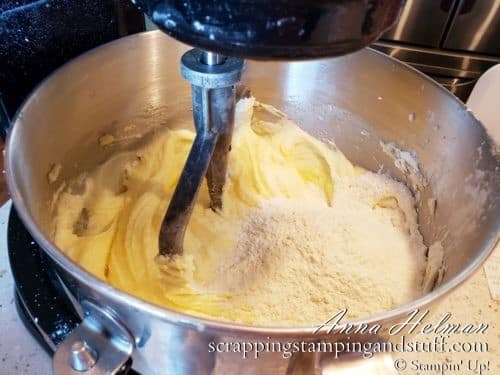
Turn mixer on low and slowly add dry ingredients. Mix until combined.
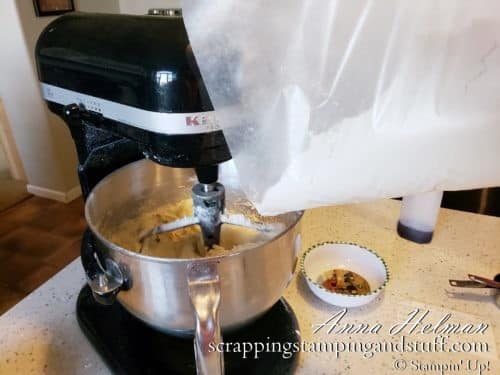
Here is my fancy technique for adding the dry ingredients using the waxed paper. Occasionally I spill, but it usually works very well!
Add vanilla, mix a little more, and the dough is ready for rolling!
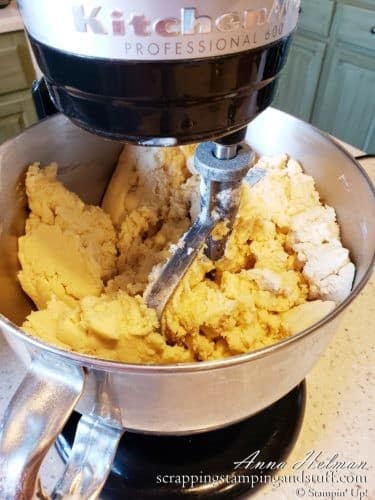
Now the process gets fun.
Rolling Out The Dough
I find this holiday cut out cookie dough is less sticky if it sits for 30-60 minutes before rolling. Letting it sit is not required however. Sometimes I let it rest and sometimes I don’t – it just depends on how quickly I want to get the cookies baked.
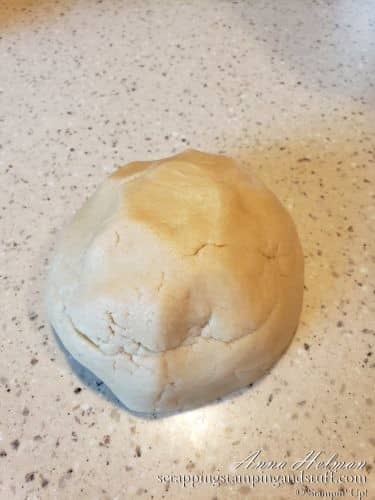
When you’re ready to roll out the dough, begin with a ball about the size of a softball. Form it to be fairly smooth and lay on your counter to roll out. If desired, you can sprinkle a small amount of flour on your work surface before placing the dough down. In the past I used flour on my counter, and over the years I’ve realized I don’t even need it. If you’re a beginner, it’s probably a good idea to use a little flour to make the cookies lift off easier, but the decision is yours.
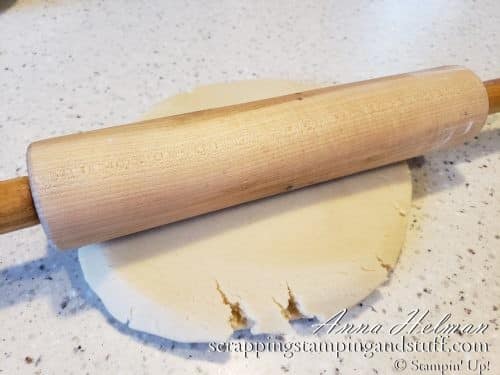
Use a rolling pin to begin rolling the dough. Roll in various directions to keep it in a circular shape. Use a small amount of flour on top of the dough if needed to keep it from sticking to the pin.
Here’s my happy little roller. She always has to help roll the dough.
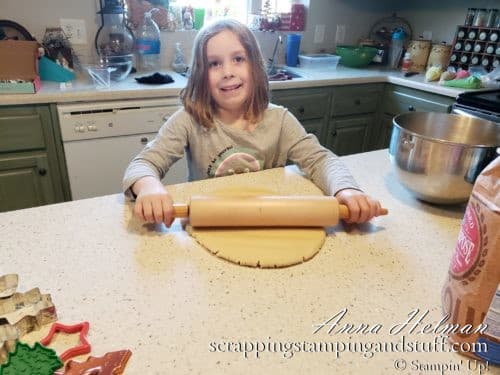
Keep rolling until the dough is about 1/4″ to 5/16″ thick. Get it rolled as evenly as possible.
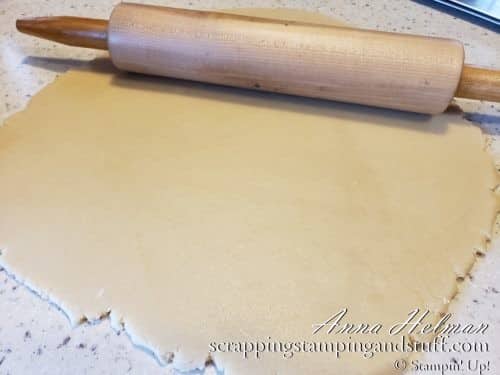
Now it gets even more fun!
Cutting The Cookies
Let’s cut cookies! You may want to dip your cookie cutters into flour before cutting with them, but again I have found I don’t really need to do this. If you’re new to cookie cutting, it may make the process easier.
Now my happy little roller helper has become a happy little cutter helper. She loves cutting cookies. Who can blame her, really? I love it too 🙂
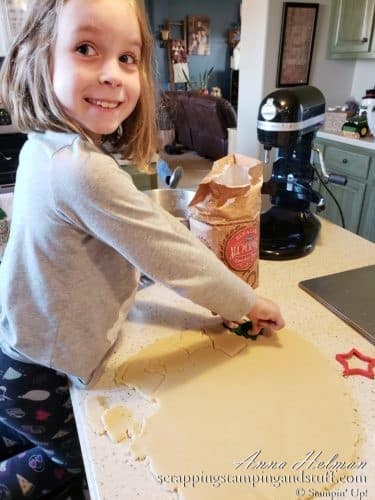
After the cookies are cut, use a spatula to gently lift them up. Remove any excess dough and place on a baking sheet, leaving 3/4″ or 1″ between cookies. If cookies are misshapen, this is your chance to reshape them with your hands.
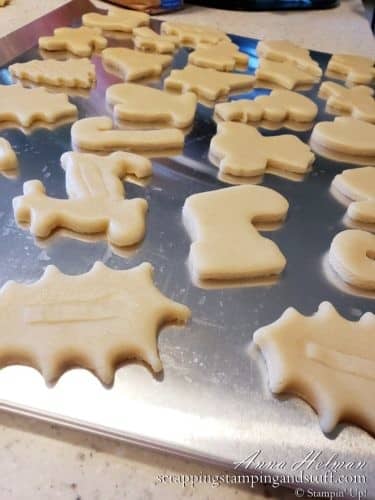
Gather your dough scraps, add them to additional dough from your bowl, form a ball and repeat the process described above until you have used all of the dough.
Let’s bake these babies!
Baking Holiday Cut Out Cookies
Bake the cookies at 400 degrees Fahrenheit for approximately 6-9 minutes or until you just barely start to see the edges of a few cookies turning golden. My magic baking time is 7 minutes – no more, no less.
When you remove the cookies from the oven, they should be cracked and puffed.
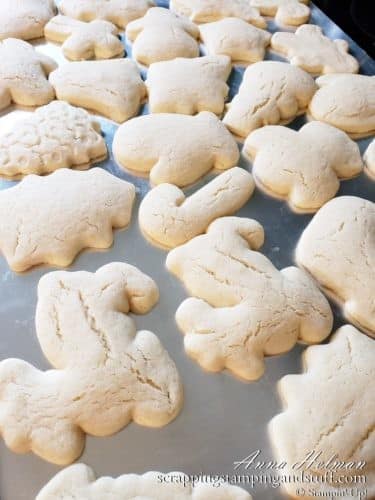
Let them cool on the cookie sheet for a few minutes before removing them to a cooling rack. A metal spatula works best for this. While they cool, they will flatten back out.
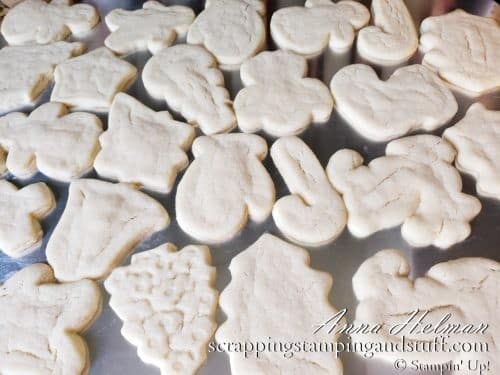
I’ll mention a note about baking time. I have come to my baking recommendations based on the fact that I love soft cookies. However, soft cookies also break easy later on. You can bake them until they are golden if you like, which will make them more durable for handling later on, they just won’t be quite as soft.
Preparing The Decorator Frosting
Begin by mixing shortening, 1 1/2 lb. of powdered sugar, and milk in a mixing bowl. Beat until light and fluffy, then add remaining ingredients and beat again.
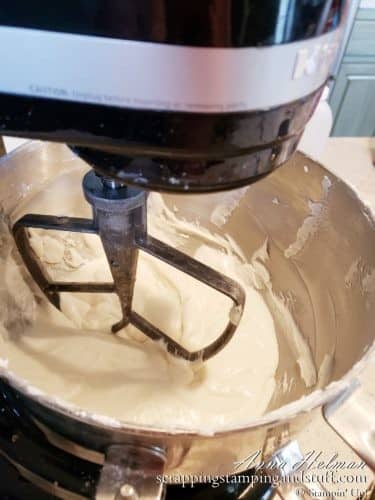
Divide frosting into bowls and add food coloring of your choice. Place frosting in bags with decorator tips, and now it’s time to decorate!
And Finally…Let’s Decorate These Cookies!
It’s time for the most fun part – decorating our holiday cut out cookies! Here you can see the master cookie baker who taught yours truly. You can also see the master cookie baker in training. Clearly she knows what she is doing.

If you visit my site regularly, you know I love to use my creativity with paper and card making. I love being creative while decorating cookies too! Sometimes however, my creativity runs out and I’m not sure how to decorate a particular cookie. When this happens, I search online for ideas.
I wasn’t sure how to decorate the gingerbread man cookie, so I searched for images of gingerbread men and found an adorable one wearing a Santa hat. Then I recreated it on the cookie shown below.

Decorating is family affair, and all four children, my husband, and myself all decorated cookies together. Aren’t they beautiful?! These cookies are definitely full of love.

And here is the plate I decorated. My cookies weren’t quite so pretty years ago, but chalk it up to around 33 years of practice, and I’m pretty happy with the end result today.

Would you love to make these holiday cut out cookies yourself? Get the full recipe below!
Holiday Cut Out Cookies Recipe
A family tradition. Dough is easy to work with and makes deliciously soft sugar cookies.
Ingredients
- Cookies:
- 1 c. butter, softened
- 2 c. sugar
- 2 eggs
- 1 t. salt
- 1 T. plus 1 t. baking powder
- 4 c. flour
- 1 t. vanilla
- Decorator Frosting:
- 2/3 c. shortening
- 2 lb. powdered sugar, divided
- 2/3 c. milk or water
- 2/3 t. salt
- 2 t. vanilla
- 1/2 t. almond flavoring
- 2 T. light corn syrup
- 3-4 drops pure butter flavoring
Instructions
- To Bake Cookies:
- Preheat oven to 400 degrees F.
- Cream butter and sugar together in a mixing bowl.
- Add eggs and mix well.
- Combine flour, salt, and baking powder. Add slowly to creamed mixture and blend until combined.
- Add vanilla and mix.
- If time allows, let sit for 30-60 minutes.
- Roll dough out with a rolling pin to a level thickness of about 1/4" to 5/16".
- Cut with cookie cutters and place on an ungreased baking sheet.
- Bake approximately 6-9 minutes or until cracks appear and a few cookies are just beginning to turn golden on the edges.
- Remove from oven and let cool on baking sheet for a few minutes before removing to cool completely.
- To Mix Frosting:
- Blend shortening, 1 1/2 lb. powdered sugar, and milk (or water) in a mixing bowl on low speed. Once combined, beat at medium speed until light and fluffy.
- Add remaining ingredients and beat at medium speed until well combined.
- Thicken if needed using additional powdered sugar.
- Divide into smaller portions to mix colors, then place in bags with decorator tips.
Thank you for visiting! I hope you love these cookies. While you’re here, you should take a look around! My normal routine is to help people learn to make pretty cards. Learn more and get started here.
Here’s one more picture of these amazing holiday cut out cookies!
You May Also Like:

Leave a Reply