Welcome and thanks for joining me! The other day as I was peering out my window watching the rain, I glanced over at my Mini Cut & Embossing Machine. A large stack of mini embossing folders stared back at me, and I thought to myself, “I should really do a video about mini embossing folders”. Do you have mini embossing folders in your collection? Do you use them or do they mainly collect dust? In my opinion, they can be used in more ways than many stampers realize, so today I want to share five tips for how to get the most use from your mini embossing folders. Let’s get started!

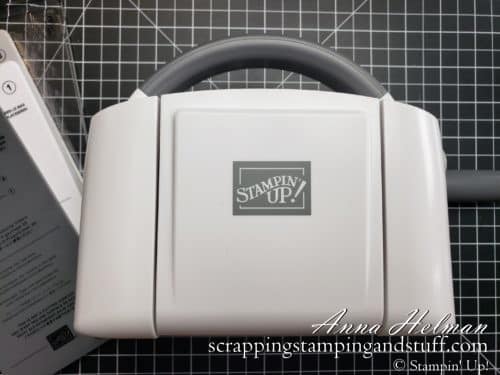
First I’ll share a quick link to information about how to emboss paper. That’s a great place to start if you’re not familiar with using embossing folders, or if you want a quick refresher. Today I’ll be talking about mini embossing folders, and they are perfect for using in the Mini Cut & Emboss Machine. Let’s talk about this machine for a second.
Mini Cut & Emboss Machine
If you don’t already know about the Mini Cut & Emboss Machine, I have some great information in my Mini Cut & Emboss Machine blog post. I encourage you to take a look at it for more information.
Now let’s get to today’s tips for using your mini embossing folders!
Video
If you’d like to watch and follow along with these helpful tips, I created a video you can watch along with below.
Keep reading for highlights of these tips.
5 Ways to Make the Most of Mini Embossing Folders
Below are five ways to get the most out of your mini embossing folders. Read to the end for a bonus tip on how to emboss cardstock that is larger than the folder itself.
1. Use for Small Strips
An embossed piece of cardstock doesn’t have to cover the entire front of a card. You can emboss smaller strips of paper to add to cards and other paper projects. This helps give dimension and texture, and really create a professional-looking end result.
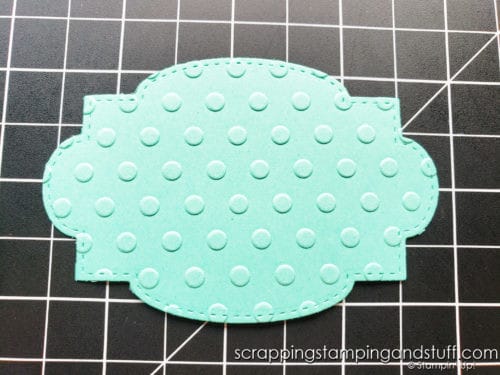
2. Die Cuts
Create embossed die cuts! After cutting out shapes with dies (always do your die cutting first), run them through your machine with a mini embossing folder.
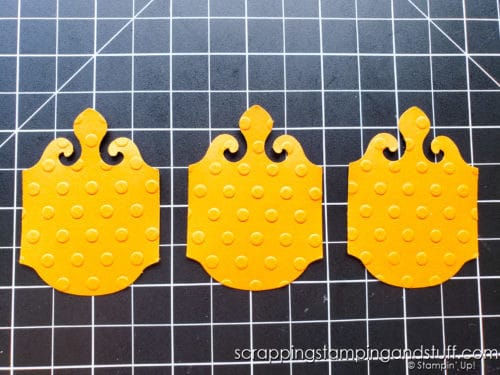
3. Punches
You can also use your punches on cardstock, and emboss the shapes you punch out. You can even emboss several at one time, by laying them next to each other on the folder.
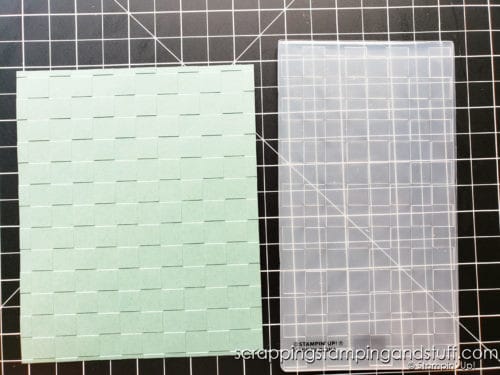
4. Full Card Fronts
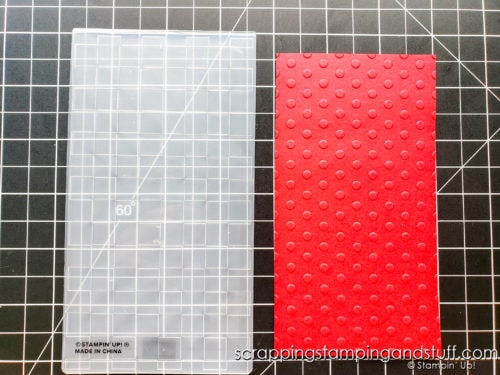
The embossed cardstock pictured below was embossed with one of the folders in the Checks & Dots set. Notice how the cardstock is larger than the folder itself? I used this trick and my large size Cut & Emboss Machine. This is my favorite trick for using mini embossing folders!
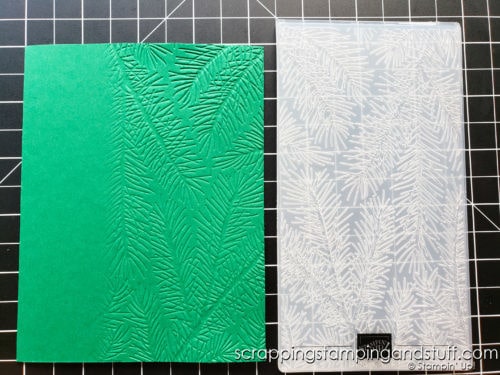
5. Card Fronts
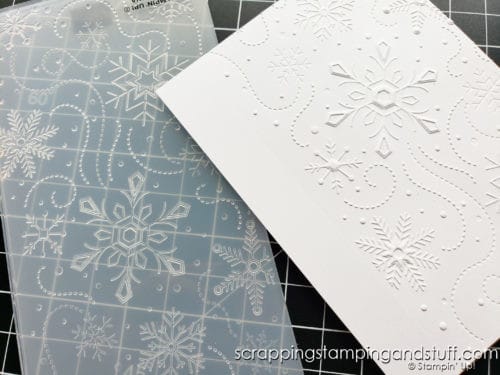
Another way to maximize the use of mini embossing folders is to emboss partial card fronts. When doing this, you only want to run the folder partway through your machine to avoid the harsh edge and line across the paper from the edge of the folder. Check out my video on how I achieved this look!
If you look closely in the photo below you can see the line that is created from the edge of a folder. I like to avoid this when possible using the trick I mentioned above.
Order These Products and Start Mini Embossing Today!:


You Might Also Like:
How To Emboss A Full Card Front With A Mini Embossing Folder
Thanks for joining me today. I hope you’ve enjoyed my tips on how to maximize the use of your mini embossing folders!
Leave a Reply