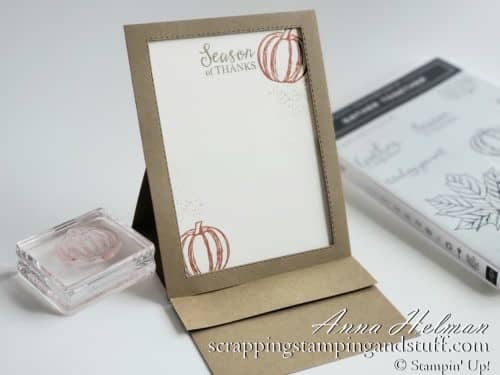
I hope you’re having a wonderful day today! This week I have been sharing Thanksgiving-themed projects to make your turkey day special, and today’s might be my favorite. I am a big believer in celebrating life’s blessings. It can be easy to focus on the negative, but in most cases, despite life challenges, there is still so much for which to be thankful. I also believe strongly in discussing these things with children and helping them to see the positives in the everyday. So…today I came up with a project that you can use along with a family gratitude activity of discussing things for which you are grateful! It’s a framed easel card which you can use to write down your blessings and display them in your home!
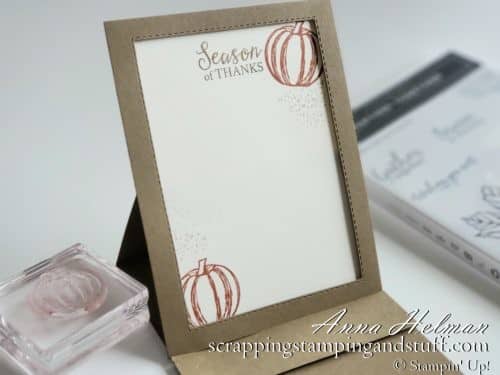
I will walk you through how to make these frames, but first I want to explain how I plan to use them. My husband and I will be using them in our home with our four children. I’m expecting some resitance from the older children, and in order to set a good example for them, the ‘rules’ will be to write down the same number of things you’re thankful for as your age. For example, our five year old daughter needs to write down five things she is thankful for. I will write down 35. So…when the complaining begins, they will see that my husband and I will be listing several times as many items as we are asking them to write down. Wish me luck!
Here is how I made these frames. First, I began with 4 1/8″ x 5 3/8″ pieces of vanilla cardstock. I stamped and decorated them a bit using the Stampin Up Gather Together stamp set.
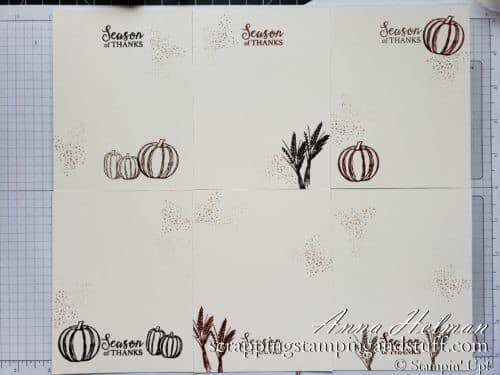
At this point you could simply write blessings on them and frame them, or you can continue on and make the paper frames like I will show below. Regardless of which option you choose, I suggest you write your blessings on them before moving on.
To make the paper frames, begin with pieces of 4 1/4″ x 5 1/2″ pieces of cardstock. I used Cajun Craze, Soft Suede, and Early Espresso colors.
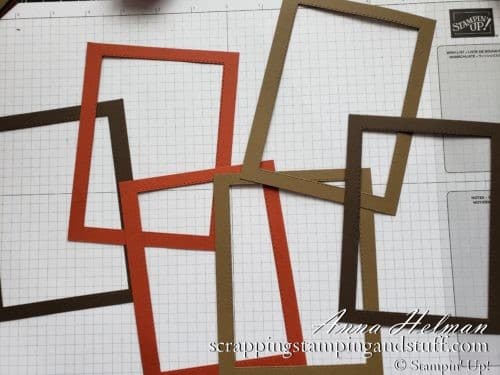
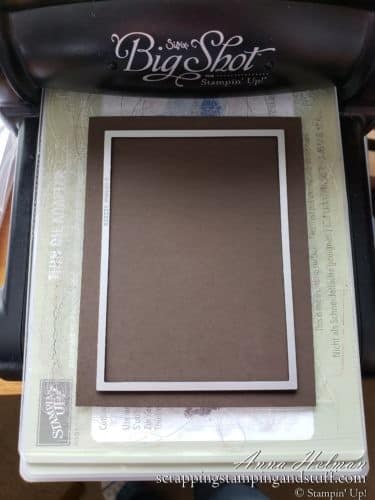
Next, used the largest Stitched Rectangles die, and center it on top of the cardstock. Use your die cutting machine to cut it out.
Once your frames are created, we need to make the base of the frame, which will fold up to display the frame. Cut a piece of 4 1/8″ x 11″ cardstock. Score it at 5 1/2″ and 8 1/4.” Fold and loosen up the score lines.
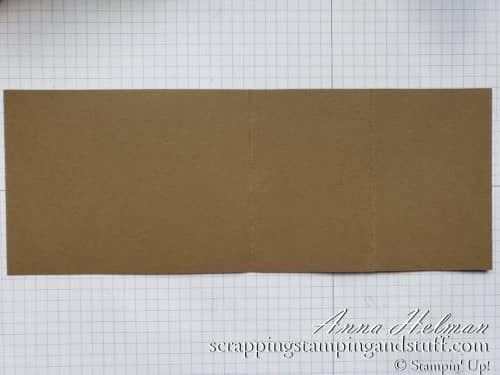
Fold the cardstock piece in half, lay the fold at the top, and place adhesive ONLY on the bottom half, below the visible score line.
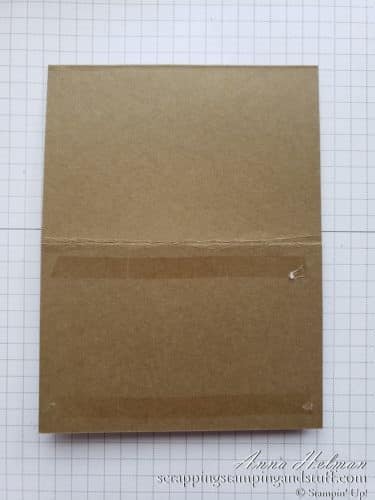
Lay the very vanilla cardstock, already stamped and decorated, directly on top and press to secure. At this point, you can ‘fold up’ the card as shown below. To get it to prop up by itself, you will need to attach a narrow strip of cardstock onto the base. The strip I used measured 1″ x 4 1/4,” and I attached it using dimensionals to allow it to pop up some.
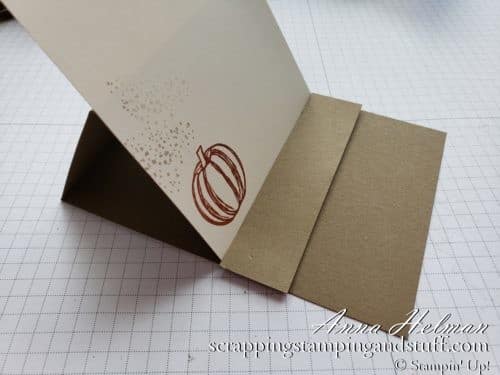
Then you can lay the card back flat and attach the frame using dimensionals to pop it up.
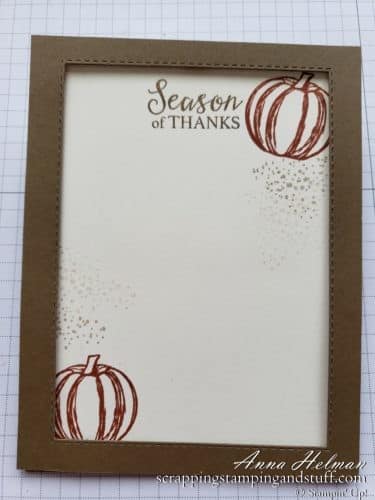
Here is the completed project. It’s lovely the way it is, but will be so much nicer with a gratitude list filling it up!
I hope you will spend some time this season reflecting on your blessings and helping others to do the same! If you are willing please share your gratitude list in the comments at the bottom!
Please make me your Stampin’ Up! demonstrator and order from me using the product links at the bottom! Earn the free gifts shown below when you order using the current hostess code. PLUS, with your first order, you’ll receive free catalogs in your thank you package!
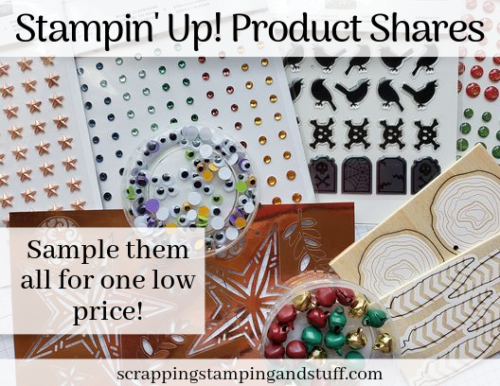
- Sample all of the papers, ribbons, and embellishments that Stampin Up has to offer with Product Shares.
- Check out my current Project in the Mail, Tags Tags Tags (shown below)!

Order this trimmer and have wonderful cutting enjoyment yourself!


[…] This is an easel fold card. Making an easel fold card is actually very simple. See a tutorial on how to make one here. […]