Today I continue my ideas for making slimline cards, and I truly hope you will try making this type of card if you haven’t already! I’m sharing a neat trick today for how to emboss slimline cards using your regular embossing folders, or in other words, how to emboss a piece of paper that is larger than your embossing folder. I’ve shared a similar trick before, but I’ve learned more since last time…and we’ve never talked about this regarding slimline cards. Let’s get to it!
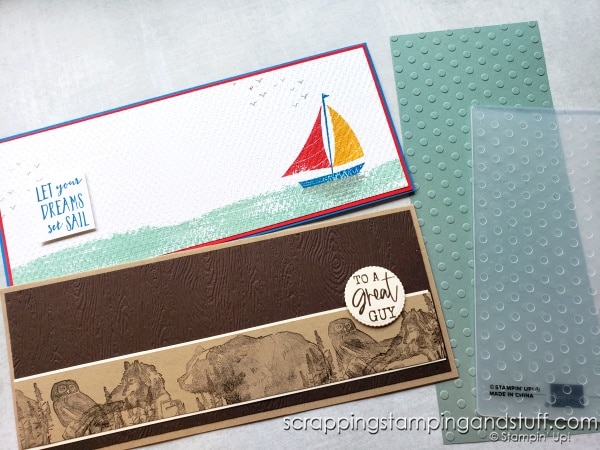
How To Emboss Slimline Cards Video
Watch along here to see how to emboss slimline cards using no special embossing folders!
How To Emboss Slimline Cards Using No Special Embossing Folders – Step By Step
Here are the details for how to emboss slimline cards using your regular embossing folders. Keep in mind this trick only works for embossing folders that either have a symmetrical pattern like dots, stripes or checks OR it has a fairly small pattern. If you have folders with large patterns that aren’t symmetrical, read to the bottom for ideas of how to use them on a slimline card.
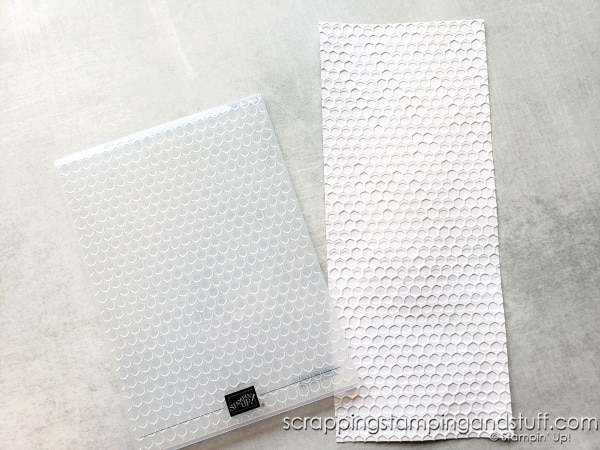
Here’s how to emboss slimline card fronts:
1. Cut your paper to approximately 3 1/4″ x 8 1/4″.
2. Place it into the embossing folder with one end hanging out.
3. Crank through your Cut & Emboss Machine until the folder has almost gone through the center of the machine, then back it out.
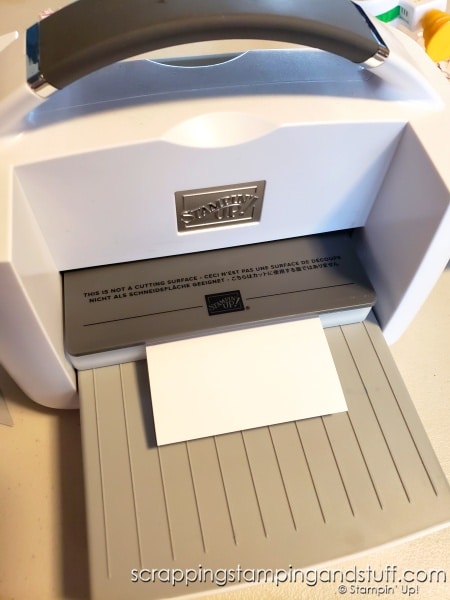
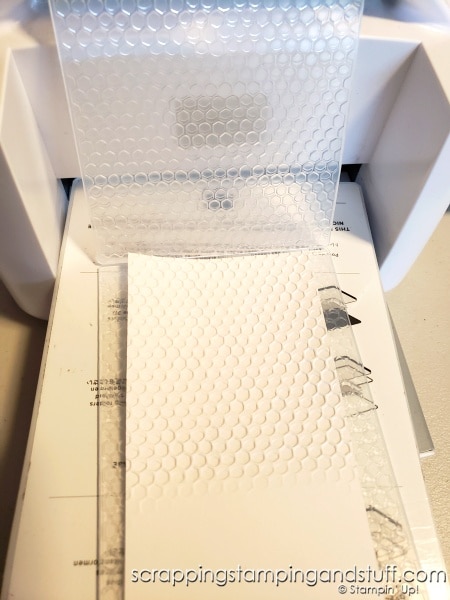
4. Open the folder and flip the paper around. Line up the embossed pattern on the paper with the pattern on the folder, and close the folder.
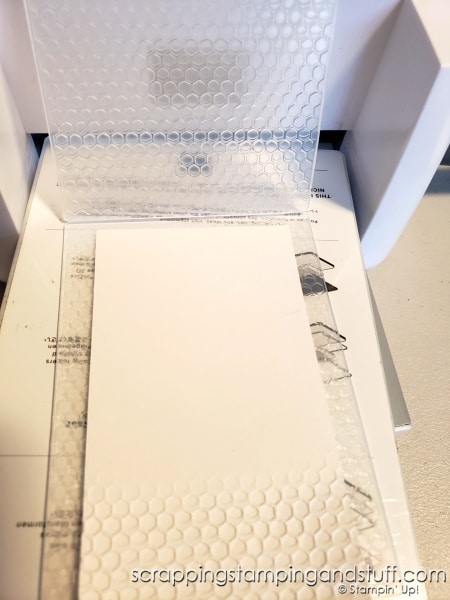
5. Lay the folder back on the platform, and crank it through until the folder has almost gone through the center, then back it out.
6. Open the folder and be amazed!
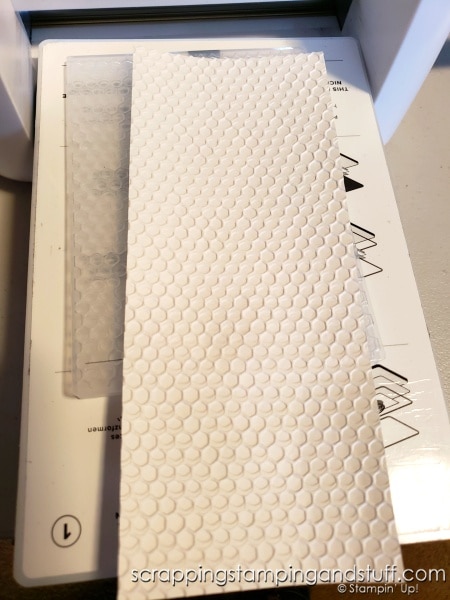
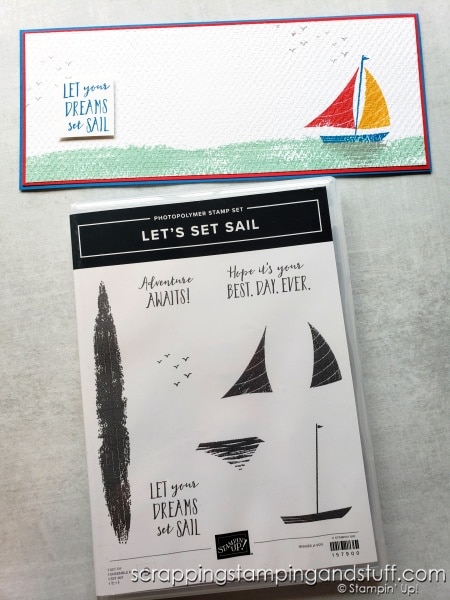
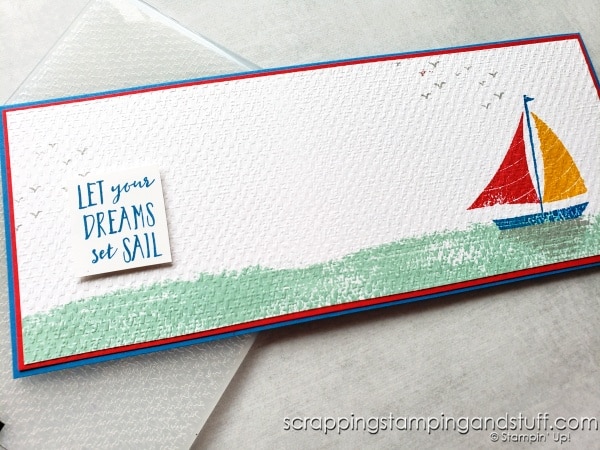
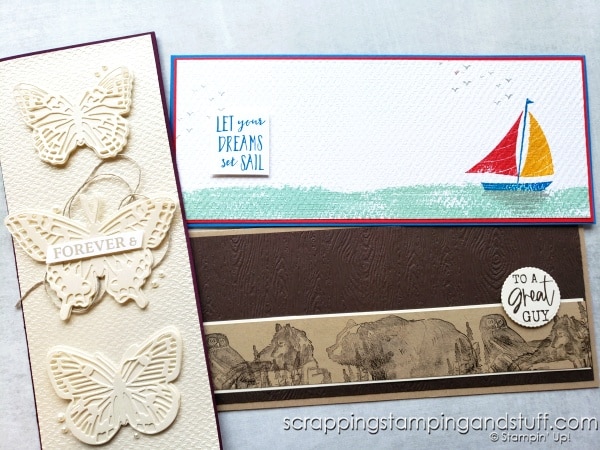
If you’re using an embossing folder with a small pattern that isn’t symmetrical, you don’t have to worry about lining up the pattern as described in step 4. Just flip the paper around and send it back through the machine a second time. For small patterns, you won’t even notice where the pattern doesn’t perfectly align! The two sample cards shown below were done this way.
Embossed Slimline Card Samples
Let’s look at a couple of sample cards.
Let’s Set Sail Card
Wildlife Wonder Card
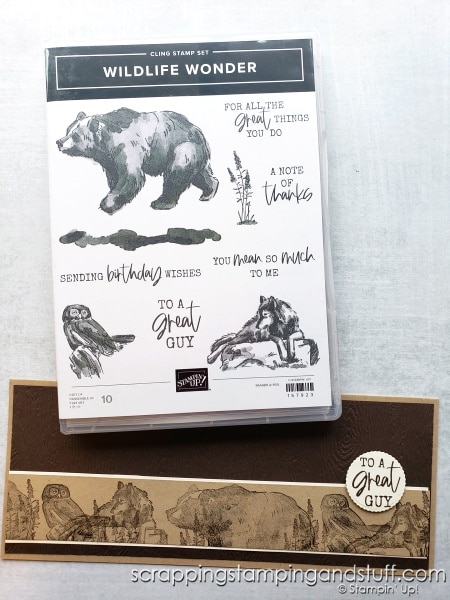
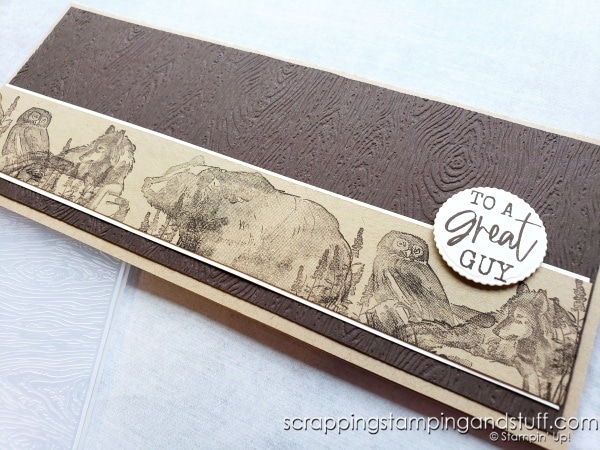
What To Do With Large, Non-Symmetrical Folders?
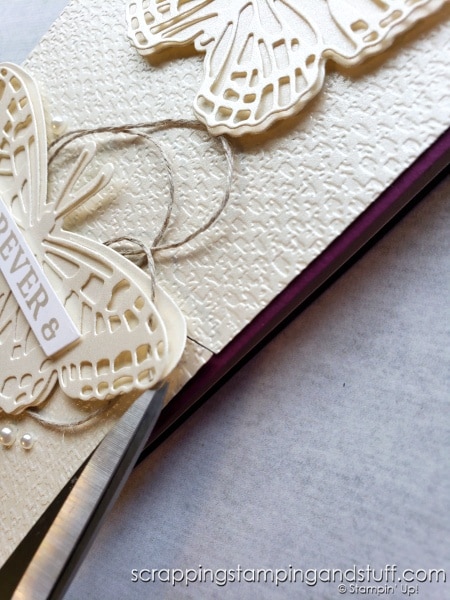
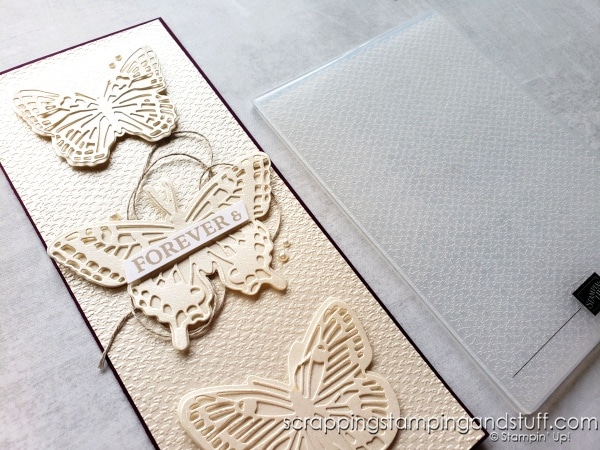
I mentioned above that there’s still a way to use embossing folders with large patterns that are not symmetrical on your slimline cards. Here’s how – emboss two different pieces of paper, then splice them together and hide the splice behind a die cut or piece of paper or ribbon.
In the photo below, do you see the split near the tip of my paper snips? That piece was cut all the way across and you can’t see it behind the butterfly.
I should note that the embossing folder I used on this card is the same one I used on the sailboat card above, and I could have embossed this card using today’s technique, but I didn’t know that when I made it a few months ago. I just wanted to share it to show how you can use two separate pieces of embossed paper, and hide the ‘joint’ behind another element of your card.
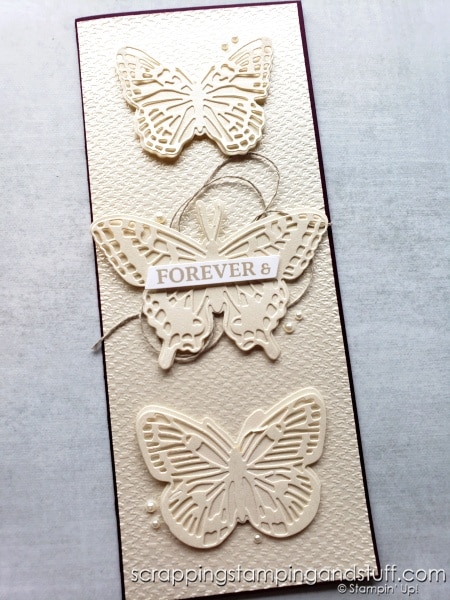
See more about this beautiful butterfly card here.
Supply List
Do you love the embossing folders I used today? Take a look at them and order if you like using these links!
Product List Learn To Make Cards
Shop Supplies
Rewards Program
Join My Amazing Team
Thanks for visiting friends! You’ll have to try out this trick for how to emboss slimline cards using your regular embossing folders!


Leave a Reply