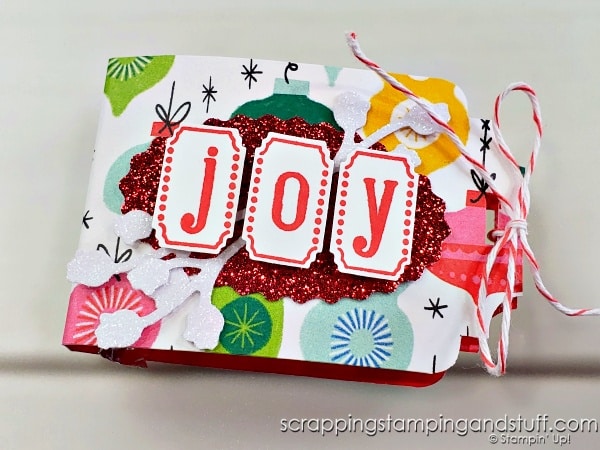
Do you love to create treat holders? Or you don’t love them because they’re tedious and time consuming? Either way, I would love for you to follow along with today’s projects because I’ll be sharing three of the easiest treat holders you’ll ever make. Each can honestly be created in about one or two minutes, plus the amount of time you spend decorating them. Let’s take a look at them!
3 Quick and Easy Treat Holders Video
Watch along here for instructions for how to create these adorable treat holders!
Using 6″x6″ Designer Paper
Each of today’s projects can be created with 6″x6″ designer paper. Sometimes I get asked for ways to use this size of paper. You can use 6″x6″ papers to create card fronts, but sometimes it can create a lot of waste. These treat holders are a perfect way to use your 6″x6″ papers with no waste at all. Of course, you can also cut down 12″x12″ papers to create these cute treats.
Patterns For 3 Of The Easiest Treat Holders
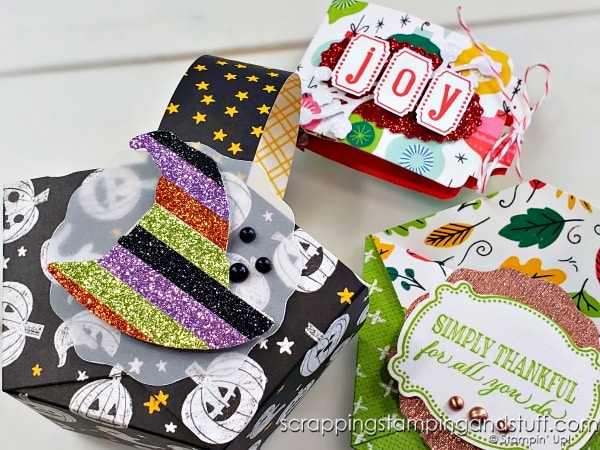
Treat Holder #1 – Basket
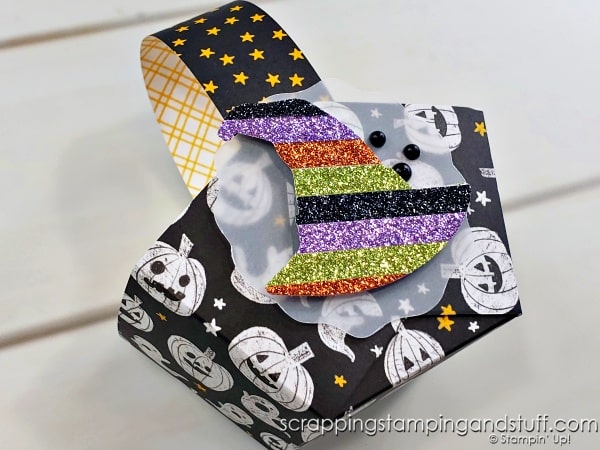
This is so easy to create. Score at 2″ and 4″ on both sides of your paper. Snip on the lines at the top and bottom, then fold it up and attach. Add a 1″x6″ strip as a handle and decorate as you like.
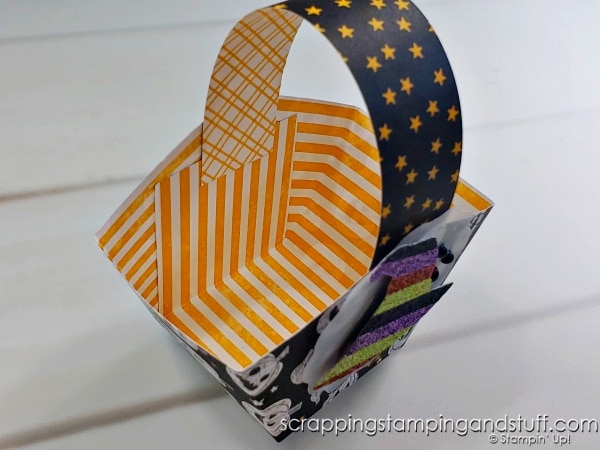
Treat Holder #2 – Pouch
This one is even easier than the basket. Lay the paper so it looks like a diamond. Fold the bottom corner to the top corner and crease. Bring the bottom right corner up towards the top left until the top edge is horizontal, then crease. Repeat with the bottom left corner, bringing it up towards the top left. Fold down the front top flap.
This is easier when you watch along than when I explain in words – just watch the video!
Treat Holder #3 – Candy Bar Wrapper
For this one, score your 6″x6″ paper at 2 7/8″ and 3 1/8″. Then turn it 90 degrees and cut at 2″ and 4″. This will create 3 treat holders. Punch holes and corners on each end, and fold around a Ghiradelli square or flat candy such as a peppermint patty.
Featured Paper
I’ll mention that the papers I used on these treat holders all came from the same pack. It’s called Celebrate Everything, and it’s a host-exclusive rewards item that can be chosen free with any $150+ order. I really like this pack because it includes something for every occasion – even fireworks for the 4th of July! See the links below for the other products I’ve used.
Supply List
Take a closer look at the products I’ve used here:
Product List Designer Series Paper")
")

")
")
")


Learn To Make Cards
Shop Supplies
Rewards Program
Join My Amazing Team
Do you agree these are some of the easiest treat holders you’ve ever seen?
Awesome treat holder. Thanks for the info!
Thanks Joan!