Hi friends! I’m knee-deep into my new product order from our new catalog that came out this week, and I’m loving every minute of it! I can’t wait to share tutorials and project ideas using these new products. Today I want to share a simple technique you can try with products you likely already have in your collection. This technique is double embossing. Let’s talk about it!
Double Embossing Video
Watch along here to learn all about today’s technique!
What Is Double Embossing?
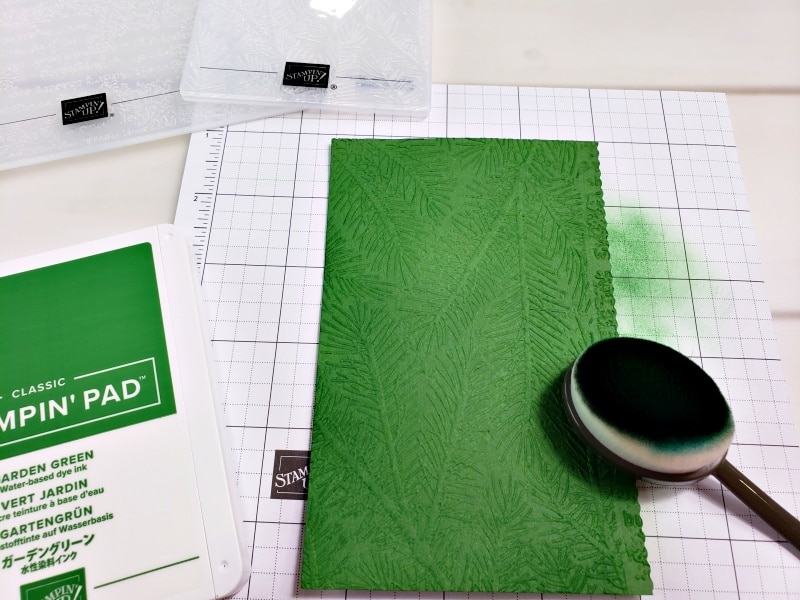
A while back, I had shared a double embossing technique that involves heat embossing over dry embossing. You can learn about that type of double embossing here. As for today’s double embossing technique, we will be using two separate embossing folders to put cardstock through our embossing machine two different times. For the sample below, I embossed first with the Timeworn Type folder, then the Wintry folder. It’s a bit hard to see, but keep reading for more samples.
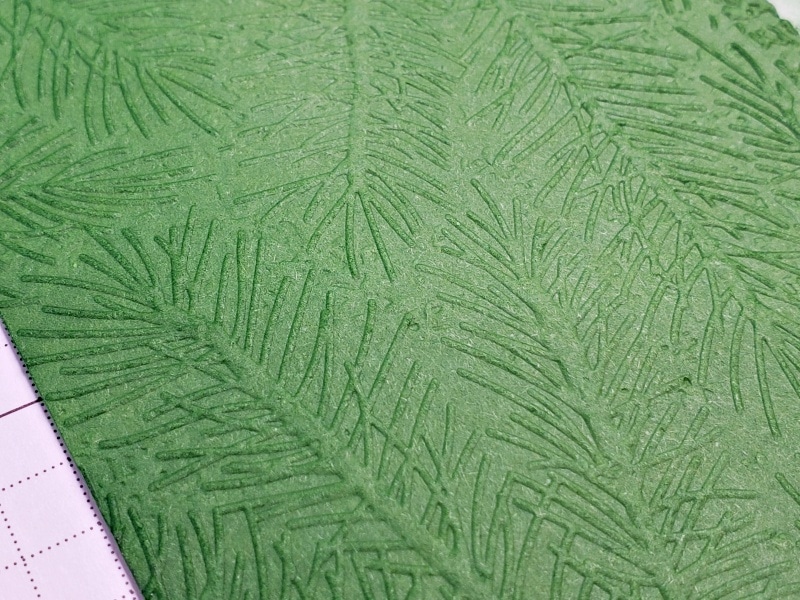
I will mention that I used blending brushes to add ink over top of all of these samples to bring out the embossed texture a bit more.
Double Embossing Samples
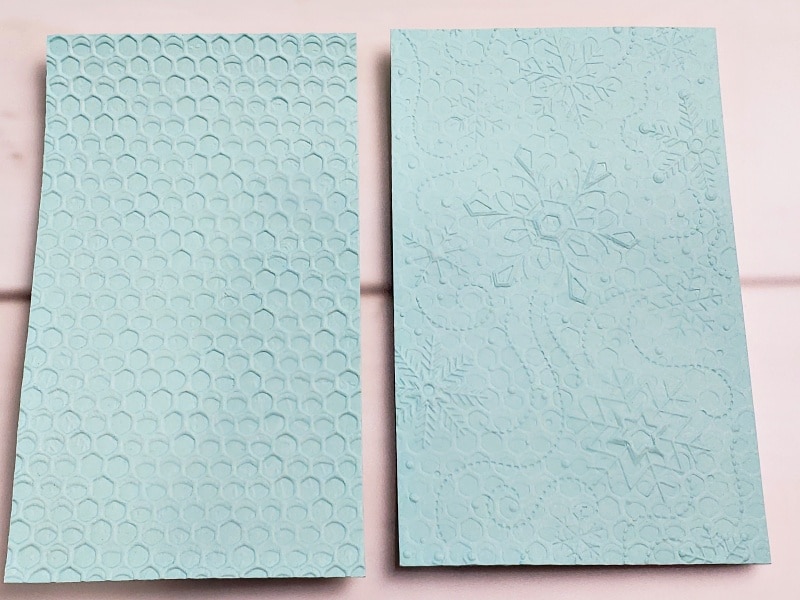
When you choose two embossing folders to use, it is important which one you emboss with first and which one is second. For the two samples below, I embossed both with the same two embossing folders – Hive and Wintry. The difference? I used Wintry first and Hive second for the sample on the left, and Hive first and Wintry second for the sample on the right. The lesson? Choose the folder you want to be more obvious, and use it second. Use the other folder first.
Double Embossing Card Samples
Let’s look at a few completed cards using this technique.
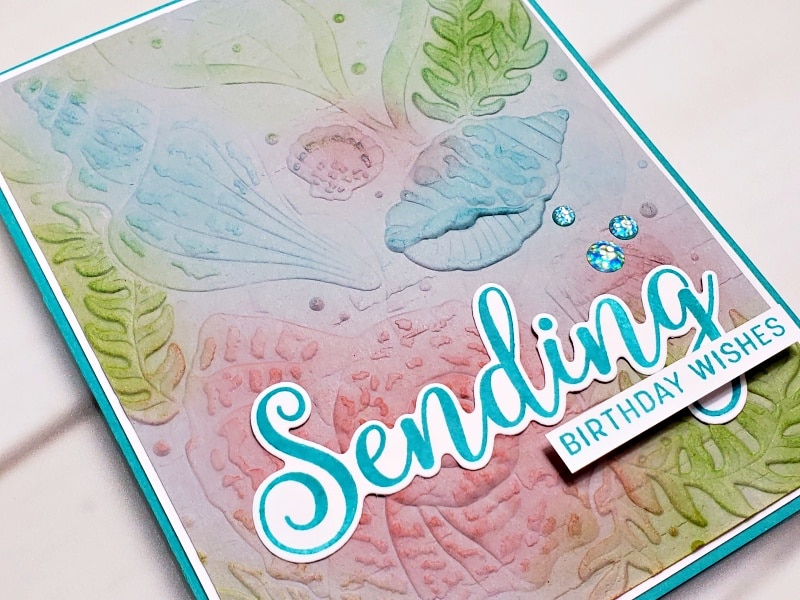
The card below used the Brick & Mortar embossing folder first, the Seashells folder second, and the Sending Smiles bundle for the sentiment. Pretty, right? I like that the subtle texture from the Brick & Mortar folder adds a bit more structure to the background. If you love these seashells, you need to check out these card ideas.
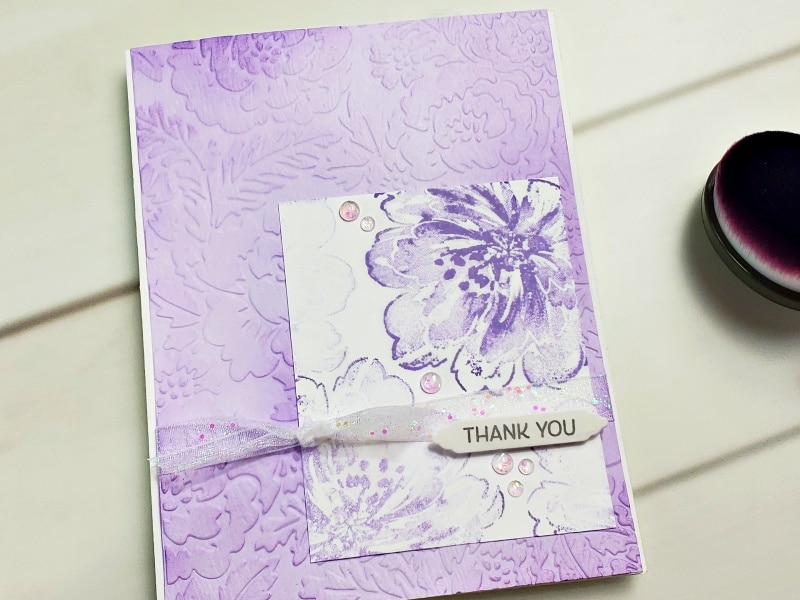
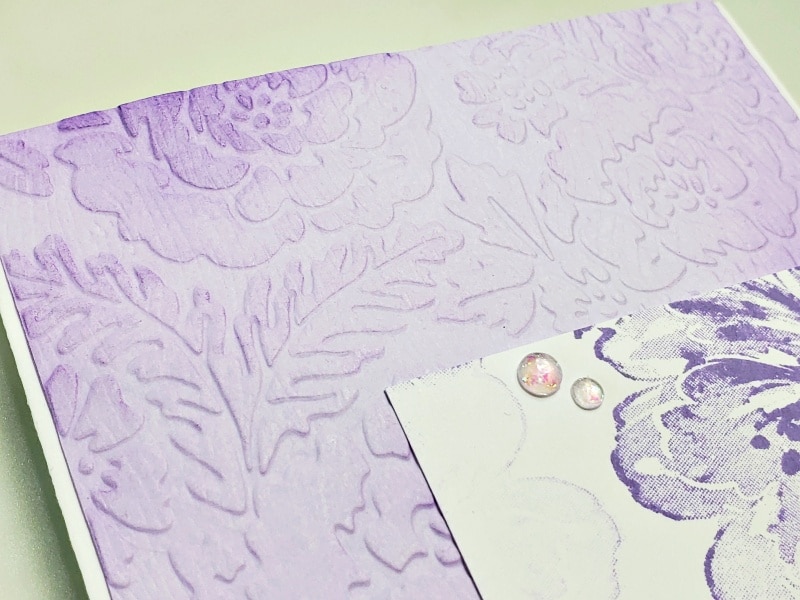
I created the card below by first using the Timber embossing folder, then the Pretty Flowers folder. I used the Flowing Flowers stamp set for those lovely stamped flowers.
Here you can see the texture a bit closer. See the subtle woodgrain print from the Timber embossing folder?
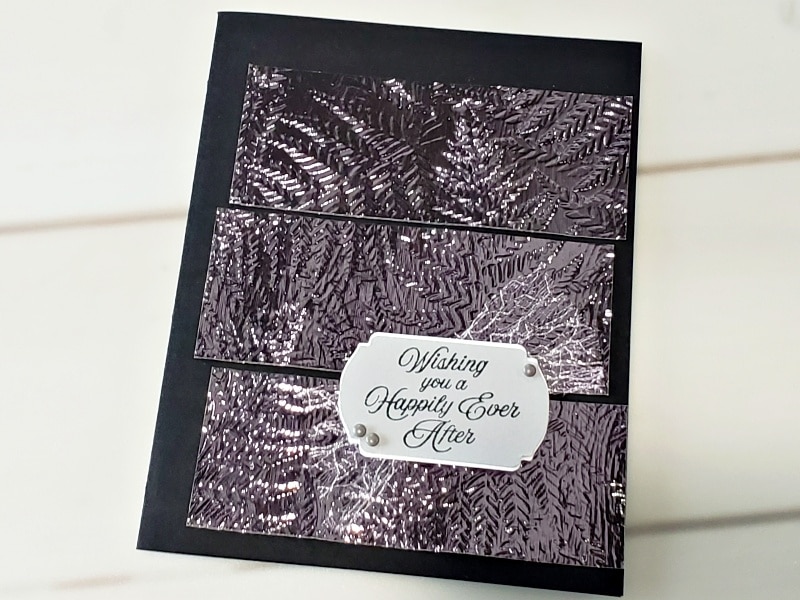
For this card, I used the Timber folder followed by the Fern embossing folder – a new favorite of mine. Want to see another elegant card created with the Fern folder? Take a look here.
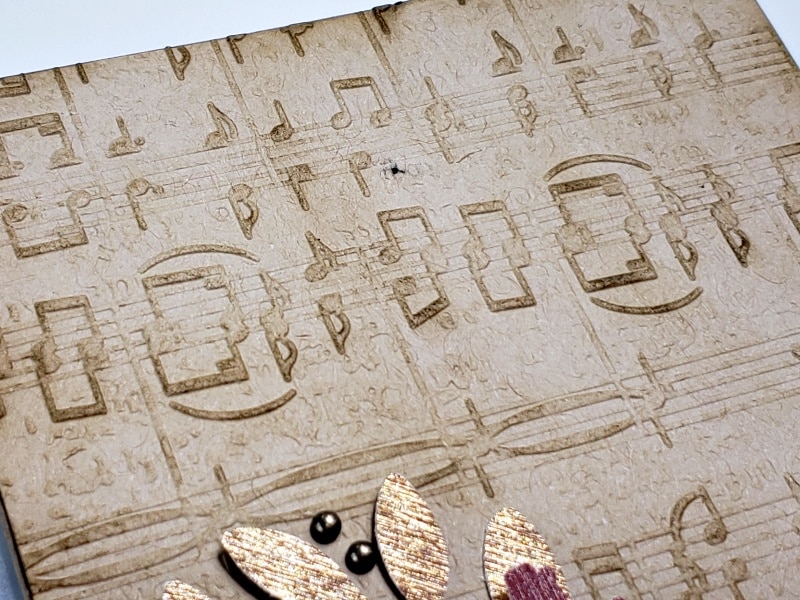
Last but not least is my favorite sample from today’s projects. I first used the Timeworn Type folder followed by the Merry Melody folder, and I just love the result. I created those beautiful branches with the Bough Punch and Gold & Rose Gold special paper. So pretty!
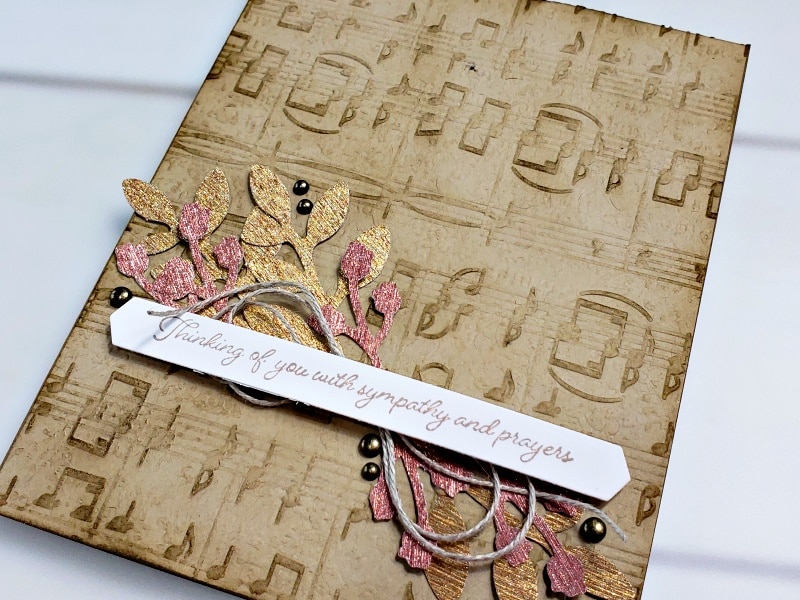
Here you can see that texture from the double embossing up close.
Supply List
Product List Learn To Make Cards
Shop Supplies
Rewards Program
Join My Amazing Team
What neat texture effects can you create with the embossing folders in your collection?


Leave a Reply