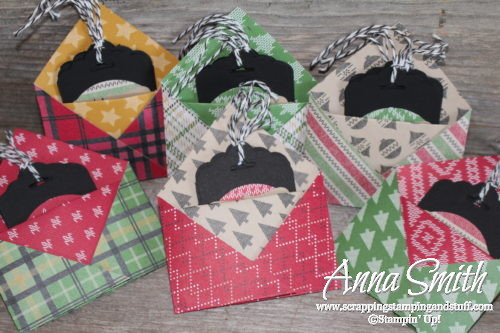
Some of you may remember that during the last month of September, I was trying to get a few last orders to achieve the Stampin’ Up! incentive trip to Thailand. One of the things I offered to people who ordered was a handmade gift. The gift I ended up making was a DIY gift card holder and Christmas gift tag set. Here is one of them.
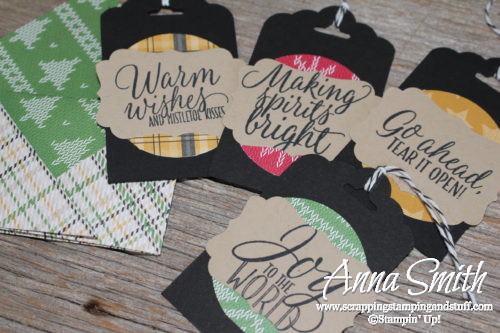
I used the Warmth & Cheer designer paper stack for the gift card holders and the accents on the tags. The sweatery-looking patterns make me feel warm and fuzzy inside just looking at them!
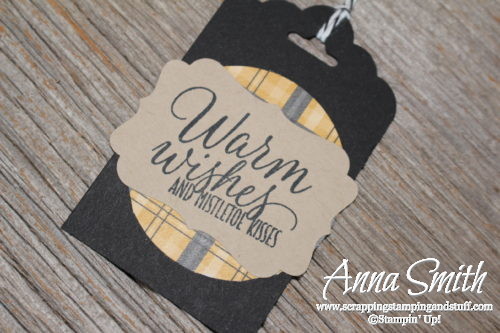
Here is a close up of one of the tags. Our punches made it a snap to put these together. I used the scalloped tag topper, 2″ circle, and decorative label punches.
If you would like to make the DIY gift card holder, instructions are below.
Start with a piece of 6″ x 6″ paper, laying diagonally as shown below.
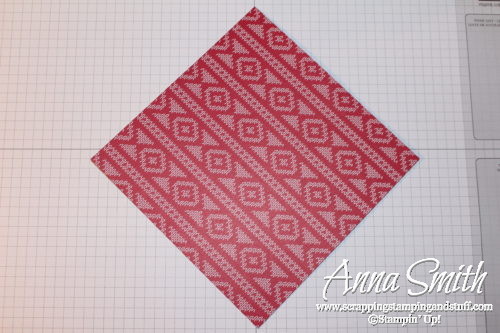
Fold the bottom point up to the top point and crease.
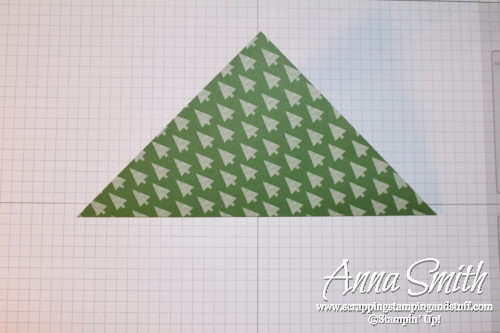
Fold the front top point back down to the bottom.
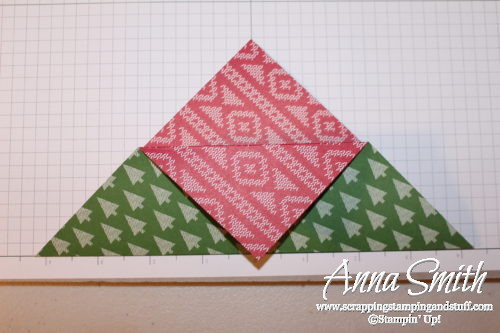
Fold the right point over so that approximately 2 1/2″ on the right side is folded inward.
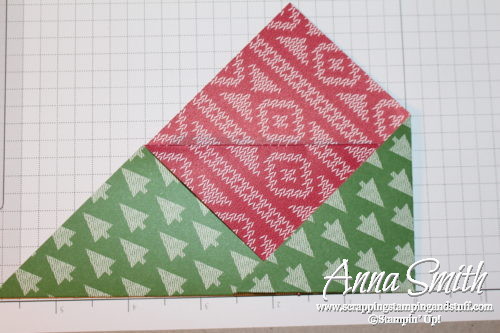
Repeat on the left side. Fold the left point towards the right side so that 2 1/2″ is folded inward. Use adhesive to attach flaps together.
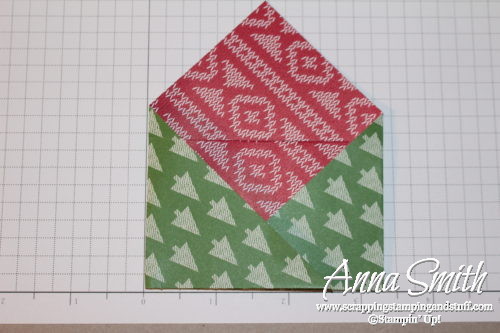
These were quick and easy to make. Thanks again to everyone who ordered from me the last week of September, or anytime for that matter!

Please shop with me and combine these offers to get great deals!
- Use hostess code VPNDERW4 during the month of November and I will send you a free gift!
- Keep track of your Stampin’ Rewards and earn free stamps from me!
- Any purchase of $150 or more will earn you hostess credit through Stampin’ Up!
- Join online stamp club and get free products and projects.
Order the products I used and make it yourself!


Leave a Reply