Hi there! Have you ever wanted to add embellishments to a project, but didn’t have any that coordinated with it? It used to happen to me often, and normally I would just leave off the extra touches because I didn’t have the color that I needed. That is, until I learned this really simple trick. Keep reading and I’ll share this game-changing trick for how to make embellishments that coordinate with any and all of your projects.
Create Embellishments in ANY Color Video
I created a video for how to create personalized, coordinating embellishments if you’d like to follow along!
For those who are still reading…here is the magic secret – color your embellishments with Stampin Blends markers.
Stampin Blends Markers
Stampin Up Alcohol Blends Markers are designed to allow you to add color to stamped images and to create detail, depth, and life-like shading. Each Alcohol Blends Combo Pack comes with a light and dark shade of the same color. The light and dark shades allow you to create highlights and shadows giving images more depth. Blends Markers also allow you to color other objects besides paper, which is what I want to talk more about below!
Before we do that, here are some really vibrant samples of cards I colored using Stampin Up Blends Markers.
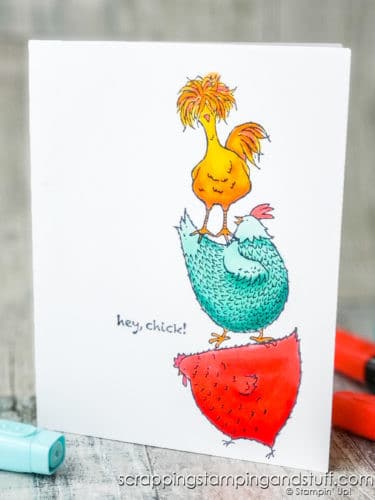
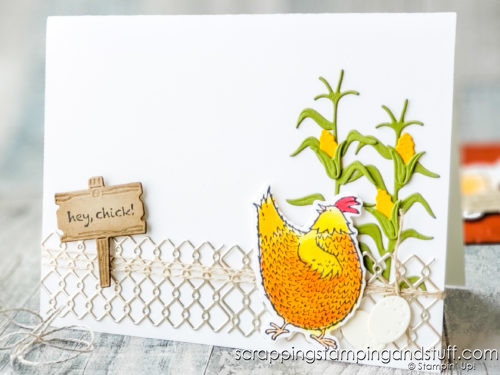
I created both of these cards with the Hey Chick Stamp and Die set, and colored them in with Blends Markers. Here’s a link to the fabulous chicken blog post, if you’d like to create these hilarious cards too.
What Else Can Be Colored?
Like I said earlier, Blends Markers give so much more freedom in coloring than regular water-based markers. Here’s a list of just some of the things I’ve colored using Blends Markers:
- Stamped Images
- Pearls
- Rhinestones
- Ribbon
- Paper
- Vellum
- Twine
- Lace
Next, I’ll share how I’ve used these markers to color embellishments to perfectly coordinate with my projects.
How to Color Embellishments
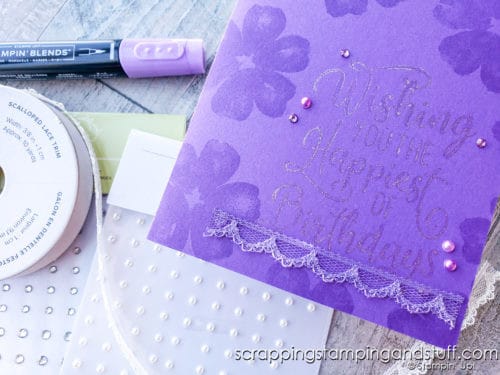
When coloring embellishments, all you need is any Blends Marker that coordinates with the project you’re working on. As you can see in the image below, my project has a Gorgeous Grape card base. I decided to coordinate some pearls and rhinestones colored with Blends Markers in Highland Heather, for a slightly lighter shade.
I simply colored right over the top of the pearls and rhinestones with the Highland Heather Blends Marker. I waited a few seconds for them to dry, and then I picked them up and applied them to the card with my Take Your Pick tool.
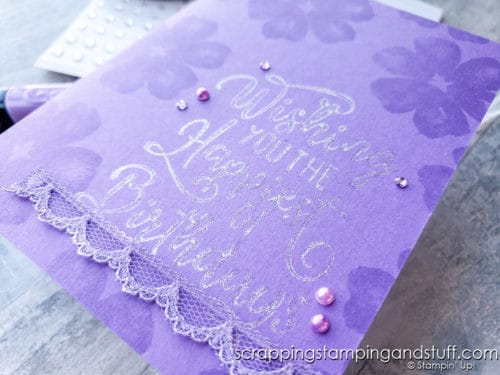
Here’s a closeup of the lace sample I also colored with the Highland Heather Blends Marker.
There are so many different ways to use Blends Markers. Leave me a comment and share some of the ways you use them too!
Don’t Miss Out!
Please make me your Stampin’ Up! demonstrator! Earn rewards points towards free stamps PLUS a gift when you order. Use host code: J799T23Y PLUS, with your first order, you’ll receive free catalogs in your thank you package!
Order These Products to Start Coloring Embellishments Yourself
You Might Also Like:
Add Color To Designer Papers? Try These 6 Different Techniques
I hope you enjoyed today’s tip for coloring embellishments with Stampin Up Alcohol Blends Markers. Enjoy!


Leave a Reply