Hi stamping friends! I have happy and sad news for you – today is the very last day I’ll be crafting with you from my craft space on the main level of my home. Before I packed up and moved all my things to my new area in the basement, I decided to do a thorough tour showing you how I had everything organized. Today is my ‘saying goodbye’ craft room tour and hopefully soon I’ll be ready to do a tour of my new area. In sharing this video, photos, and explanation, hopefully you can find some craft room organization ideas that will help you. Let’s start the tour!
Craft Room Tour & Top 5 Organization Tips Video
For my full explanation of how I have everything organized, please watch along with this video. At the end, I’ll share my top 5 organization tips!
Now let’s get started with the photo tour.
My Craft Area
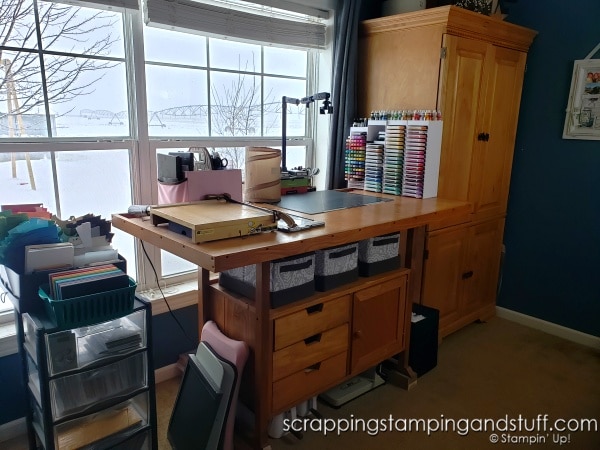
For the last few years, my craft space has been along the back wall of our living room, and the majority of my supplies have been stored between my craft table and craft cabinet. I have a few items stored other places and overflow of old stamps and paper boxed up in the basement, but all of my commonly used items fit in this small area. Let’s start by looking at my craft table and how it’s set up and organized.
Craft Table
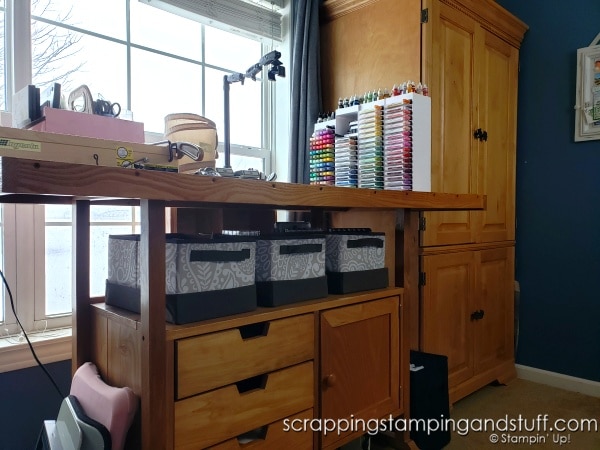
I keep my most-used supplies on or in my craft table. It is standing height, and I actually inherited this table from someone a few years back. I love the size of the top and all the space underneath for storage.
Work Surface
In the center of my work surface I have a self-healing mat where I do most of my work.
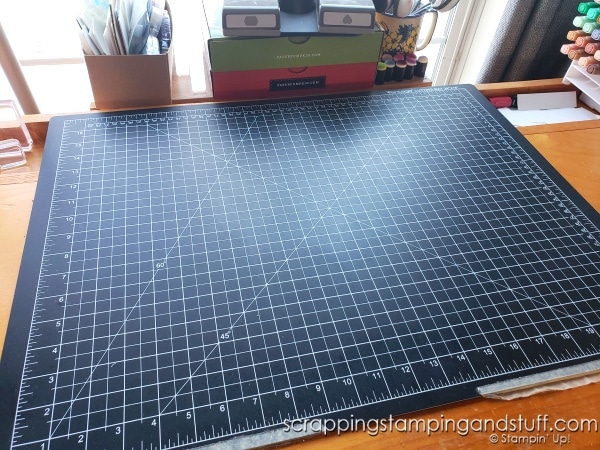
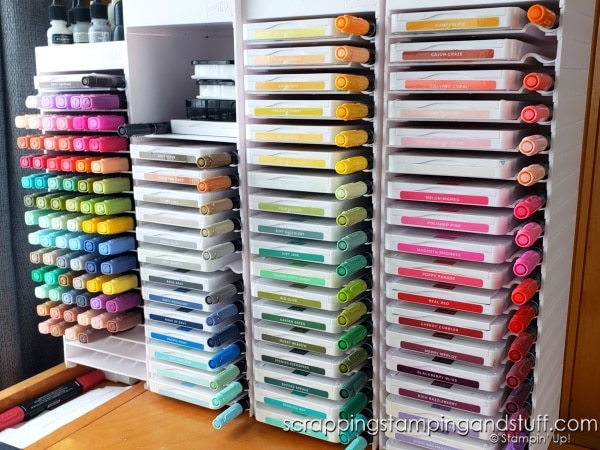
On the right side of my work mat is my storage for my stamp pads, Stampin’ Write markers, Blends alcohol markers, and ink refills. It’s so important to have this within reach. You can learn more about our ink pad storage here.
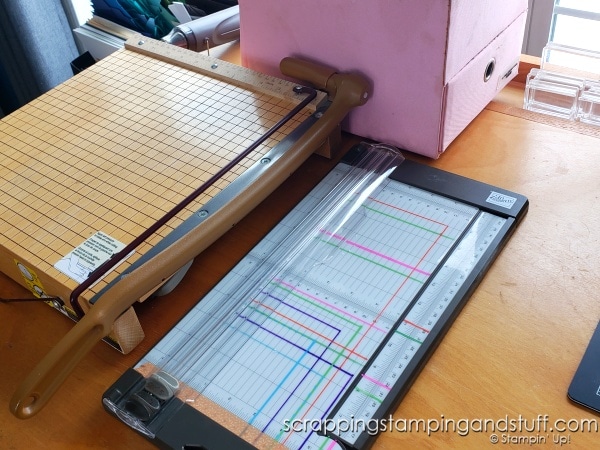
On the left side of my work surface are my paper cutter and trimmer.
Behind my paper cutter, I have an organizer that holds many assorted supplies including my bone folders, Take Your Pick tools, water painters, Stampin Pierce mats, silicone craft sheets, scissors, and more. Like my ink pads, it’s extremely important that I have these supplies within reach at all times.

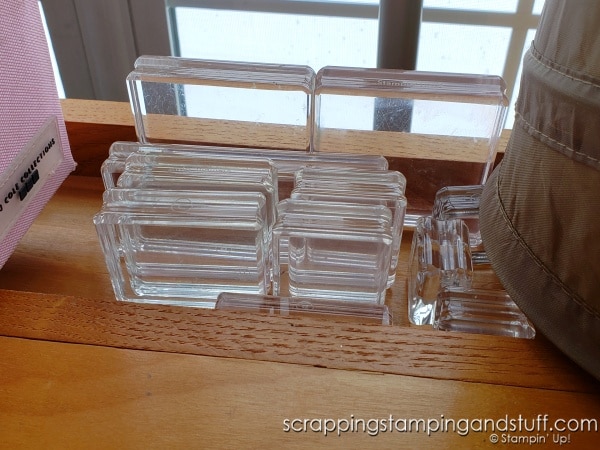
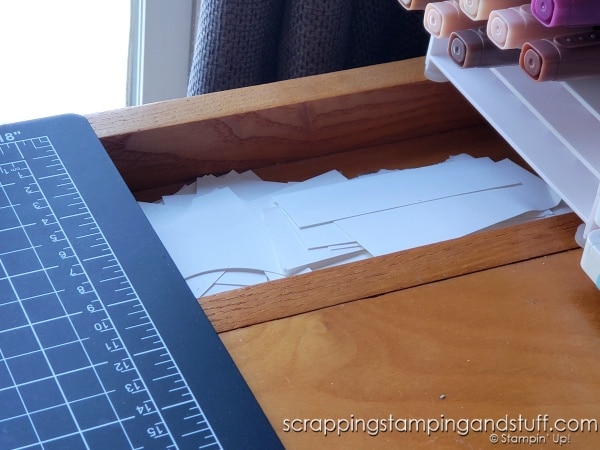
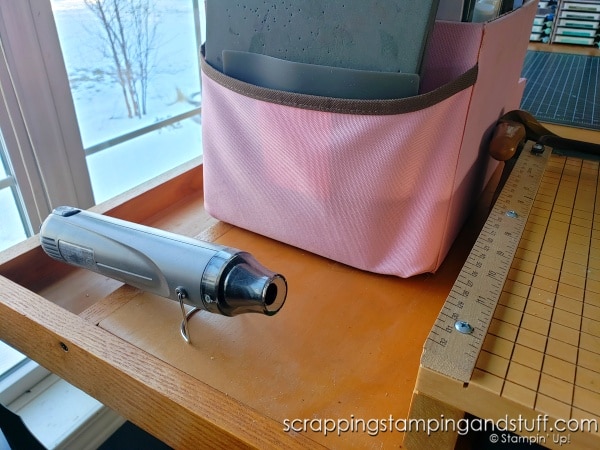
The groove along the back edge of my table holds acrylic blocks, paper scraps, and my heat tool.
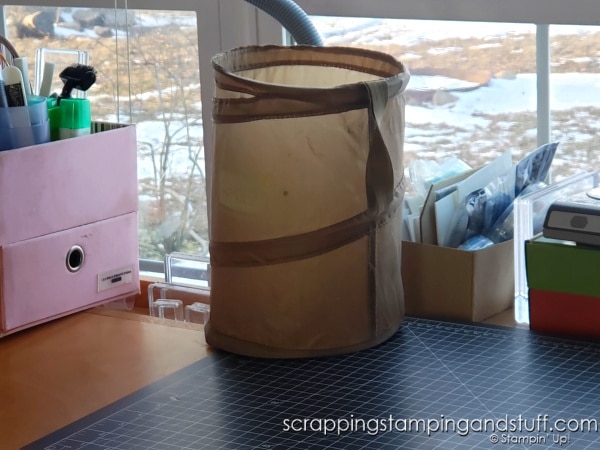
I have a small trash can that moves around on my table top, wherever is out of the way at the time.
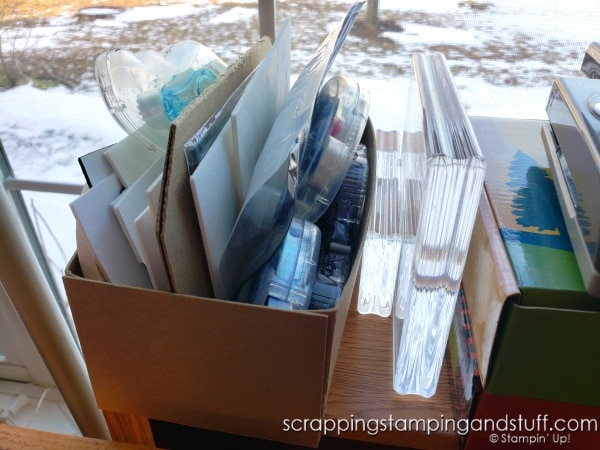
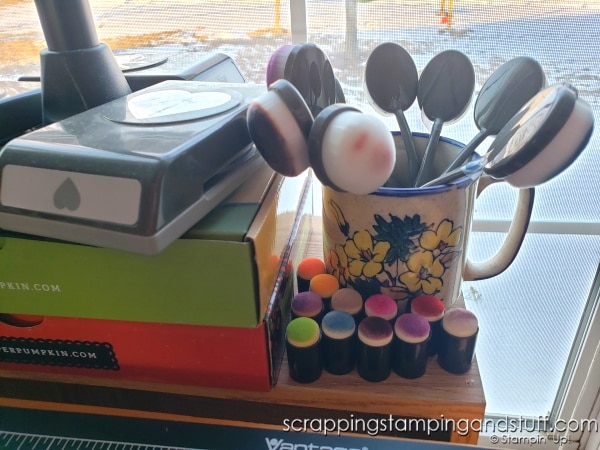
Just beyond my work surface on the small shelf that holds my camera holder for recording videos, I store adhesives, large acrylic blocks, blending brushes and a few random sponge daubers.
Next, let’s move on to the storage under my tabletop.
3 Totes Under The Tabletop
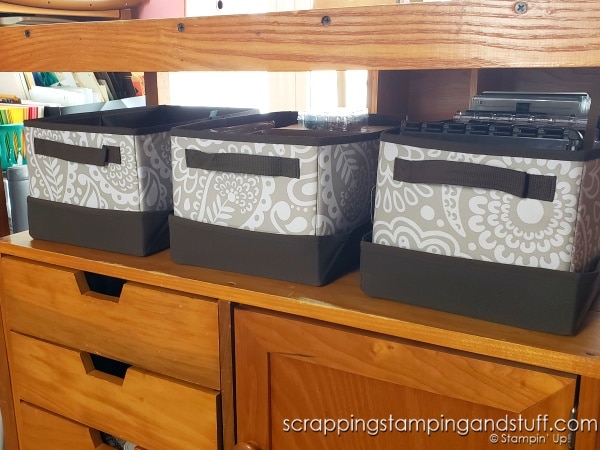
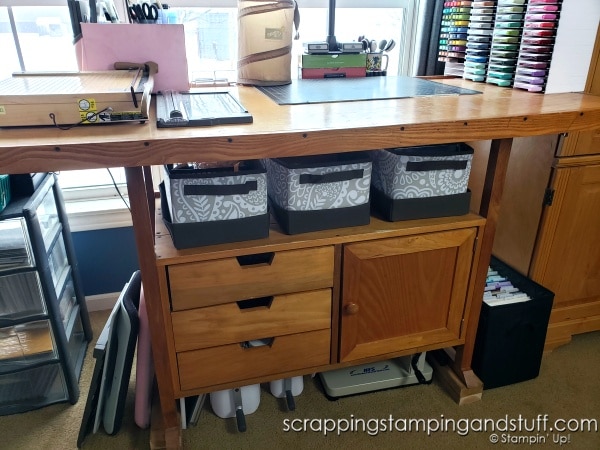
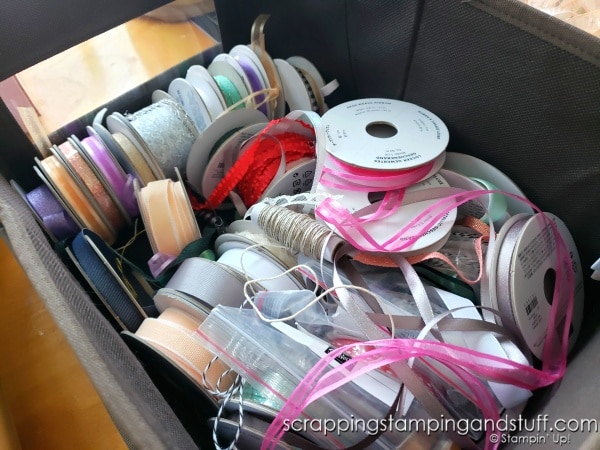
I love this storage area under my tabletop. I have three totes that hold some of my most-used products. The tote on the left side holds my ribbons. Sometimes they’re organized…
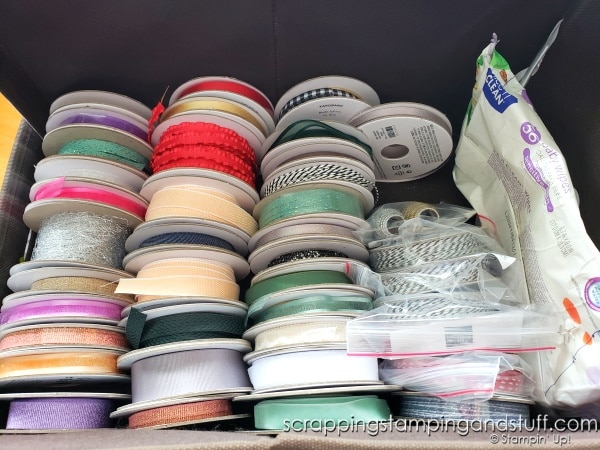
…sometimes they’re not.
The middle tote holds my embellishments.
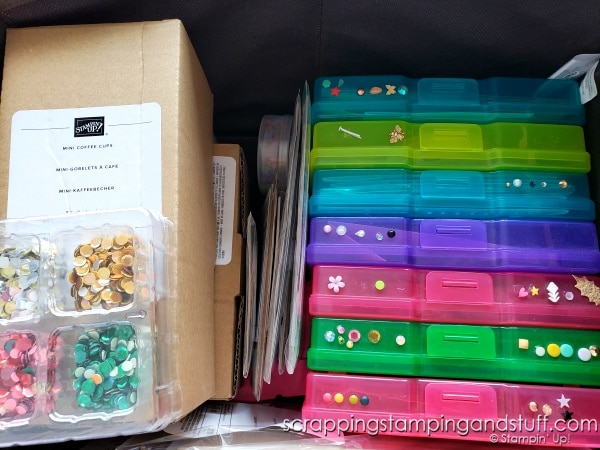
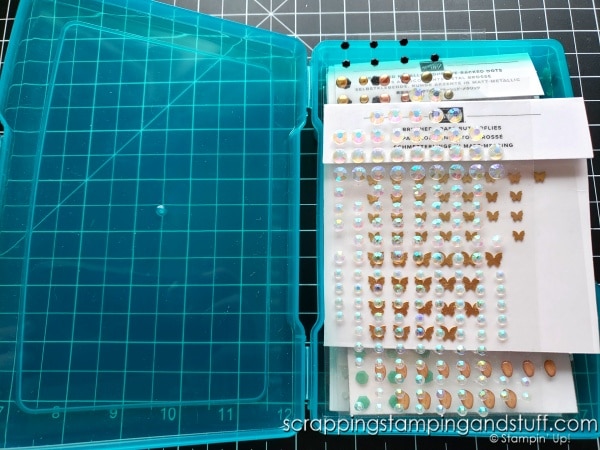
I organize my embellishments in these small colored cases. I place one of each embellishment on the outside of the case so that I know what is inside by doing a quick visual scan.
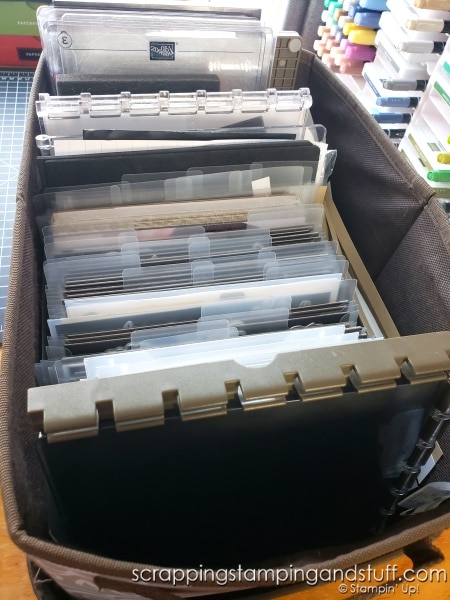
The third tote, on the right side, holds my dies and a few other supplies. Most important of all, my Stamparatus stays in the very front of this tote. I can pull it out and slide it back in without even bending down or moving this tote.
Next let’s talk about what is stored in the drawers of my table.
Drawers
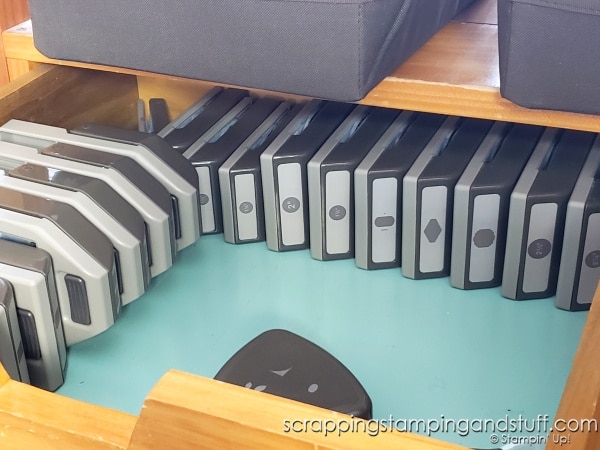
The top two drawers hold my punches. The top drawer has my most commonly used punches, which are the basic shapes like circles and tags. I store them on their side to make space for all of them to fit.
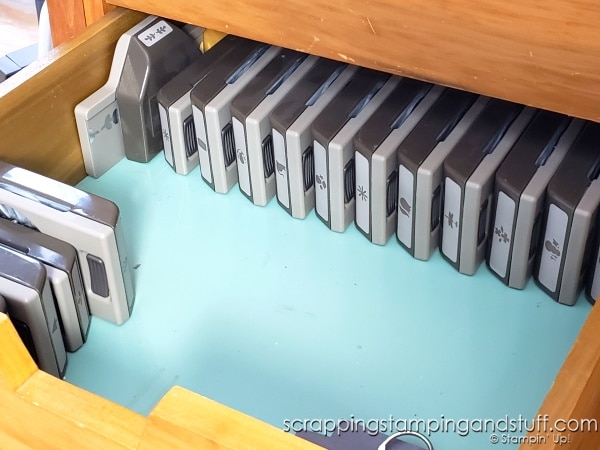
The second drawer holds my specialty punches like flowers and animals.
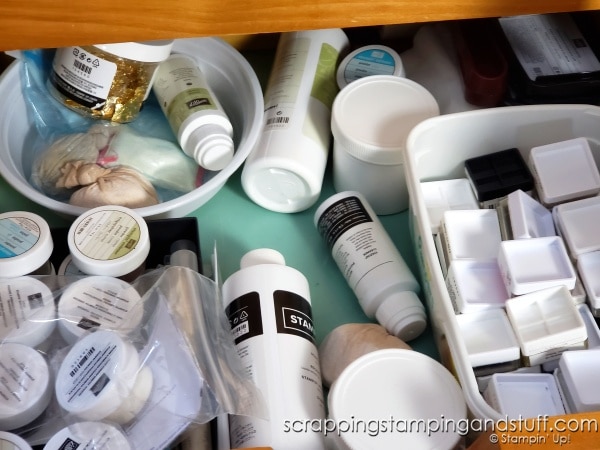
The third drawer holds odds and ends that I don’t use quite as often. It holds heat embossing supplies, pastels, embossing paste, spritzers, mini ink pads, masks, watercolor pencils, and a few other items.
What can you find behind the wooden door on the right side of the table? A set of plastic drawers. Let’s take a look at it next.
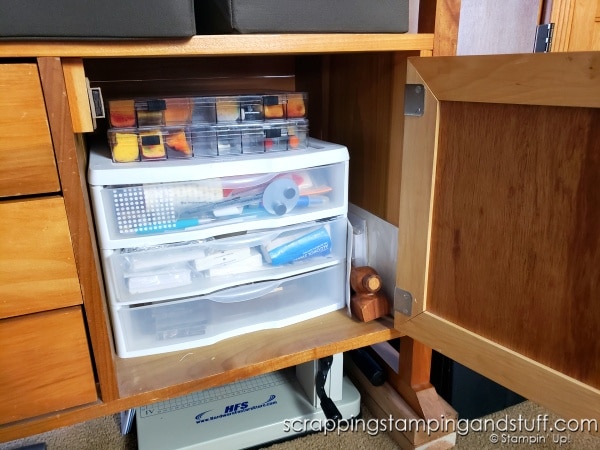
Plastic Drawers
To make best use of the space, I decided to use one of these plastic drawer units. On top of the unit I have my sponges in cases.
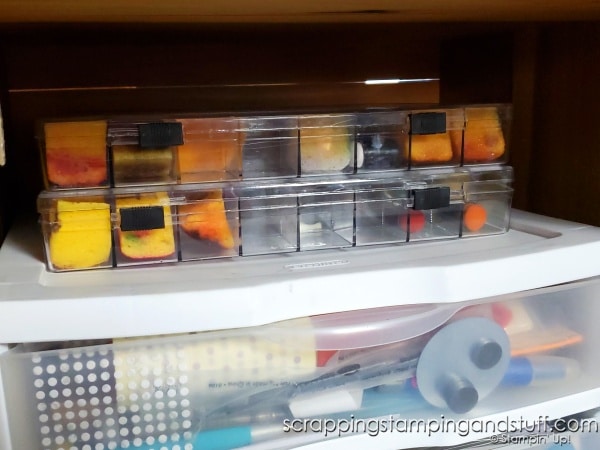
The top plastic drawer holds assorted supplies like extra adhesives, post its, and a lint roller (to clean ink pads!).

The second drawer holds packaging supplies, like pre-made treat boxes and clear envelopes.
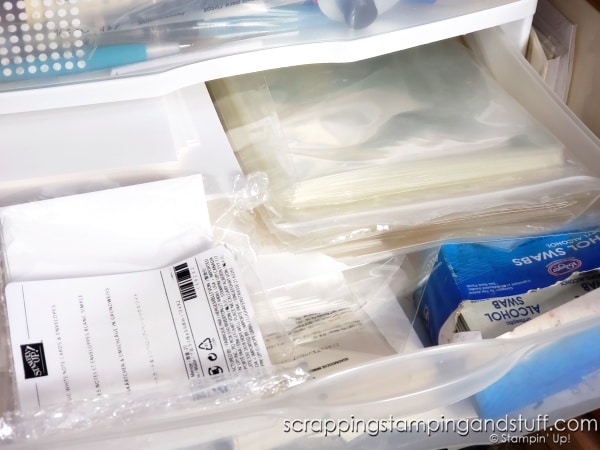
The third drawer holds extra acrylic blocks that I used for classes.
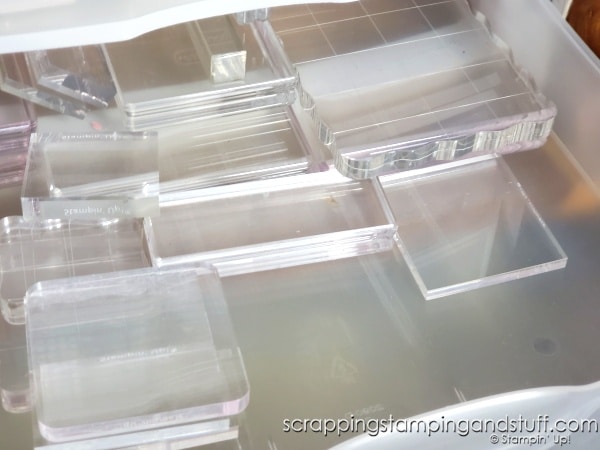
When you have a fairly small craft area, you have to make the most of it! Because of this, I have items stored beside and under my table as well. Let’s look at them now.
Beside And Underneath The Table
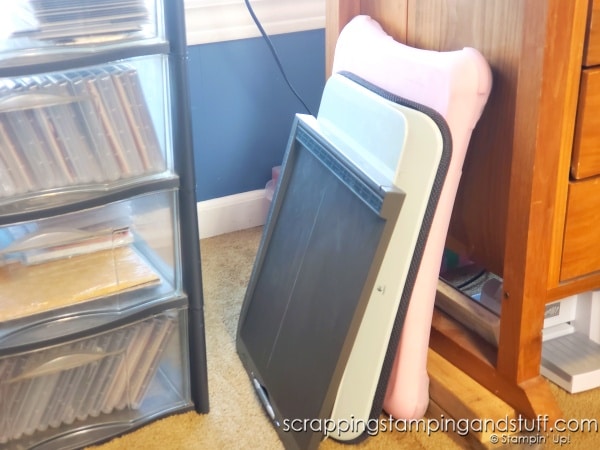
To the left side of the table, I have several large flat items leaning against it. This includes my scoring board, extra paper trimmers, a lap desk I use for my laptop, and a few other items.
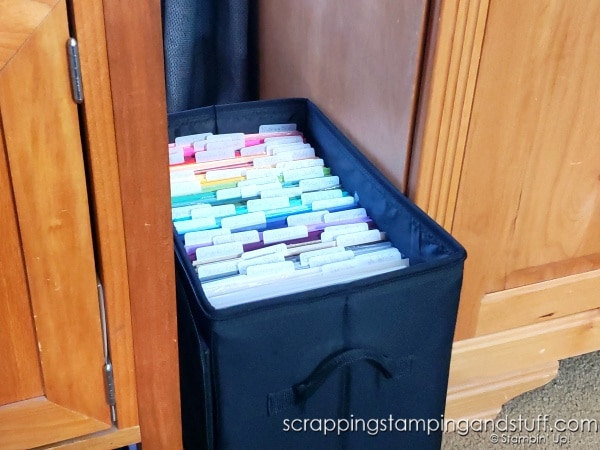
On the right side of the table is my organizer that holds 8 1/2″ x 11″ cardstock. I have the packs labeled by color to make them easier to find.
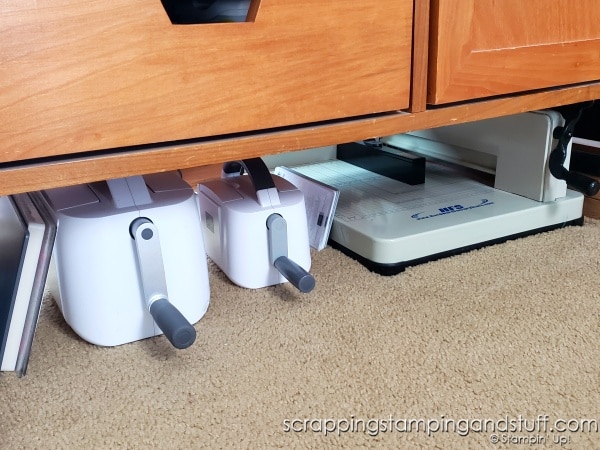
Under the table is where I keep my Cut & Emboss Machine, Mini Cut & Emboss Machine, and giant paper cutter that will cut through entire packs of cardstock.
There’s one more thing to the left side of my table that is SO important in storing some of my most-used items. It’s another plastic drawer unit. Let’s look at it below.
Plastic Drawer Unit
I reach for this area all the time. On top of the unit I store my pre-cut card bases and my paper scraps. I keep my scraps in a photo organizer with individual compartments that can be lifted out. Along with my paper scraps, I also have pre-cut photo mats in white and various colors. I also store my embossing folders in this organizer.
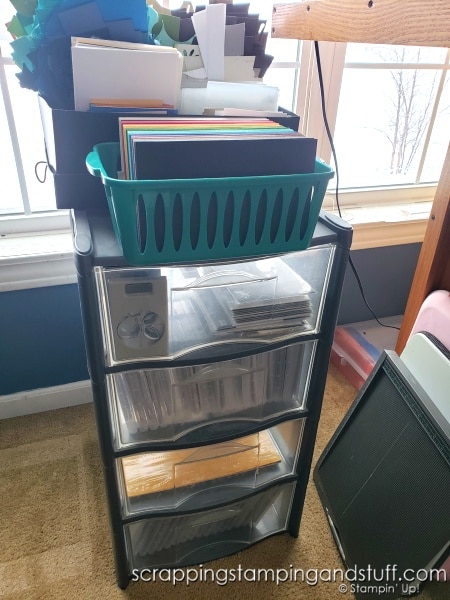
Now let’s look at what I store in the drawers of the unit. I keep my newest supplies in it, which helps me keep track of highlighting our newer projects in my videos and projects. If you craft as a hobby, it could be helpful to have a new product section to reduce the occurrence of saying, “Wow I’ve never even used these stamps!” You can keep items in this area until you’ve used them once or a few times, then merge them into your regular collection.
Top Drawer
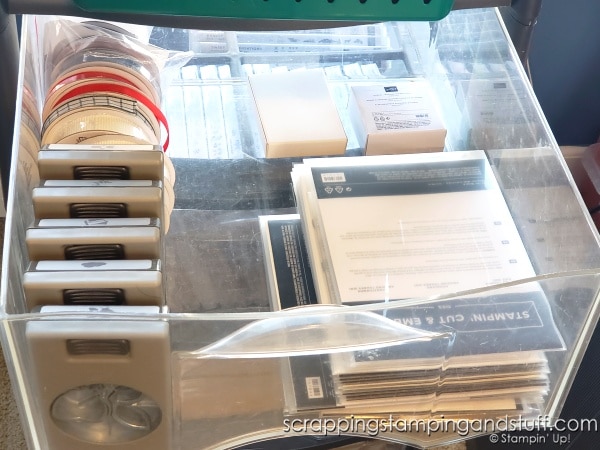
In the top drawer of the plastic unit, I store assorted products that are brand new. I keep items like dies, embossing folders, ribbons, masks, treat boxes and embellishments here.
Second Drawer
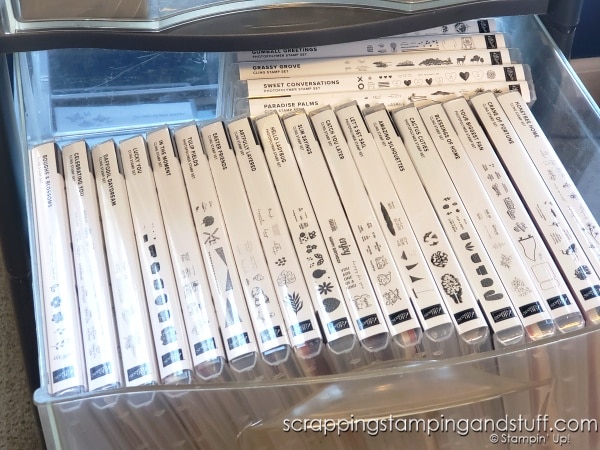
The second drawer holds my newest stamps.
Third Drawer
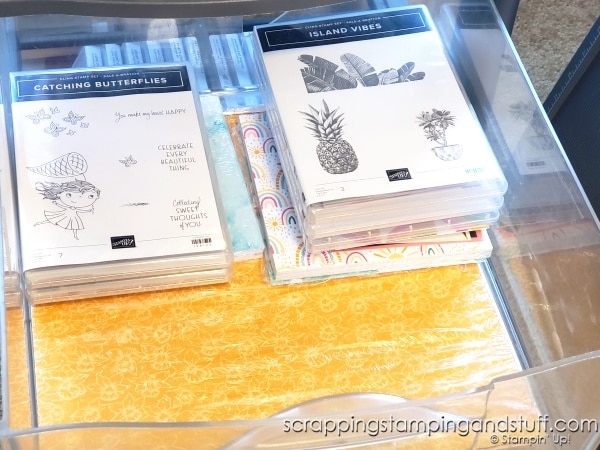
This drawer changes purposes throughout the year. In this photo it’s holding my Sale-a-bration items that can be earned for free through the end of February.
Fourth Drawer
The bottom drawer holds overflow from my main stamp storage that I’ll show you in just a minute.
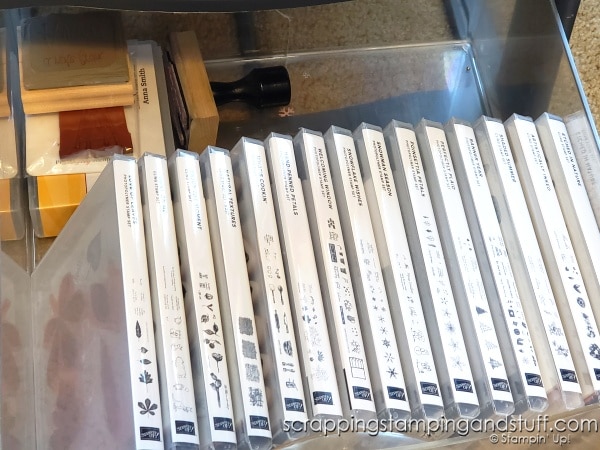
Ok, I think we’ve covered everything except my craft cabinet, but I’m sure you want to see it, so let’s head there next.
Craft Cabinet
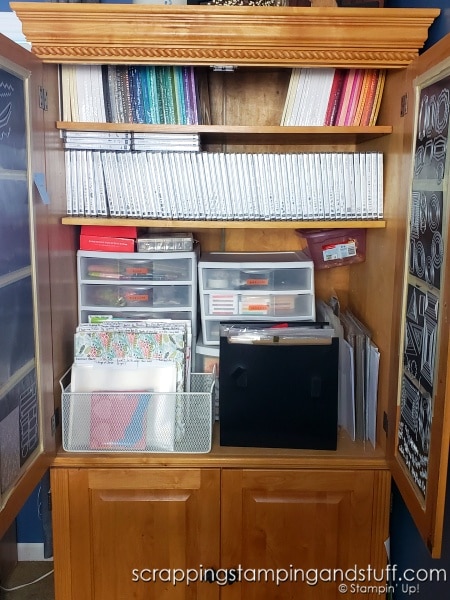
My craft cabinet has been so important to store overflow, papers, and just to hide items and keep everything looking nice. This has been crucial since this is in my living room. I can’t just shut the door on it and walk away! Let’s look inside this cabinet.
Top Shelf
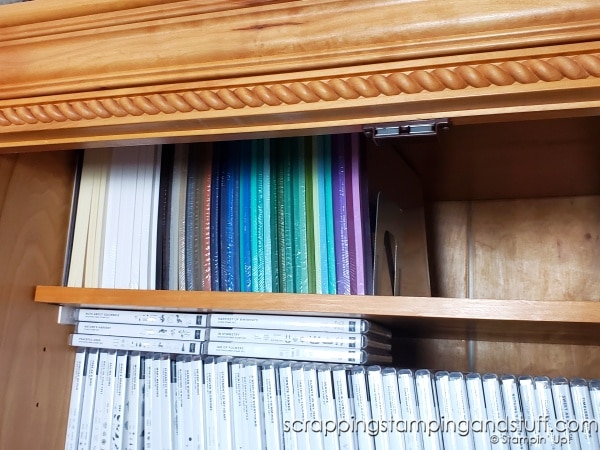
The top shelf holds my cardstock overflow. I keep an extra pack of each color on hand, plus lots of white.
Second Shelf
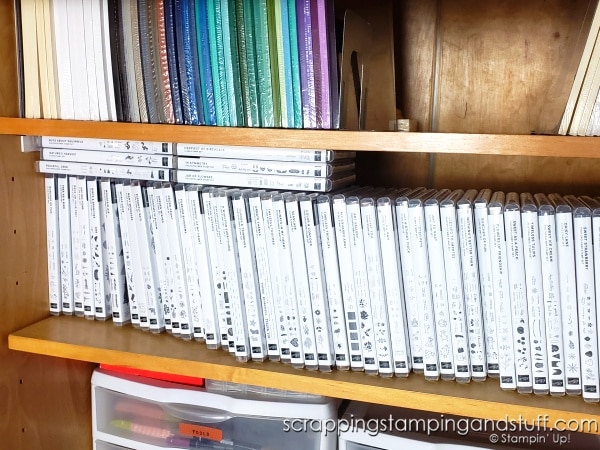
The second shelf holds the majority of my most-used stamps. I have more boxed up in the basement, but these are the ones I use often. I like having them at head-height to make it easy to look through them and choose the ones I want to use.
Paper Organizers
In the lower area, in front, I have two different paper organizers.
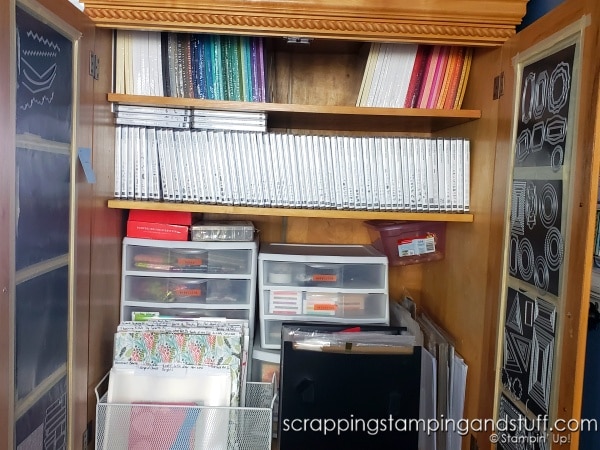
On the left I have a metal bin that holds my designer paper in sleeves. I got these sleeves from StampNStorage and I love them.
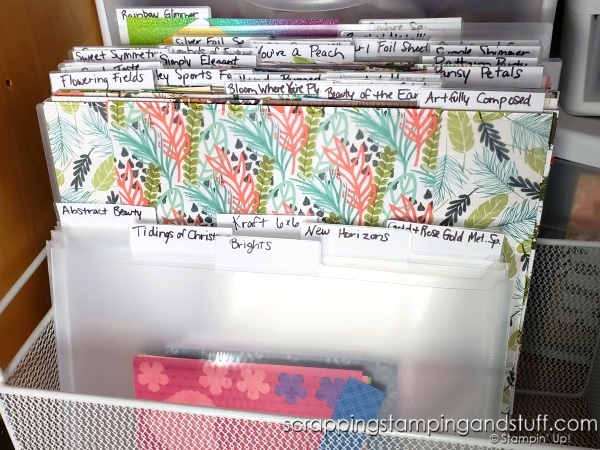
The 12×12 expandable file holds some of my specialty papers like foils and window sheets. It also holds 12″ long scraps and 4 1/4″ x 11″ card bases.
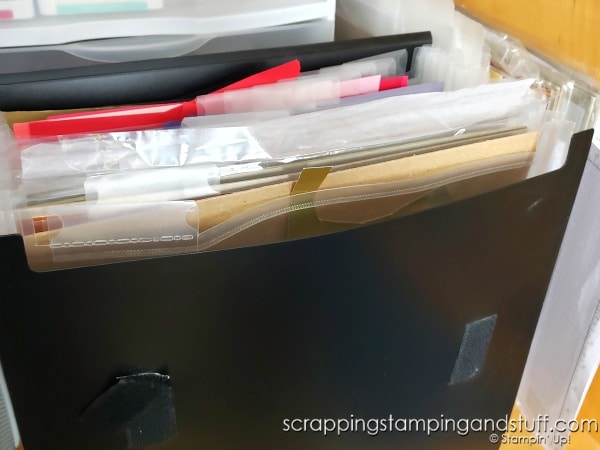
Plastic Drawers
Behind the paper organizers are more plastic drawer units. I have assorted items in these drawers like candy for making treat holders…
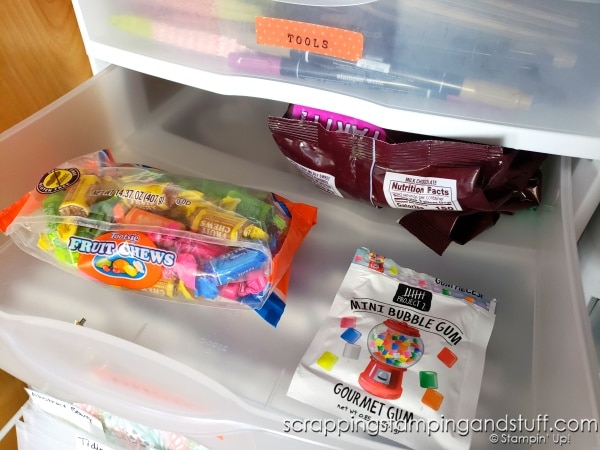
…projects that are still in progress, giveaways…
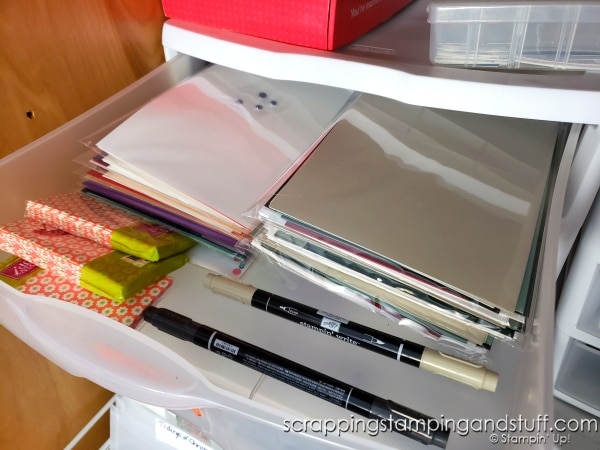
…craft supplies like a glue gun, google eyes, magnets and velcro, and more.

Above the plastic drawers I have two Paper Pumpkin boxes.
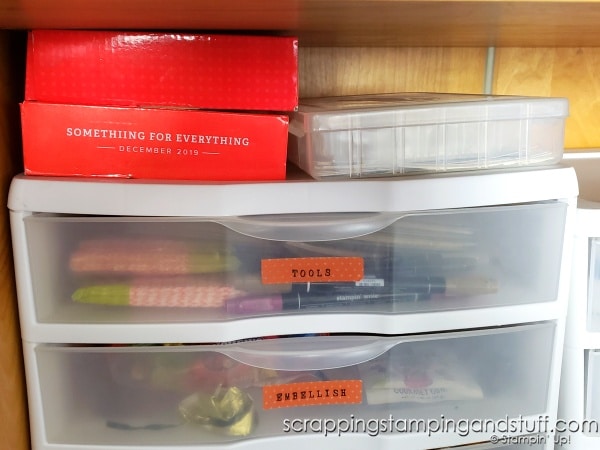
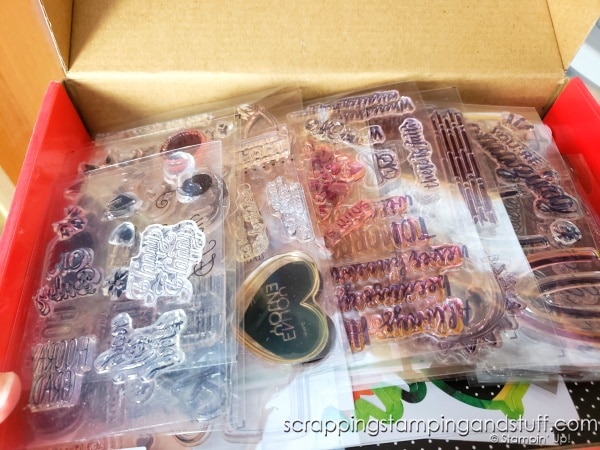
I store Paper Pumpkin stamps in one of them…
…and leftover kit pieces in the other.
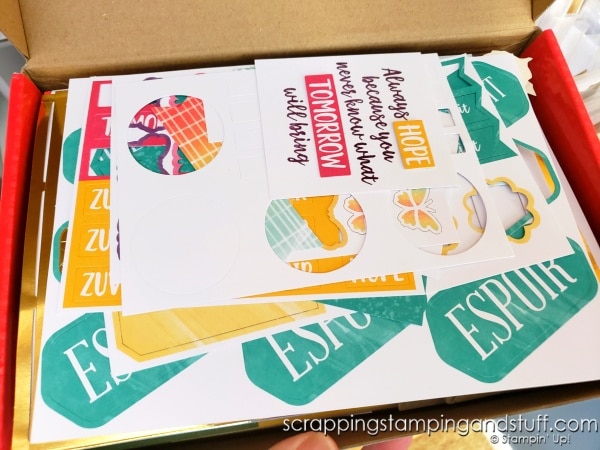
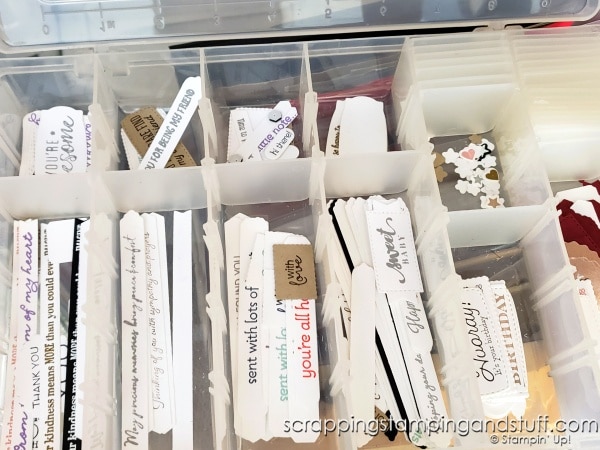
I also have my favorite tackle box full of sentiment tags stored here.
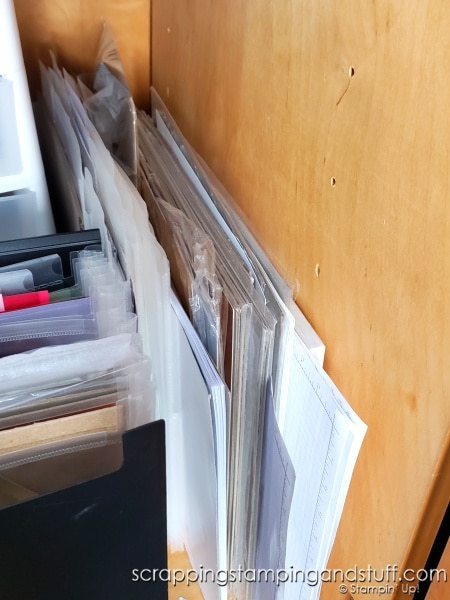
On the right side of this area, I also have grid paper, extra paper packs, chipboard, and 12×12 sleeves stored.
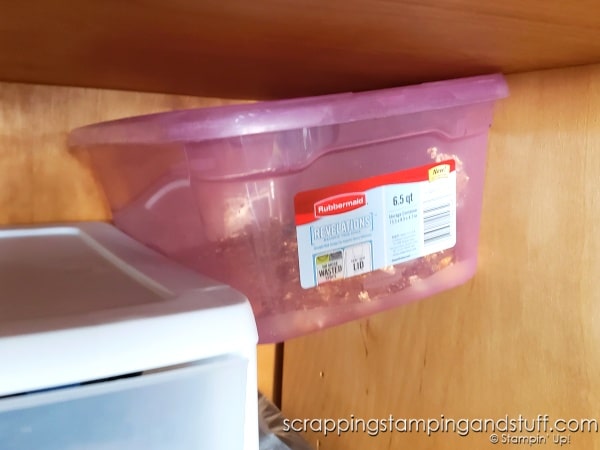
Above those items, I wedge my container that holds gilded leafing, just because that’s where it fits.
Cabinet Doors
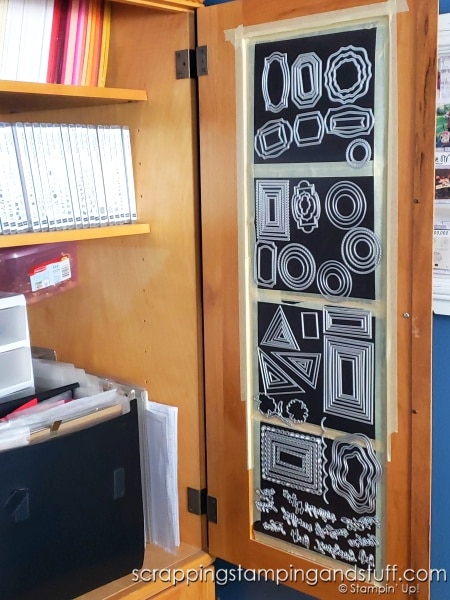
On the back side of my cabinet doors, I have magnet sheets that hold my dies. I LOVE THESE! I store my most-used dies here. This makes it so quick and easy to grab the die I want, use it, and put it back in place.
We’re nearing the end of my tour, but don’t go anywhere because I’ll share my top 5 organization tips in just a minute. Before we do that, let’s finish the tour with the bottom part of my craft cabinet.
Lower Shelves
The lower shelves of the cabinet hold more overflow items. One of the shelves holds projects in progress which I store in plastic baskets. One shelf has my 12″x12″ cardstock in a bin as well as more acrylic blocks. I have tote bags, extra adhesives, and more odds and ends on the other shelves.

I believe that concludes today’s craft room tour. Do you want to make sure you see my NEW and much improved craft room when it’s completed? Make sure you’ve signed up for email updates here and that you’re a subscriber to my YouTube channel!
Without further ado, let me share my top 5 organization tips!
Top 5 Organization Tips
1. Don’t keep items you’re not using! They waste space and make it harder to find the items you do use!
2. Invest in organizers. You can’t be organized without the right equipment. Organizers don’t have to be expensive. You can pick up quite a few things at the dollar store!
3. Keep card bases, card mats, and sentiment tags pre-made and ready-to-use.
4. Find scrap paper storage that works for you. This is life-changing once you figure out a system that works!
5. Keep the supplies you use often within reach. Also life-changing, and this will save you so much time!
Learn To Make Cards
Shop Supplies
Rewards Program
Join My Amazing Team
We just covered a lot of organization ideas! I would love for you to comment at the bottom and tell me what you think. Did you see any ideas you want to try? Do you have ideas to share? Comment and let me know!
Brilliant! Lint brush for ink pads!
Also loved the embellishment boxes with a sample of each on the outside!!!!
Thanks!
Wonderful, glad you could pick up some helpful ideas!
Love the magnet sheets on the cabinet door! (But I don’t have a handy door to put them on! ;o) Where do you get the magnet sheets?
Anne – Lowes has vent covers that I use and they are a great price
Thanks! I actually use different ones now, but that is a great option!
I ALWAYS read your emails and videos – they are well done and you give good information.
I enjoyed your craft space tour and look forward to seeing your “dream” craft room.
Thanks so much Lydia!
Loved your video. What are the colored lines on your paper cutter?
Wow! You did an awesome video showing your work space. Can’t wait to see your new craft room. Hope you show us in an up coming video.
Thanks! I’ll show an overview of my new area soon, then hope to show another more detailed video later this year after I’m all set up 🙂
Thank you Anna for sharing. I have a couple of questions. Your precut card bases. Do you only precut the regular book opening layout? Also for your tag tackle box… do you do all those in black ink only?