Are you new to using Stampin Up products? Or would you like to know more about our products before purchasing some? In many cases, Stampin Up products are unique from others on the market. These unique features help our products to stand out from others, but when you receive them for the first time, you may wonder how to use them! I put together this tutorial to help you know exactly how to use your products when you receive them. Let’s get started with my complete guide to Stampin Up!
New To Stampin Up? You May Be Wondering…
If you opened your first Stampin Up order and you’re wondering
- How do I label these stamps?
- How do I open my ink pads?
- How do I use my trimmer?
- How do I…?
You’re not alone! We will talk about these questions and many more below. Let’s get started!
Complete Guide To Stampin Up Products Video
Watch along here, or keep reading if you prefer!
Complete Guide To Stampin Up Products
We will begin this complete guide to Stampin Up by talking about how to use your products. First, we will talk about stamps.
How Do I Prepare My Stamps?
Because Stampin Up offers two kinds of stamps, cling rubber and clear photopolymer, I’ll talk about how to prepare them by type.
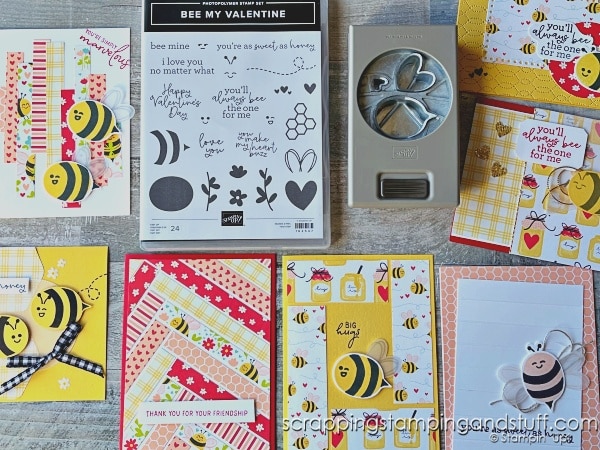
Photopolymer stamps
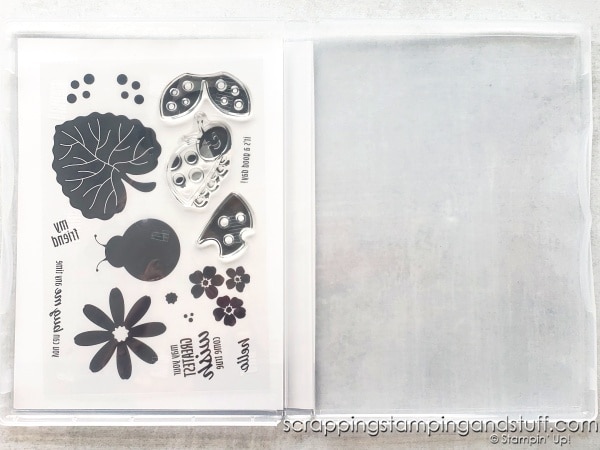
How To Use Clear Stamps?
Clear photopolymer stamps are ready to use when you receive them. They come packaged in a stamp case, and stamps are mounted inside between two thin sheets of plastic. To use a stamp, simply remove it from the plastic sheets and mount it to a clear acrylic block. After you have used it and cleaned it, remove the stamp from the block and place it back between the two sheets of plastic.
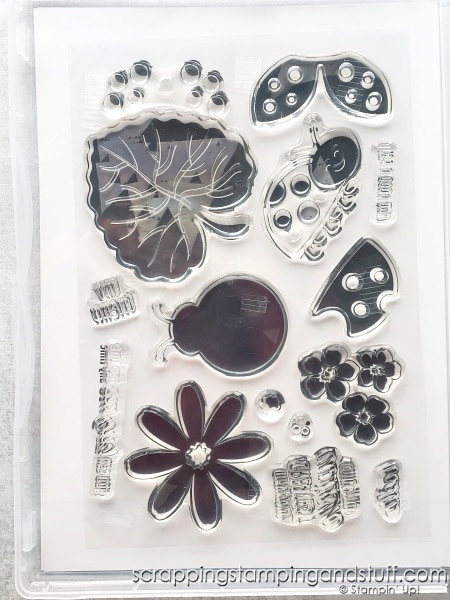
How To Prepare Photopolymer Stamps?
I’ve come up with a way to prepare my photopolymer stamps that I really like. First, I ink the stamps with Versamark ink. I clean the ink off, and proceed with the rest of this process. Inking the stamps with Versamark not only ensures the ink will properly adhere to the stamps, it also prevents the stamps from staining as badly as they would otherwise when using ink colors such as reds, purples, and browns.
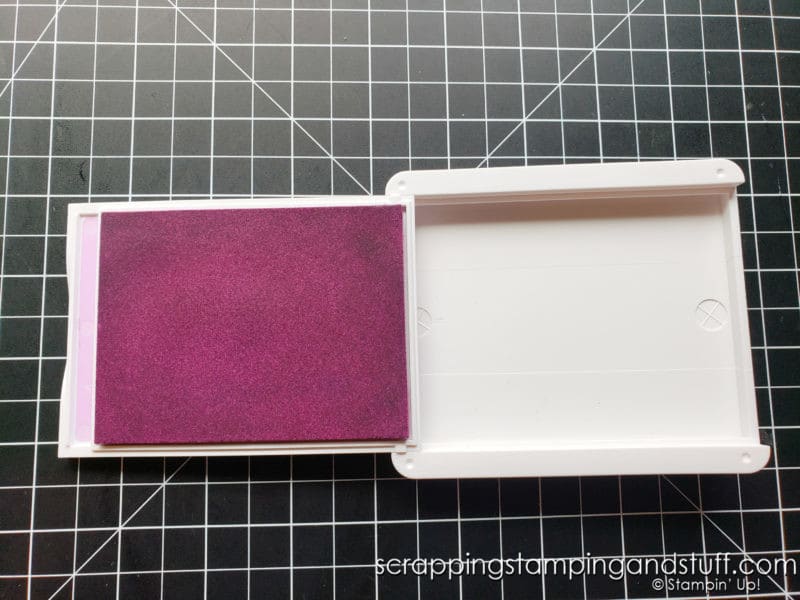
Next I cut the label on my stamp case and rearrange it, so I can see through the back of the stamp case. I then have a way of mounting the stamps directly to the inside of the case. This makes it quick and simple to remove one stamp when I want to use it, and put it back when I’m done. Learn more about how I prepare my stamps here.
Cling rubber stamps
Next let’s talk about how to prepare cling rubber stamps for use.
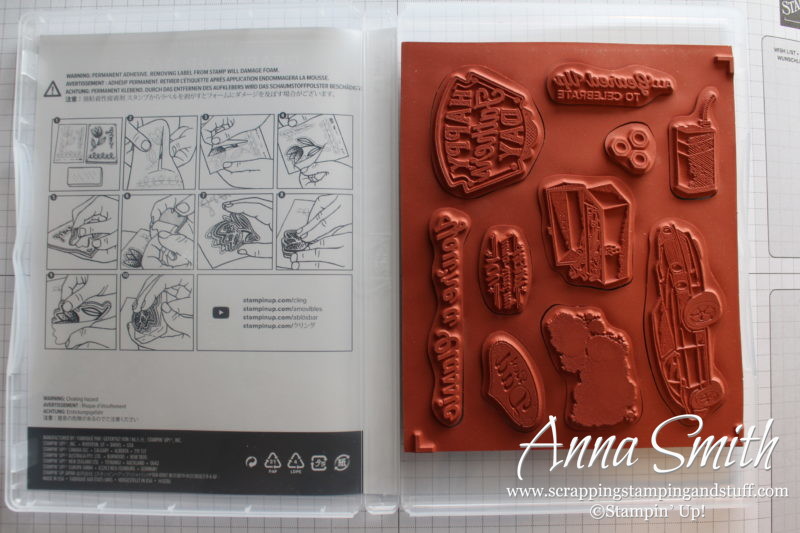
How To Remove Stamps From The Rubber Sheet?
First, you’ll want to pull each stamp out of the rectangular rubber sheet. They’re pre-punched, so you just need to grab and pull them until they pop out. Next, remove the paper backing from the rectangle and put it back in the stamp case, with the foam side against the back of the case. This is a great template in which you can put your stamps back. It’s a great way to check to make sure all the stamps are in place before you put the stamp set away. If any hole is open, you know you need to look for that missing stamp!
How Do I Label Stamps?
There are several ways to label stamps. One way is to peel the paper backing off of the label (while leaving the label itself on the label sheet) then lowering the stamp onto the label. Peel it away from the sheet, and put it into the case in the appropriate place. You can see this in today’s video or more details are here.
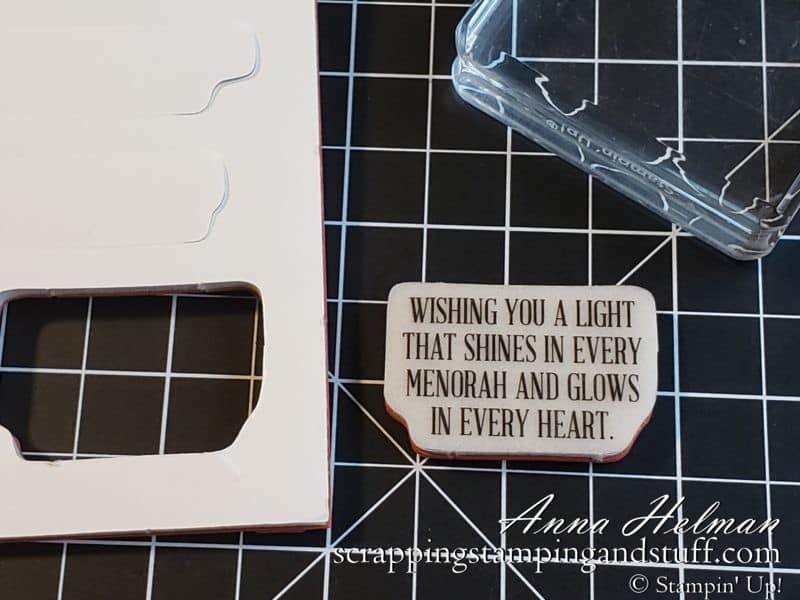
Another way to label stamps is with this handy trick I shared a while back, which ensures perfect placement!
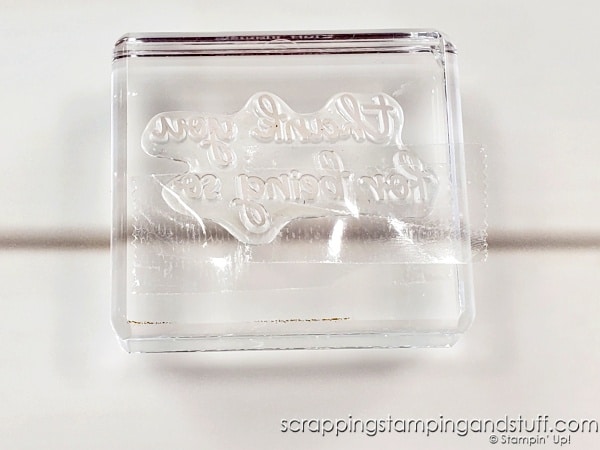
How Do I Use Cling Rubber Stamps?
To use clear or cling stamps, remove the desired stamp from the case, and mount it to an acrylic block by placing the flat side against the block and pressing gently. At this point, it is ready to be inked.
This covers the bases for how to use stamps. In the next section we will continue this complete guide to Stampin Up by talking about ink pads!
Ink Pads
Stampin Up ink pads are unique in comparison to others on the market. Let’s talk about what makes them special, and then we’ll discuss how to use them.
How Are Stampin Up Ink Pads Different?
Upside down storage
Stampin Up ink pads are different from others on the market for several reasons. One, they’re made to store upside down. You always want to store your ink pads upside down, so that when you open them, the ink is at the surface, instead of sunk down in the bottom. Because our pads flip themselves upside down when they’re closed, they are actually upside down when they appear right side up. This may seem confusing, but it’s not. Just store them so they look right side up.
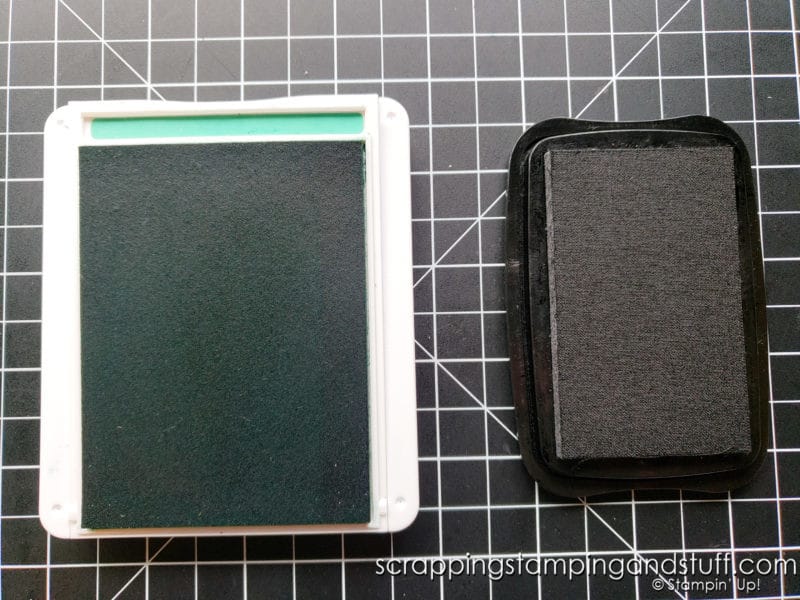
Large size
In addition, our ink pads are significantly larger than most other ink pads. This makes it quicker and easier to ink your stamps. The material used in our pads is a soft foam, which yields much better inking to your stamp than other pads out there. BUT…because foam is used, you don’t want to press hard when inking. I’ll mention this again below.
Locking lid
In addition, our pads lock shut and do not have a removable lid. Instead of coming off completely, the lid rotates to the underside. I love this feature! Locking pads means no ink on your carpet when you accidentally drop them! A rotating lid means you don’t have a lid floating around somewhere on your craft table where you can’t find it when it’s time to put it away.
refillable
One more thing that is very important. These pads are refillable and we sell the matching colors in ink refill bottles. This will allow you to keep using those pads for years to come. I do suggest ordering the refill bottle when you order the pad itself. This makes for certain that the refill isn’t out of stock when you want to get it 1, 3, or 10 years later. In addition, Stampin Up recommends ordering both at the same time because ink formulations change from time to time, and it’s best to use the same ink that was in the pad originally.
Now let’s talk about how to open and close these ink pads!
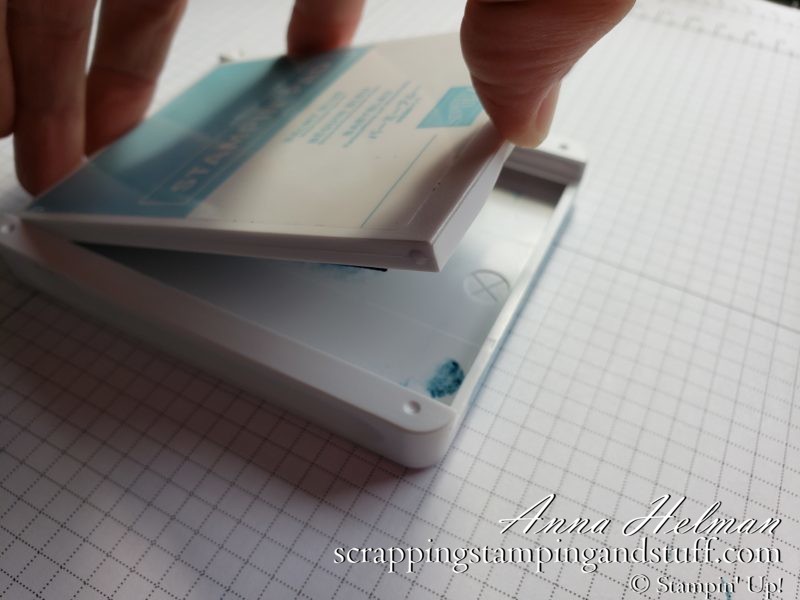
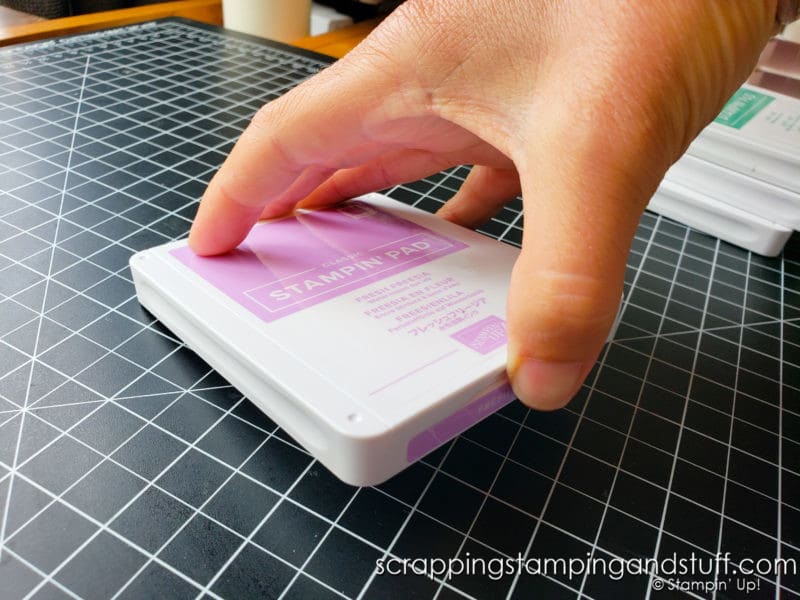
How To Open Stampin Up Ink Pads?
To open a Stampin Up ink pad, insert your thumb into the opening, and lift. Rotate the lid up and over until the ink pad is straight with the base. Next, press the pad to lock it back over top of the base.
How To Close Stampin Up Ink Pads?
To close a Stampin Up ink pad, place your index and middle fingers in the small tray beside the ink pad. Pull to release the pad from the base. It will click as it releases. Pull the tray until the pad won’t pull any further, then rotate the pad up and over the base. Push to lock it back in place, and give it a visual check to make sure it’s fully closed. Sometimes they need an extra squeeze to shut completely.
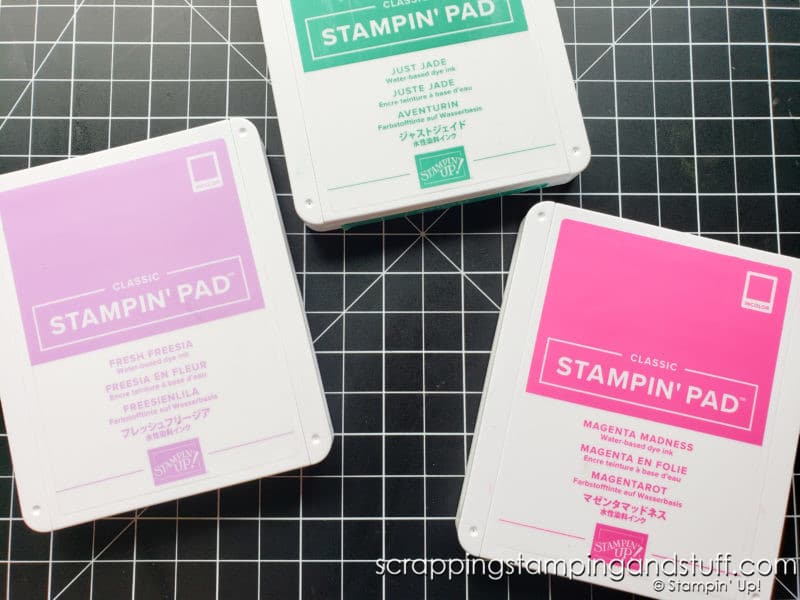
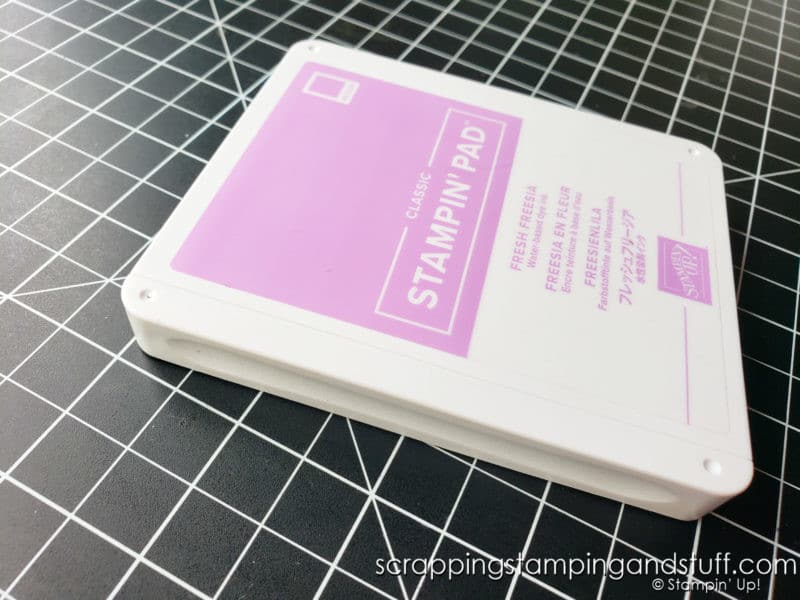
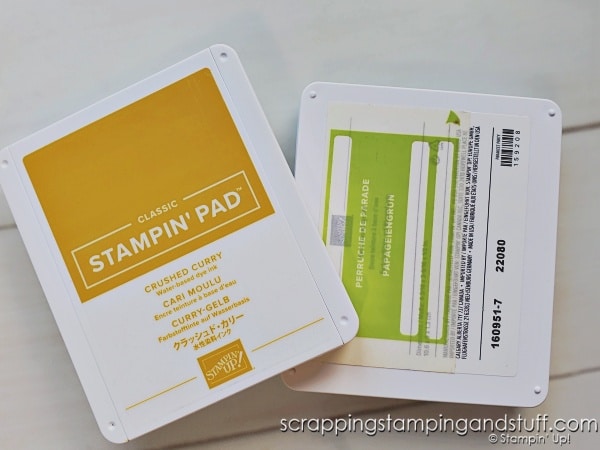
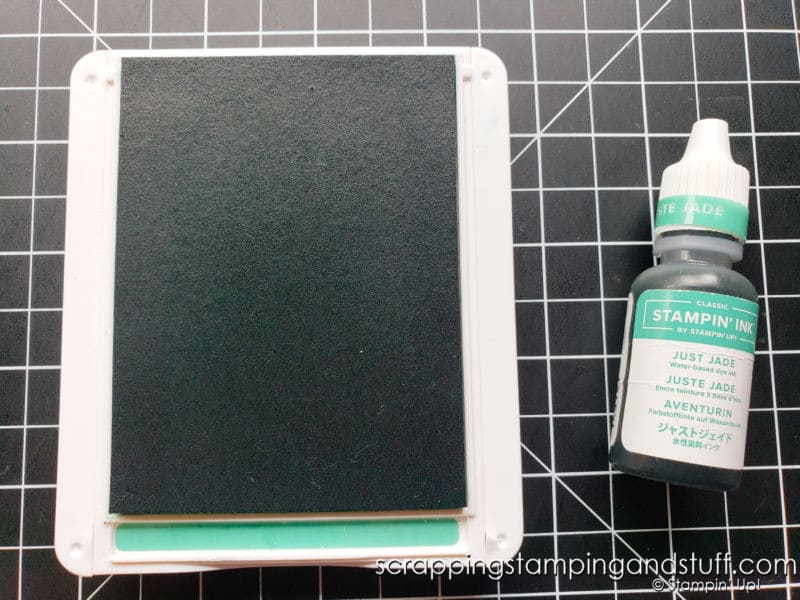
How To Label Stampin Up Ink Pads?
When Stampin Up ink pads arrive in their packaging, they will have the color printed on the top cover, and there will be several long narrow color stickers on the bottom. The color label stickers can be used to label the front of the pad, as well as the tray that is exposed when the ink pad is open. This helps greatly to identify which color is which, especially when you have several colors open on your work surface at one time.
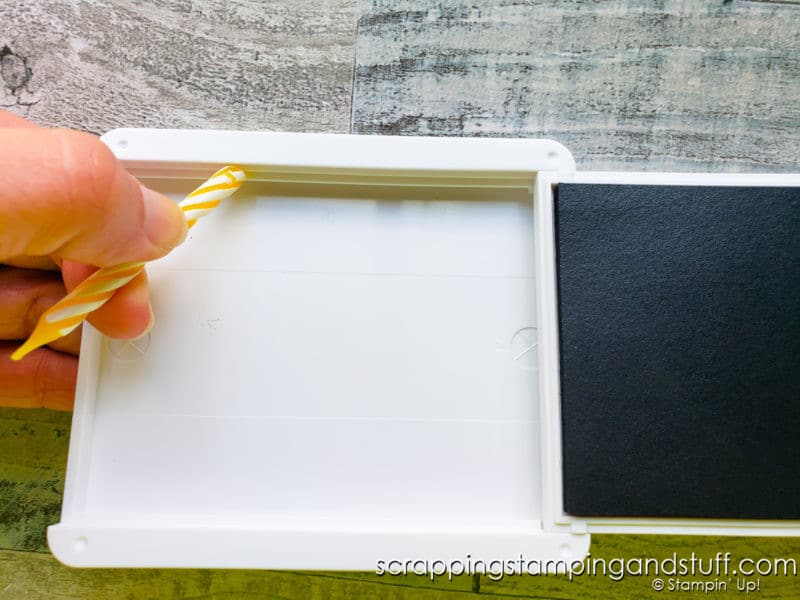
Stampin Up Ink Pads Stiff? Lubricate Them
When your ink pads are new, you may find that they’re a bit stiff to open and close. Simply opening and closing them several times repeatedly will help to loosen them up, or you can try the trick I shared here.
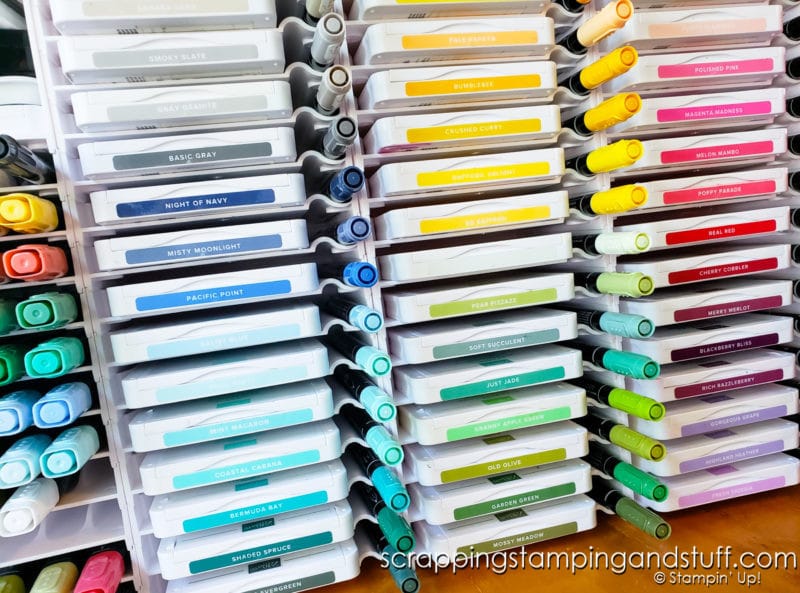
How To Store Stampin Up Ink Pads
While most ink pads should be stored upside down, Stampin Up ink pads should be stored so they appear right side up. This is because the pads are designed for the pad to be upside down, while the case is right side up.
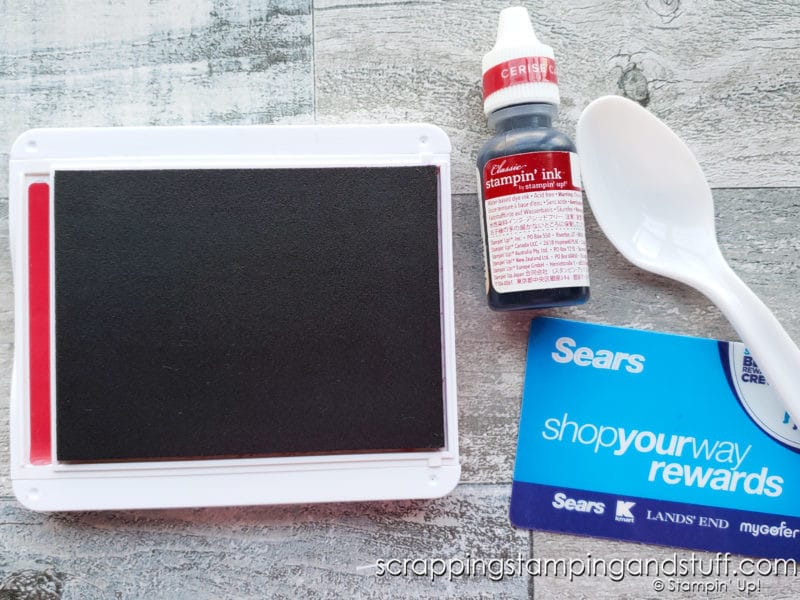
How To Reink Stampin Up Ink Pads
To reink Stampin Up ink pads, use an ink refill bottle to slowly apply ink in a zig zag pattern across the pad. After applying a small amount of ink, use the back of a plastic spoon to smooth the ink. Test the pad by stamping one time. If more ink is needed, add more. After you reink pads several times, you’ll get a feel for how much ink needs to be added. Watch the video or take a look here for more info.
I’ll briefly mention our trimmer and Cut & Emboss Machine before sharing some general ideas that may help you.
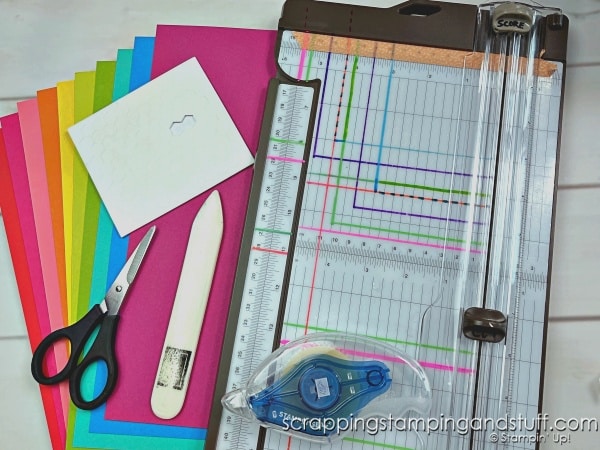
Trimmer
My complete guide to Stampin Up would not be complete without mentioning our paper trimmer. The Stampin Up trimmer offers the ability to both score and cut paper. It’s pretty simple to figure out, but I’ll share a few details below.
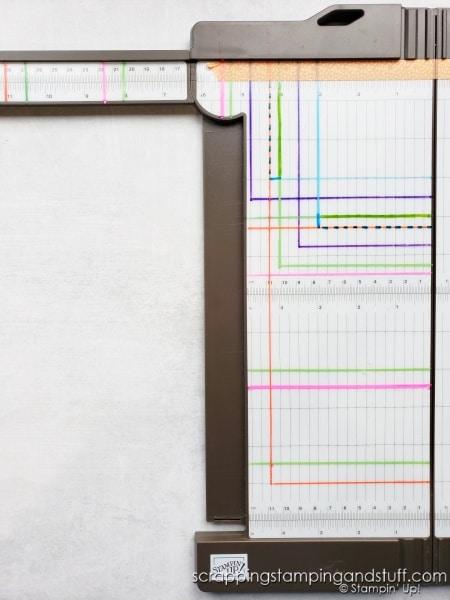
How To Use The Stampin Up Trimmer For Cutting
Raise the clear cutting arm. Line up paper at the desired measurement, and press it against the straight edge at the top. With the cutting and scoring blades at the very top, lower the clear cutting arm. Move the cutting blade from top to bottom to cut the paper.
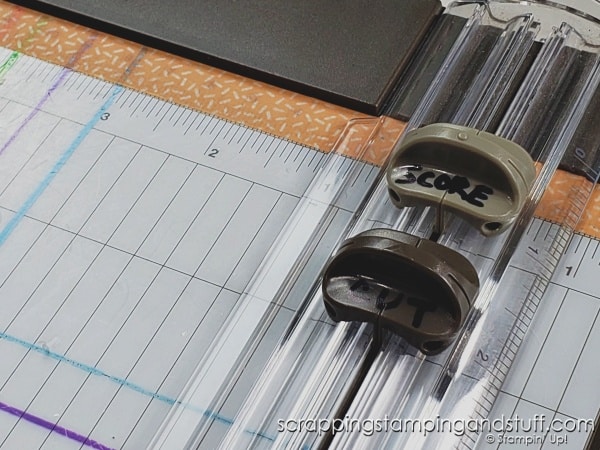
How To Use The Stampin Up Trimmer For Scoring
Raise the clear cutting arm. Line up paper at the desired measurement, and press it against the straight edge at the top. With cutting and scoring blades at the very top, lower the clear cutting arm. Move the scoring blade from top to bottom to cut the paper.
Learn more about the Stampin Up trimmer here.
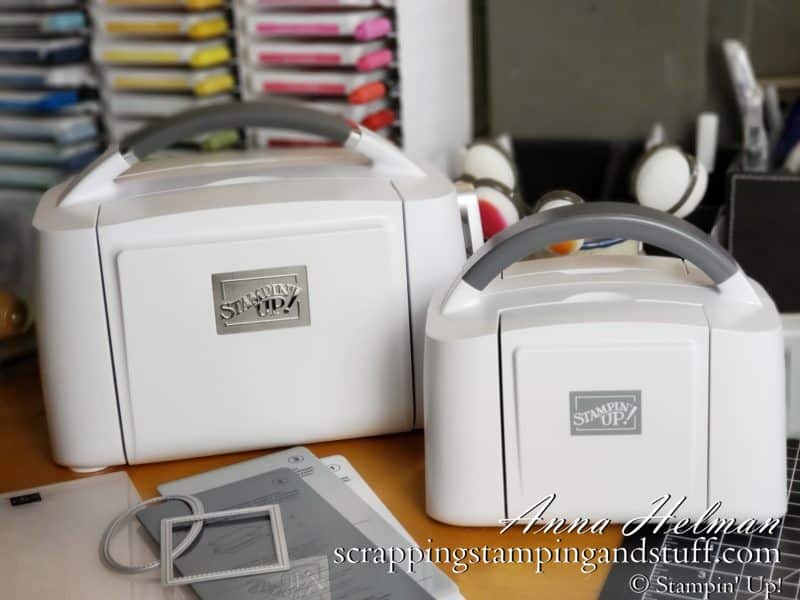
Stampin Up Cut & Emboss Machine
I have shared several detailed tutorials about die cutting, embossing, and how to use our Cut & Emboss machine. Take a look at these tutorials for more info!
Any Problems With Your Order? Contact Stampin Up or myself!
If something happens to be wrong with your order, make sure to contact Stampin Up at 1(800)stampup or contact myself (if you ordered through me) or your demonstrator. We stand behind our products and want to make sure you’re happy with them! Can those other craft companies offer this?
More Helpful Ideas
Besides knowing how to use your products, it’s great to know where to find ideas as well. Here are a few places I love to get ideas.
Where To Get Ideas For Specific Stamp Sets
Here’s one of my favorite tips for finding ideas for a particular stamp set. Go to your favorite social media site or search engine. In the search bar, type in ‘Stampin Up ___________’ and fill in the blank with the name of the stamp set or other product. Be prepared for hundreds and probably thousands of ideas!
Using The Catalog As An Idea Book
I love that Stampin Up still offers a real catalog! It’s great for browsing and also to keep on hand as an idea book. As you look through the catalog, you can mark it up any way you choose. You can circle the card projects you love. Add a star for techniques you want to try. Fold down page corners on products on your wish list. It’s yours to keep – make the most of it!
*When you shop with me for the first time, I’ll send you a catalog at the beginning of the month following when you place your order. All customers who have ordered within the last six months will receive new catalogs when they are released.
Using The Website As A Tool
The Stampin Up website is a great place to get ideas. Search for specific stamp sets, or just click and browse around. When you find project ideas you love, bookmark them, save them, screenshot them, or snap a photo on your phone!
Using My Website As A Tool
Just as Stampin Up’s website is a wonderful tool, so is my website here! Browse around for detailed guides on how to use Stampin Up tools. Use the search bar to search for ideas for a particular technique, product, or stamp set. Or use the project photo gallery to quickly find project ideas you love!
Becoming A Demonstrator
If you decide you love our products and your wish list is much bigger than your budget, you may be interested in getting a discount on your products. Or maybe you love this hobby and you want to make a difference by sharing it with others to help them discover how much they love it too. Whether you just want a discount on your own products or want to build an income, signing up with Stampin Up is the way to do this. Learn more here.

Before we wrap up this complete guide to Stampin Up, I’ll share one more bit of information to help you get started and be successful at this amazing hobby.
complete guide to stampin up Tips, Tricks and Card Making Hacks
Some of my most popular videos are the card making tips, tricks, and hacks that I share. Take a look at them here!
Have I forgotten any important information from my Complete Guide To Stampin Up – if so, comment below and I’ll get back to you!
Leave a Reply