Hi everyone! It’s time for another Cardmaking 101 Lesson, today all about basic cardmaking tools! Certain tools are essential, and finding good ones can be the difference between struggling with them and having them make your crafting quicker and easier, so let’s get down to business!
Basic Cardmaking Tools
First of all, I’m going to mention adhesives. If you missed lesson 5 on adhesives, check it out here. Adhesives are a rather important tool for making cards and scrapbook pages, so I don’t want to miss mentioning them. Now, as for a few other basic tools, you can see three of them in the photo below. These are some great beginning tools to have in your collection. Let’s talk about them!
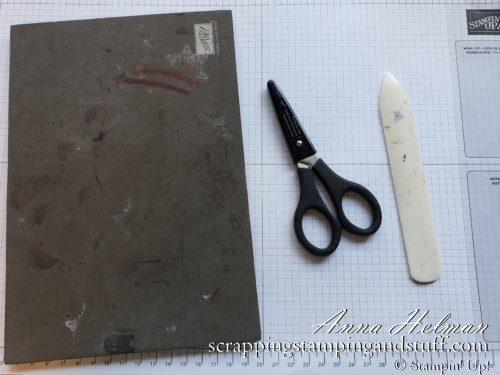
On the left you can see the Stampin Up Stampin’ Pierce mat. As you can see, mine has been well used 🙂 This is a spongy pad that you can place under your projects when you are stamping. It gives just the right amount of cushion to make sure your stamps stamp completely, evenly, and crisply. If you ever have issues with a stamp not stamping completely, then you need one of these!
In the middle you can see some of our Paper Snips. These scissors are the bomb! They are super sharp and handy for cutting paper or ribbon. If you ever get annoyed because you can’t get your ribbon to cut nicely, then these should be on your next order!
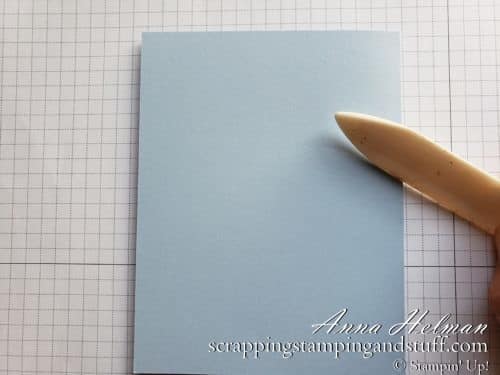
The third tool shown above is a bone folder. This is a handy tool to make sure your card folds lay flat. After you fold a card, you can run this along the fold to make the crease nice and crisp.
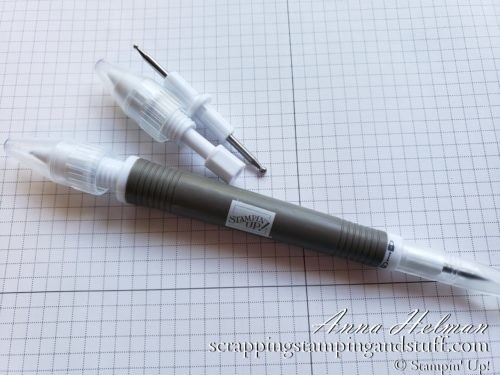
Take Your Pick Multipurpose Tool
Next we must talk about the Stampin Up Take Your Pick tool! This is a super handy dandy tool that packs a lot of punch! It has five tips, each with different functions. One tip has a sticky tip to help pick up small things like dots of an ‘I’ or sequins. Hallelujah!!! No more struggling with clumsy fingers to do this! The other tips include a small stylus, large stylus, piercing tool, and spatula. Before you needed several tools to do all these things, now you only need one!
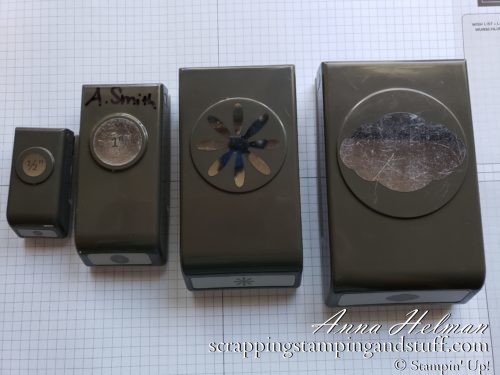
Punches
Punches are quite possibly my favorite of all tools. They make it very quick and easy to make nice shapes to add to your cards, scrapbook pages, and other projects. Stampin Up punches just might be the best on the market. They hold up forever which is unusual when it comes to punches. In addition, they fold flat and take up minimal space for storage. I know space in your craft area is valuable, so one small punch instead of one the size of a VW Bug is much better. Seriously, some of those punches out there are HUGE! How do you store those things?!?
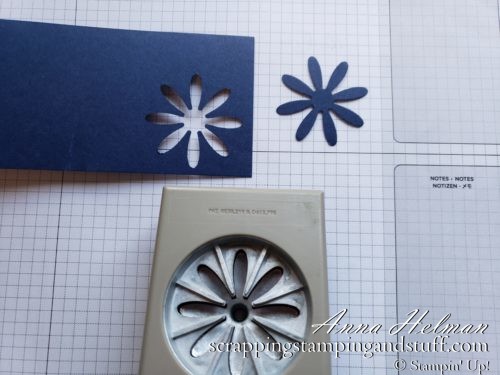
Here you can see a piece that I punched with our Medium Daisy Punch. This took just seconds, and it will make a lovely statement on a card or scrapbook page.
Thin Dies for Die Cutting
When you’re ready to step up your papercrafting game, you may want to enter the world of die cutting. Using die cuts is a way to create detailed, stepped-up projects with minimal effort. They can be used with a die cutting machine to cut paper in any color that you choose. Many die sets coordinate with stamps, so you can stamp and then die cut around an image.
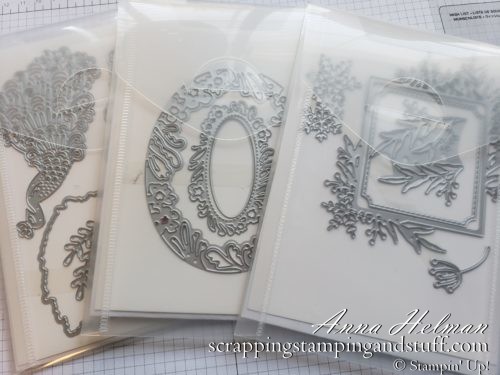
My favorite dies are my basic shapes. Here you can see my collection!
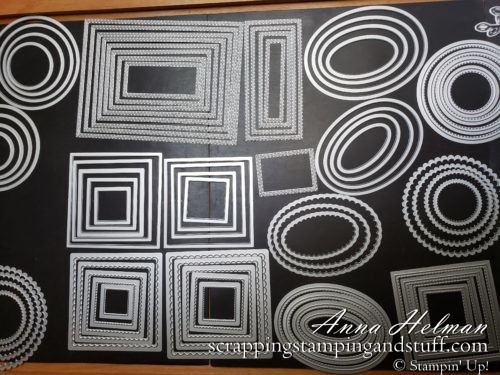
To cut paper, you lay paper on the platform of the die cutting machine, then put the dies on top with the flat side up. Place a clear plate on top of this, then run it through the machine, and you’ll have…
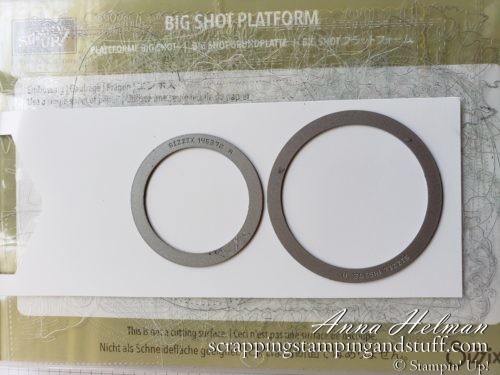
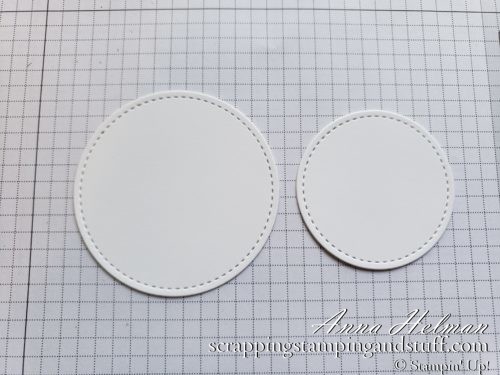
…die cuts!! The stitched dies, like these circles are some of my favorites!
Embossing Paper With Embossing Folders
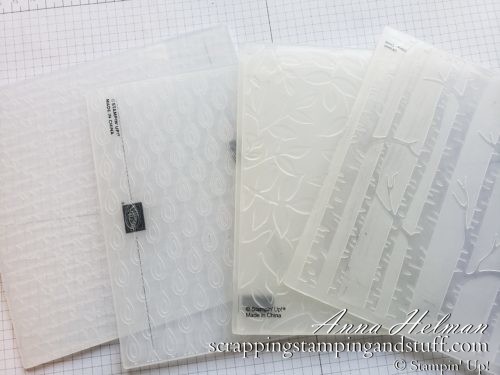
Die cutting machines can also be used to emboss paper when you use embossing folders. Embossing is such a simple way to add something special to your projects! Below you can see some of my favorite embossing folders.
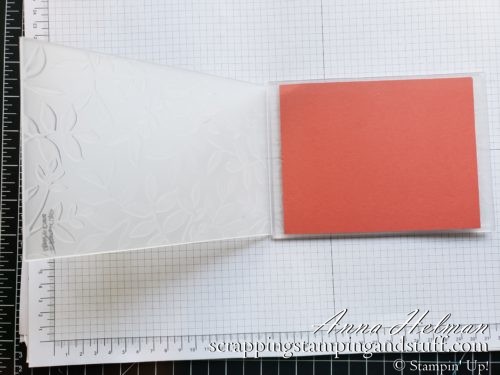
Embossing folders open up to where you can insert a piece of paper inside. Then close the folder, and run it through your machine to get…
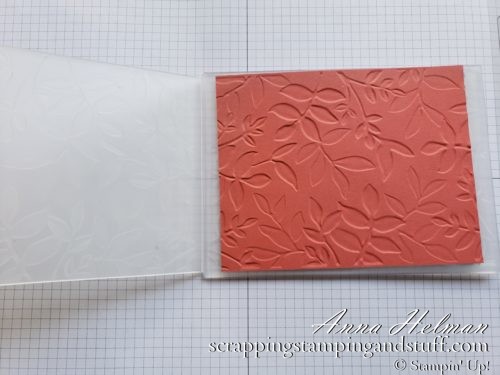
…this! Amazing!
This was a very quick introduction to basic cardmaking tools. In future Cardmaking 101 lessons, I will talk about each of these in more detail. Stop back to learn more!
Please make me your Stampin’ Up! demonstrator and order from me!
- With your first order, you’ll receive a FREE annual catalog from me! Seasonal catalogs are also mailed to regular customers.
- Please use hostess code GJNKWZVN when you order.
- Keep track of your Stampin’ Rewards and earn free stamps from me!
- When you order $150 or more, you’ll earn hostess credit through Stampin’ Up!
- Check out my current Project in the Mail, Pressed Petals (shown below)!
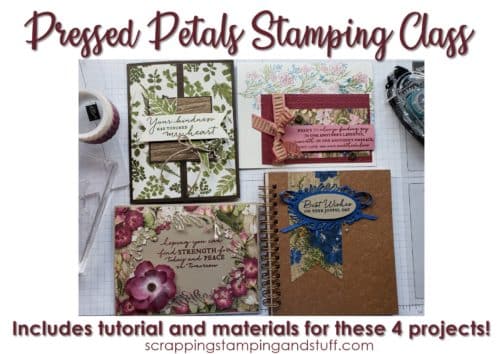
Order the products I used and make this project yourself!


Leave a Reply