Welcome to Cardmaking 101 Lesson 5: Best Adhesives for Card Making and Scrapbooking! Today we will go over my six favorite adhesives, and the pros and cons of each!
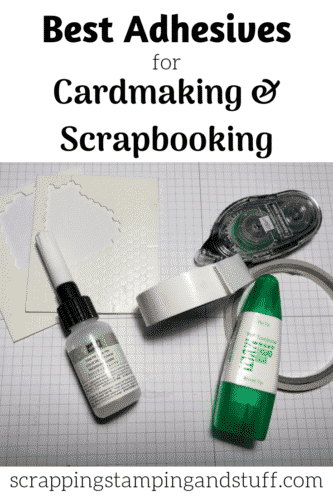
Snail Adhesive
We will start with my #1, all-purpose adhesive, the Snail. Snail…get it? It’s wrapped up like a snail inside?? Cute, huh?
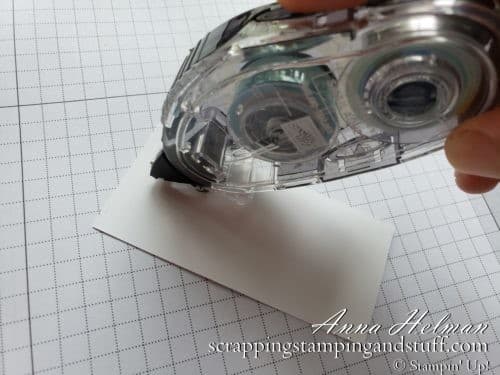
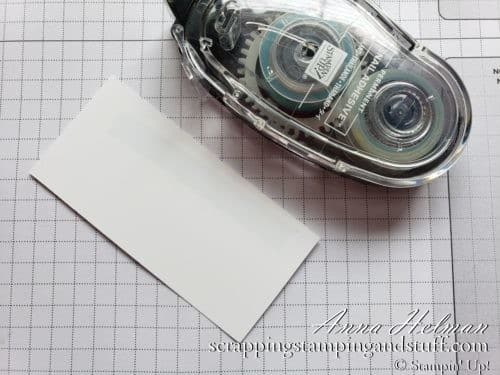
Snail is a dispenser that rolls out double-sided adhesive perfect for making cards, scrapbook pages, school projects, etc. What makes Snail my go-to adhesive is how quick it is to use. All you have to do is touch the tip to your paper, roll it backwards, and lift from the paper. Done! You have a strip of adhesive on the paper in just seconds.
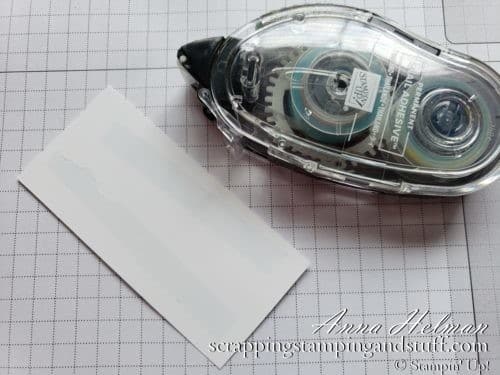
Here are a few tips for using Snail adhesive. 1 – It has a clear cover to protect the sticky tip when you’re storing it or packing it up to travel. It flips downward for use and upward to cover the tip. 2 – These are refillable! The clear portion on the front pops off to be discarded when you have used it up, while the black rear portion gets saved. Simply insert a refill and keep rolling! 3 – Make sure to keep refills on hand! You do NOT want to be in the middle of a project and run out of adhesive!
Dimensionals, Foamies, Pop Dots, Pop Ups…
Now for my #2 must-have adhesive for papercrafting projects – Stampin’ Dimensionals. You might call them something else like pop ups or pop dots or foamies, they have lots of names! What I know is that these are one of the absolute simplest ways to add a special touch to your project. Instead of using Snail to attach pieces flat to a project, just place one or a few of these on the back to pop it up and add some depth and dimension.
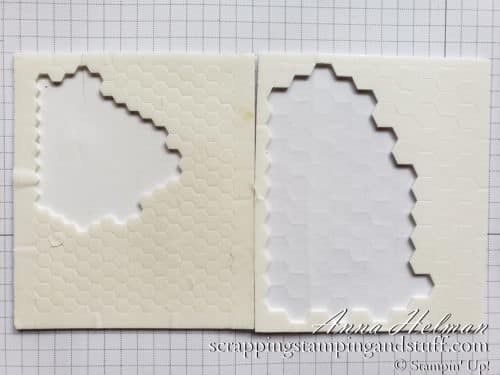
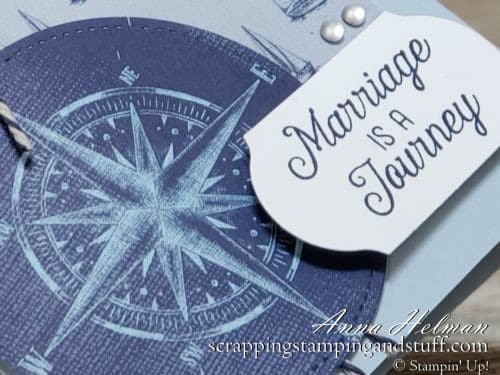
We have both large and small Dimensionals, which makes it easy to pick the right size for your project. Below you can see that I have popped up the greeting tag using Dimensionals. What a nice touch compared to a flat card!
Tombow Multipurpose Glue
Let’s move on to talking about two different types of glue! First, let’s talk about Tombow multipurpose glue. THIS STUFF IS AWESOME. I can’t tell you how many times I have grabbed this from my craft table to fix things around the house. Why? Because it works. It’s sticky, it’s strong, and it will hold things that many other glues won’t.
Besides how sticky it is, here are a few other reasons this glue is a must-have. It dries quickly as long as you use it in small amounts. It quickly becomes tacky to hold things in place that won’t hold themselves, like bows or buttons. Also, a very small amount is all you need. I usually attach bows with one little dot, and embellishments like the leaves shown below with just a thin line.
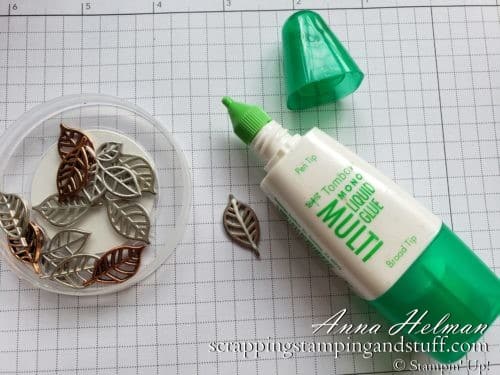
Keep in mind, this glue will remain sticky even when it is dry, so be careful not to let it ooze out from behind whatever you’re attaching to a project.
Fine Tip Glue Pen
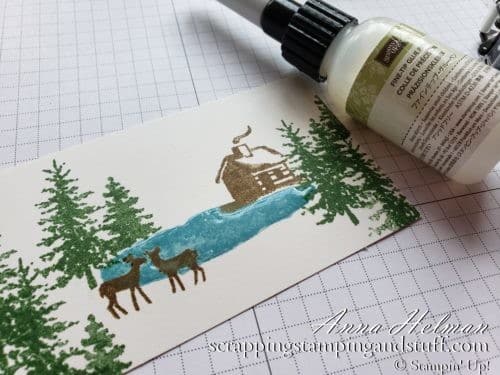
If one glue in your craft stash isn’t enough, this needs to be number two! Depending on the type of crafting you do, the Fine Tip Glue Pen might even be a better choice than the multipurpose glue mentioned above. This glue is awesome for using on detailed paper pieces like ornate die cuts or letters because it comes out in such a thin strip. It dries clear and won’t be sticky, but it does remain somewhat shiny and will show if it comes out from behind the edge of your paper.
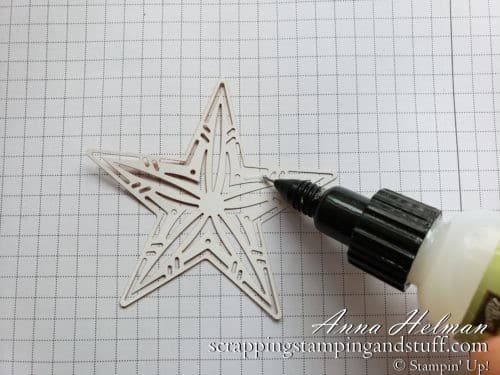
Added bonus! Because this glue dries clear and hard, you can use it to create glossy accents on your projects! Below I have used it to add shine and dimension to the lake.
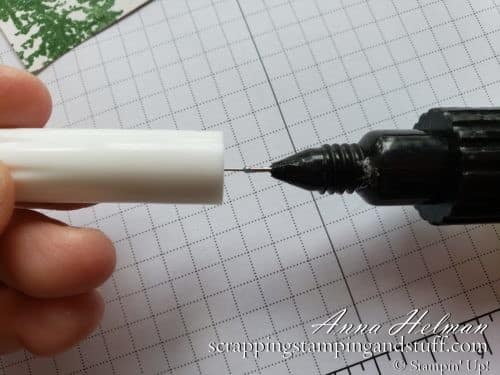
To keep the narrow tip of the glue bottle clear of clogs, the cap has a thin wire inside that needs to be inserted into the tip each time you close it. Make sure the wire is inserted properly and that you don’t let it sit out for too long before putting the cap back on. Otherwise you may have clogs before you even put the cap back on.
Glue Dots
Now we’ll move on to two more adhesives that are absolutely awesome in special situations. Glue Dots, shown below, are basically pre-dried sticky glue dots on a roll of paper. Anytime you don’t want to hold something in place while glue dries – these are what you need! They are perfect for bows, buttons, embellishments, and anytime you need a strong adhesive like when making 3D projects like boxes.
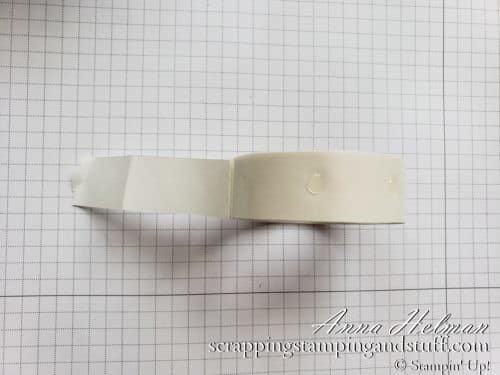
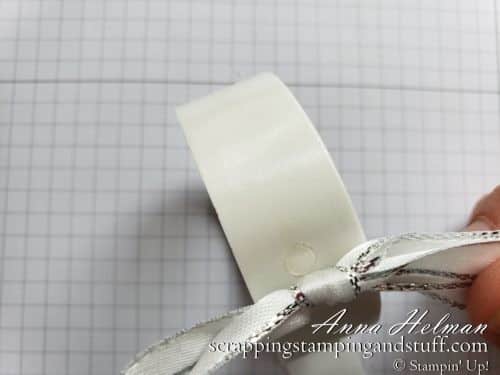
When using Glue Dots, you do NOT need to pull them off of the strip with your fingers and place them onto the back of an item. Simply press the roll of glue dots directly onto the bow, button, or paper, and it will stick to it. So much easier than trying to grab them with your fingers!
Tear and Tape Strong Adhesive
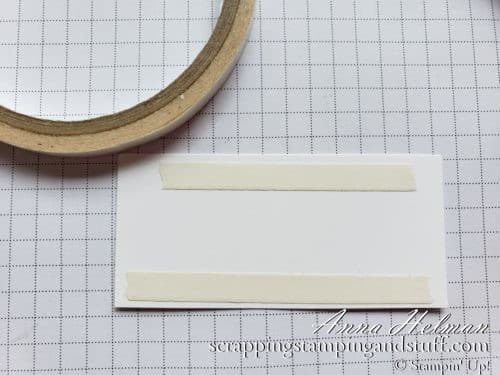
When I’m making boxes, treat holders, or trying to attach thick ribbon or other heavy objects that need a super strong adhesive, Tear & Tape is the adhesive I use. It’s not as quick as Snail, which is why I don’t use it all the time, but it’s still pretty easy to use. Just tear off a trip of the adhesive, and stick it onto your project. Then pull off the paper backing and you can adhere it. It’s so strong! Definitely nice to have in your craft stash!
I hope this has helped you learn about some of the best adhesives for card making and scrapbooking, as well as which adhesives are best for different purposes. You can order any or all of these using the links below. Please comment below or contact me if you have any questions about any of these!
Want to start at the beginning with Cardmaking 101 and follow through the lessons in order? Click here! or stop back in to see my next lesson on papercrafting tools!
Please make me your Stampin’ Up! demonstrator!
- With your first order, you’ll receive a FREE annual catalog from me! Seasonal catalogs are also mailed to regular customers.
- Please use hostess code GJNKWZVN when you order.
- Keep track of your Stampin’ Rewards and earn free stamps from me!
- When you order $150 or more, you’ll earn hostess credit through Stampin’ Up!
- Check out my current Project in the Mail, Pressed Petals (shown below)!
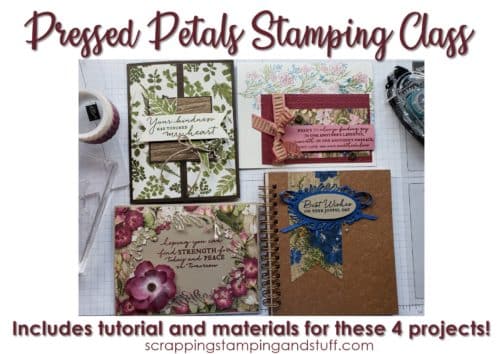
Order the products I used and make this project yourself!


[…] Cardmaking 101 Lesson 5: Best Adhesives for Card Making and Scrapbooking […]