Welcome to my second post in a new series I’m doing – Cardmaking 101! Many of you who follow along are long time stampers, professionals even! But, if you want to learn to stamp, you need to know the basics, and that’s why I’m starting this series. If you find my blog, I want you to be able to learn everything you’ll need to know right here to get started stamping. Want to start at the beginning? Start here. Today’s lesson is on types of stamps, and how to mount, ink, and clean them. Let’s get started!
Types of Stamps
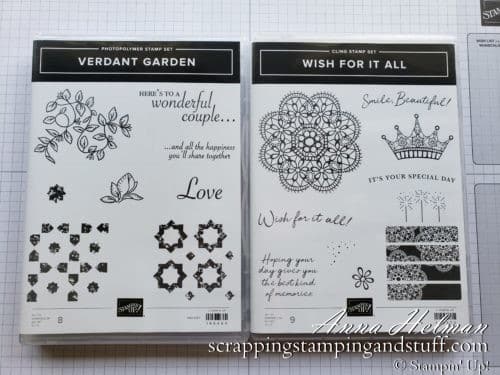
Below I’m showing two stamp sets – Verdant Garden, a photopolymer set, and Wish For It All, a cling stamp set. They look the same on the outside, and they come in cases identical to a DVD case. Very nice for keeping them organized in a drawer or on a shelf!
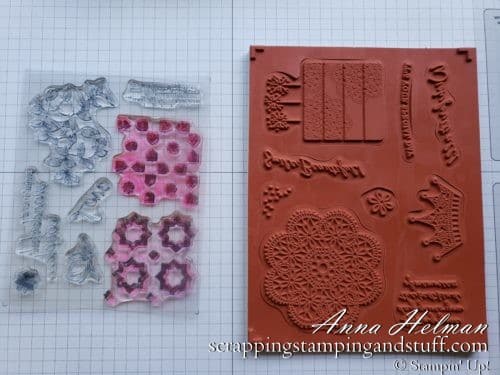
When I take the stamps out of their cases, you can see that the photopolymer stamps are clear, and the cling stamps are made of red rubber. The photopolymer stamps are individual stamps between two layers of clear plastic, while the cling stamps are punched out from, and surrounded by, a rubber sheet.
Cling Mount Stamps
Let’s talk about the cling rubber stamps first. They come pre-cut from a sheet of rubber. That means you do NOT have to cut them out, like in the original days of rubber stamping!! Simply pop them out of the sheet, and you will have…
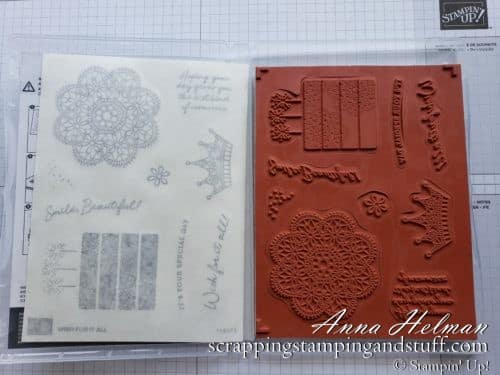
…stamps (almost) ready to use! They will have a paper backing on them that needs removed.
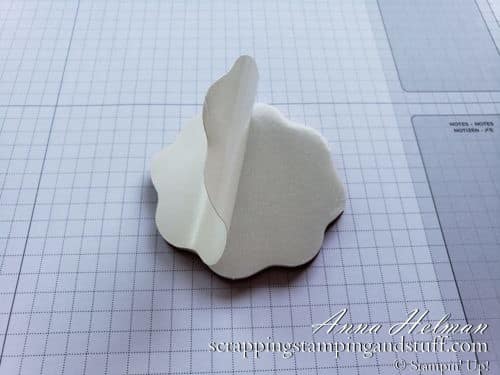
Once the paper backing is removed, you can attach a label to the back of the stamp. Each cling set comes with a sheet of labels. You’ll need to peel the backing off of the appropriate label, as shown below.
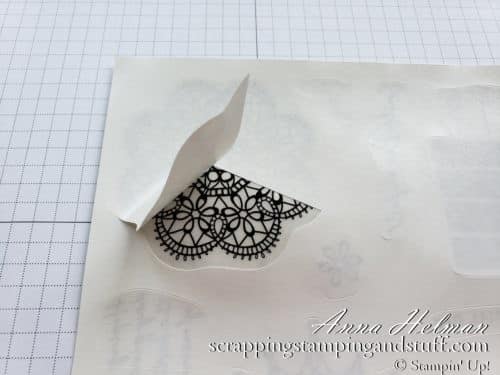
Once the backing is removed, carefully line up the stamp above the label, and lower it directly on top of the label. Then peel the stamp away from the label sheet, and the stamp will now be labeled!
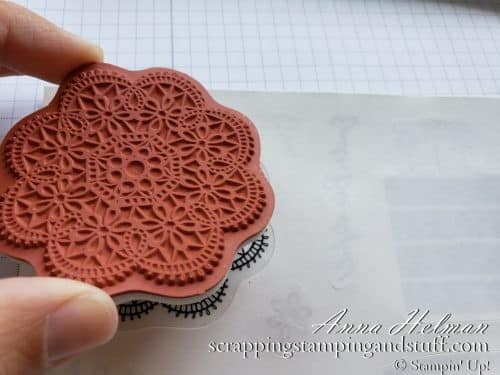
Isn’t this a gorgeous design?! I can’t wait to stamp it!
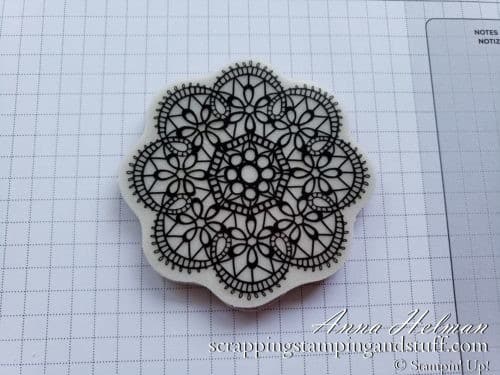
To use the stamp, you’ll need to attach it to an acrylic block. Blocks are sold separately from stamp sets, so if you’re ordering stamps for the first time, make sure you have a few blocks as well. They come in different sizes and shapes. It’s really nice to have a block just larger than your stamp, so you’ll want to have various sizes in your collection.
To mount the stamp to a block, lay the stamp rubber side down onto your work surface, then lay an acrylic block on top and press gently.
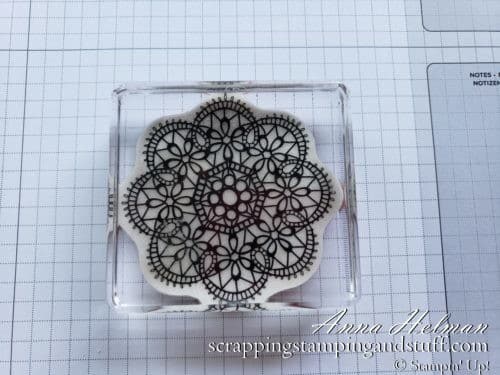
Now you’re ready for stamping! But wait, let’s look at photopolymer stamps quickly!
Photopolymer Stamps
Photopolymer stamps are slightly different than cling stamps. They come between two clear plastic sheets. To use, you’ll need to pull a stamp away from the clear sheets.
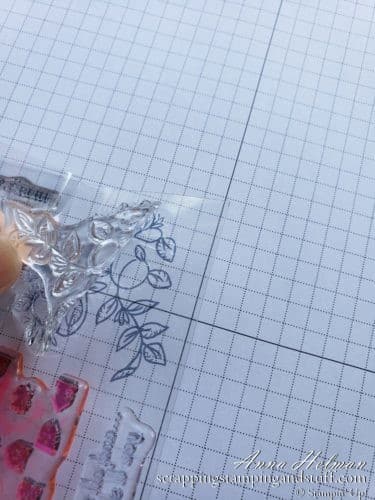
Next attach to a block one of two ways. 1. Lay the stamping surface down and place a block on top, just as you did the cling stamp, OR 2. Lay a block on your work surface and place the flat side of the stamp on top of it. The rough stamping surface should be face up.
Ok, let’s get on to some stamping!
Inking a Stamp
Let’s talk briefly about inking a stamp. Rule number one – pressure is not needed!! Lay the stamp on top of the ink pad. Then raise it up slightly, move it a little to one side and set down again. Do this a few times…tap, tap, tap. This will help to get ink evenly distributed on the entire stamp. Just don’t push down when you do this! Stampin’ Up! Stampin’ Pads are juicy and squishy, and pushing stamps into them makes a giant mess.
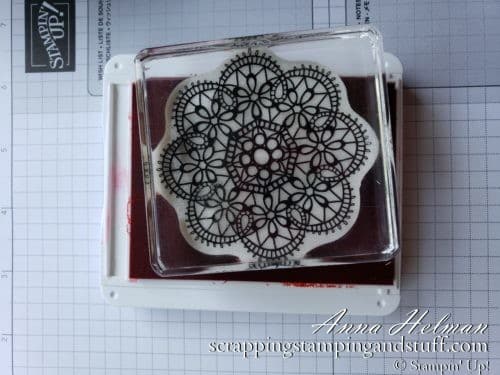
After you have tap, tap, tapped to ink the stamp, feel free to turn it over and look at it. Does it look like it is inked evenly? If not, do it again. As you get more experience stamping, you’ll feel more confident knowing that the stamp is inked correctly without looking. It’s like a crafting superpower 🙂
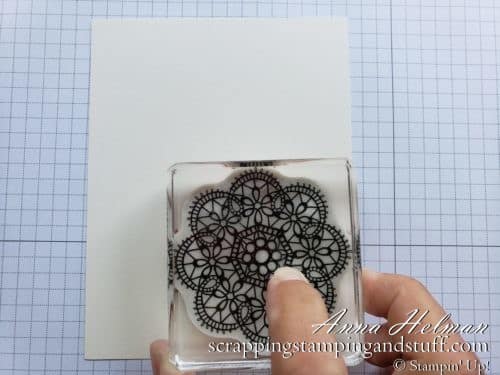
When the stamp looks nicely inked, place it over the cardstock you wish to stamp. When you’re lined up correctly, set it on the paper and push firmly. Firmly, NOT hard. If you press too hard it may smudge or get ink in places you didn’t want.
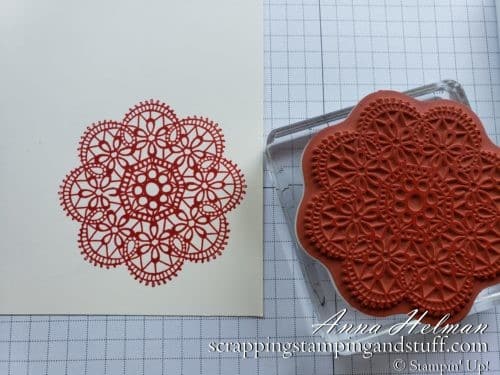
Here is my stamped image. So pretty and so easy!
Stamparatus
I will mention one other way to mount stamps. It’s called the Stamparatus and it’s amazing! This is an amazing tool for both beginning and experienced stampers. It helps to make sure you have your stamps lined up correctly every time, and when you don’t get something stamped completely, just re-ink it and you can stamp again in the exact same spot. Mind blown.
I’ll go into more detail about the Stamparatus in a future Cardmaking 101 lesson, but I’ll show you the general idea today. It is a stamping platform that comes with two clear stamping plates. Instead of using acrylic blocks, your stamps mount to the clear plates.
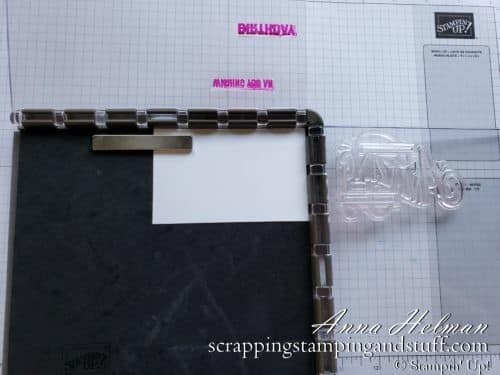
To ink them, you hold your ink pad upside down and press it against the stamp a few times.
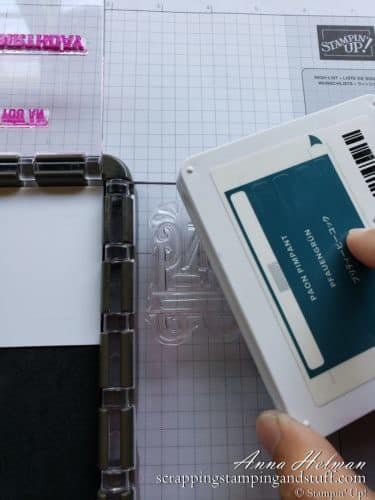
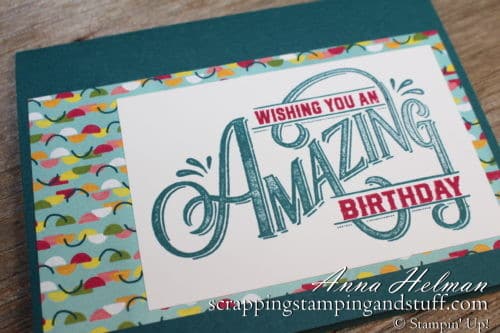
Once the stamp is inked, you can fold the plate over and press on top of the plate to stamp your image.
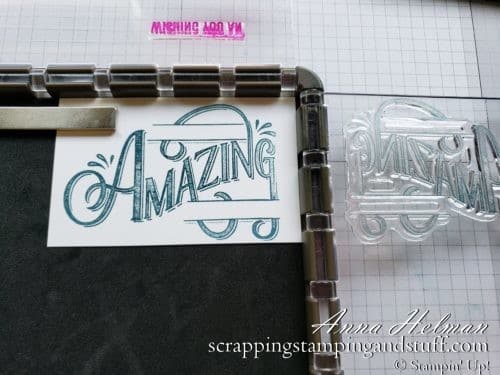
Next I inked the other stamps…’wishing you an’ and ‘birthday.’ Then I folded the plate downward, as you can see below, and pressed firmly on top of the plate.
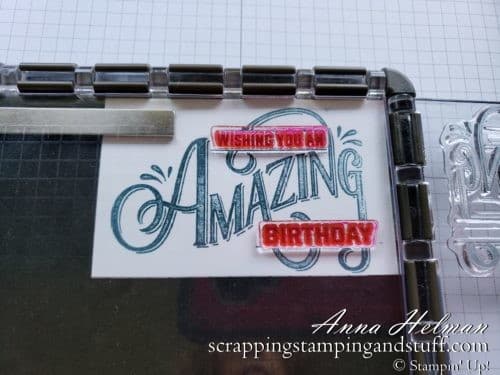
The Stamparatus is super-cool, so check back in the future for more information on it!
Cleaning Stamps
Last but not least, let’s talk about how to clean stamps! Stamps can be cleaned with running water or even alcohol-free baby wipes. However, running water usually isn’t convenient when you’re sitting and crafting, and baby wipes are, well, really annoying. They don’t get into the cracks and crevices of the stamps without a lot of work, and they leave those little tiny fibers all over your stamps. So…let’s talk about some better options.
Stampin’ Up! has a product called the Simply Shammy. Think of it as a fancy sponge to clean your stamps. You get it wet, wring it out, then keep it at your craft table to wipe off your stamps. Occasionally you can wash it out by hand to clean off excess ink.
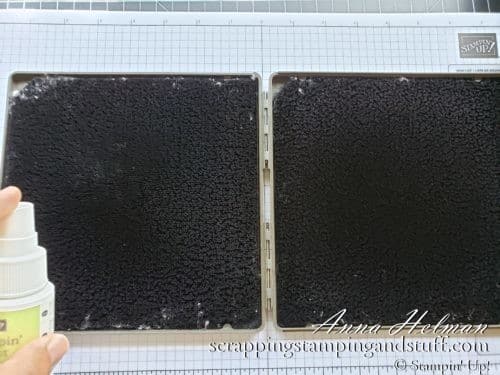
The Simple Shammy is a really good option for cleaning stamps, but when you’re ready for something better, I highly suggest the Stampin’ Scrub! As shown below, it folds open to reveal two sides, both of which are fuzzy. The first step is to spray a few sprays of Stampin’ Mist on the left side (the top left corner reveals raindrops to remind you this is the wet side). Next, rub the stamp onto the wet side in different directions to clean it. Then do the same on the right side (which has the sun to remind you of dry) to dry it off. All clean! Oh, by the way, please excuse the little white fuzzies around the outside of my Stampin’ Scrub. They’re those annoying baby wipe fibers I told you about.
That’s all for today’s lesson! Hopefully you have learned about the types of stamps and how to use them. Come back next time to learn about paper!
Previous Lesson: Cardmaking 101 Lesson 1: Learn to Make Pretty Handmade Cards
As time goes by, the specific products used in this tutorial will become retired. Check out simple stamping cards made with more current products here.
Please make me your Stampin’ Up! demonstrator!
- With your first order, you’ll receive a FREE annual catalog from me! Seasonal catalogs are also mailed to regular customers.
- Please use hostess code GZS46UCA when you order.
- Keep track of your Stampin’ Rewards and earn free stamps from me!
- When you order $150 or more, you’ll earn hostess credit through Stampin’ Up!
- Check out my current Project in the Mail, Pressed Petals (shown below)!
Want to make this project for yourself? Use the links below to order!


[…] all about paper! We’ve already talked about the basics of cardmaking and learned more about stamps. Now we’ll move on to paper! The paper you choose for your project has a huge effect on the […]