Welcome to Lesson 10 of my Cardmaking 101 series! I’m so glad you are here, and I hope these lessons will help you learn to love cardmaking like I do! In today’s lesson, we will start to learn basic techniques!!!! I love using different techniques, and I love sharing them too. Today we will talk about the stamping off technique, and I’ll walk you step-by-step through how to make the card below.
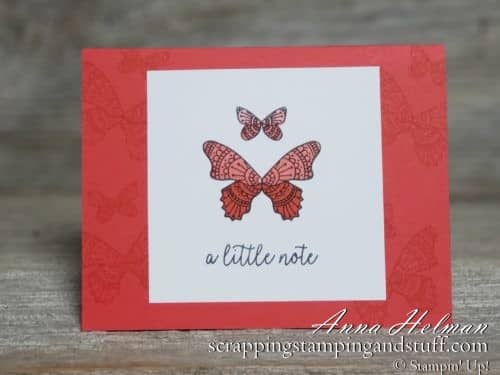
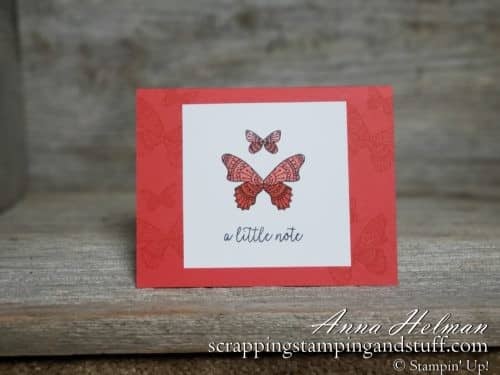
This is such a simple, yet pretty card. I used the Butterfly Gala stamp set to create it. Keep reading and I’ll show you exactly how to make it yourself!
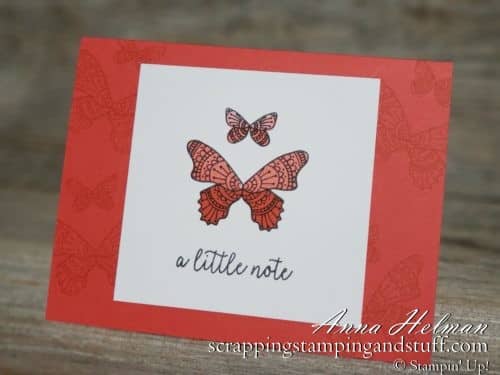
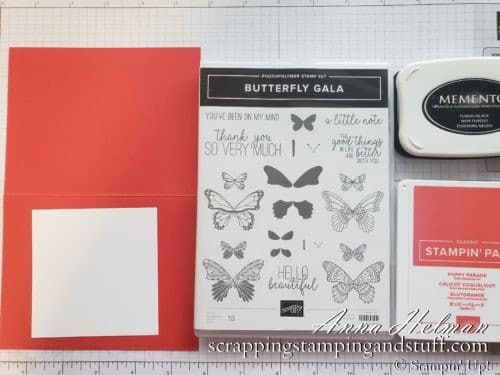
Below you can see the materials I used to make this card. They include the Butterfly Gala stamp set, Memento black and Poppy Parade inks, and two pieces of cardstock. The cardstock includes a Poppy Parade card base measuring 5 1/2″ x 8 1/2″, folded in half, as well as a 3 1/2″ x 3 1/2″ piece of Whisper White. You will also need a few stamping blocks or a Stamparatus on which to mount your stamps.
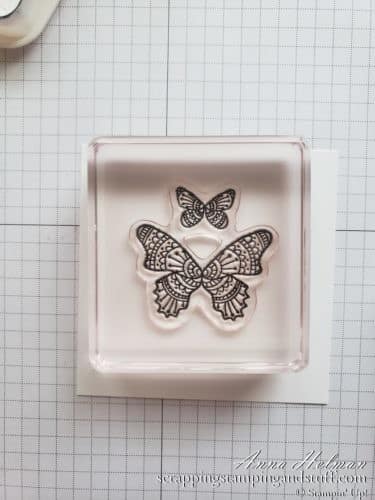
First I’ll show you how to create the butterflies on the white cardstock. Mount the butterfly stamp to a clear block, ink it with black ink, and stamp onto the cardstock. Leave space at the bottom for the greeting.
Next, stamp the greeting.
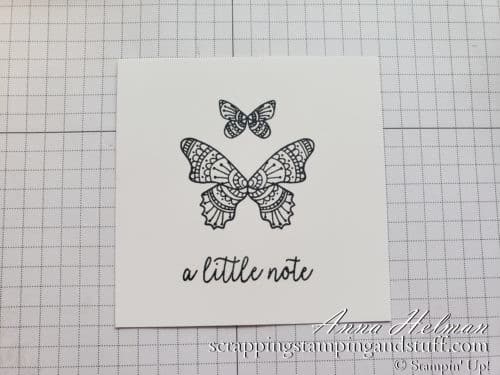
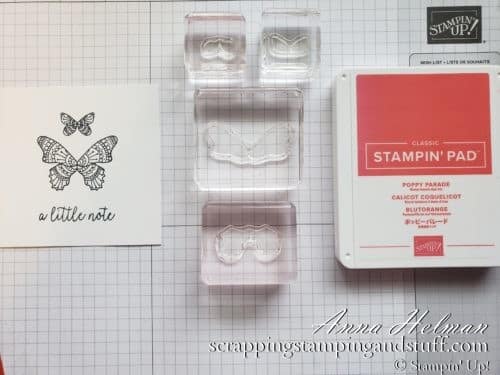
Next you will want to prepare the four stamps that will be used for adding color to the butterfly wings.
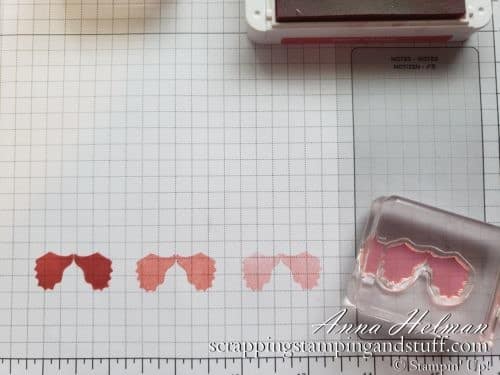
Now it’s time to talk about the stamping off technique. Stamping off means that you ‘stamp off’ on scrap paper before you stamp on your actual project. This allows you to achieve multiple colors on a project using just one color of ink. Below you can see that I stamped first with full color, then stamped two more times without reinking the stamp. Each time the color got lighter.
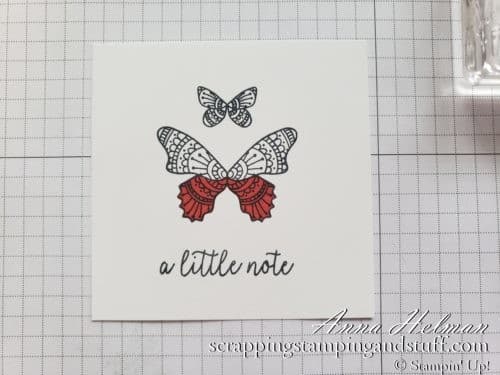
Now we will add color to the butterflies. Begin by getting the stamp for the large butterfly’s lower wings, inking it, and stamping directly onto the butterfly (without stamping off).
Next get the stamp for the large butterfly’s upper wings. Ink it, stamp off onto scrap paper, then stamp onto the butterfly. Repeat for the small butterfly’s lower wings.
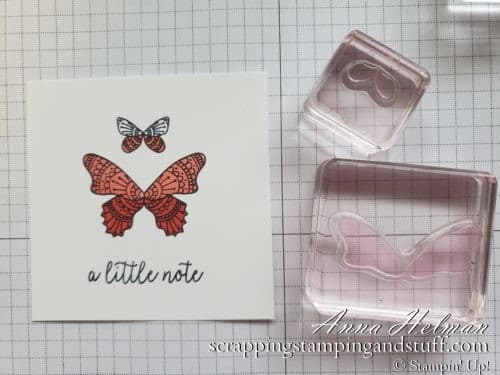
For the small butterfly’s upper wings you will stamp off twice before stamping onto the butterfly.
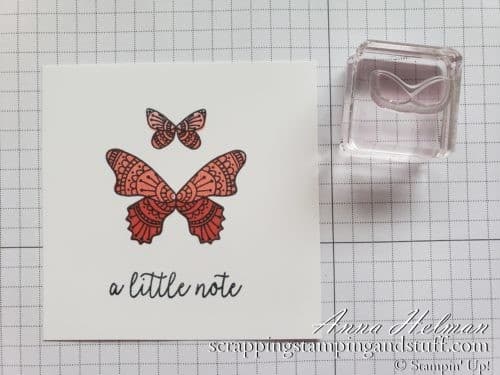
Isn’t that pretty? And as you can see, it was very simple to create.
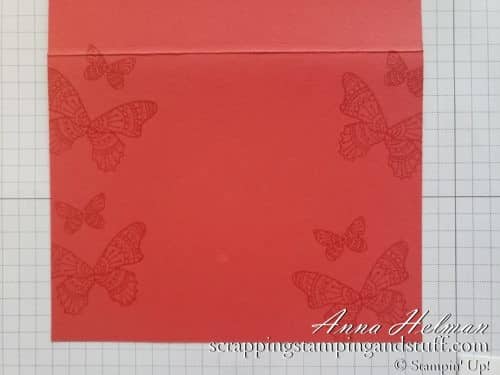
Next, I added a little interest to the card base by stamping butterflies onto the right and left edges with Poppy Parade ink.
Next I attached the white cardstock to the front. The card is done!
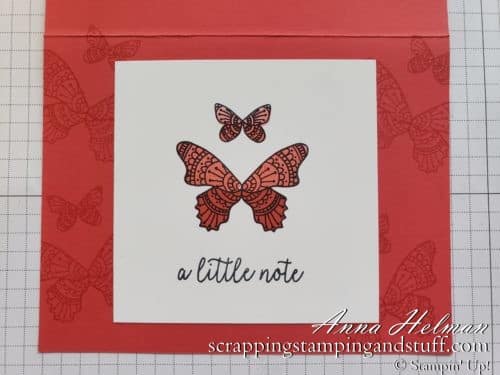
You could add a small bow or some embellishments if you desire, but I think it’s very pretty the way it is!
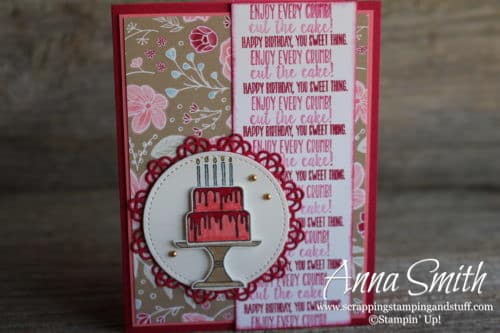
Let’s look at two more cards where I used the stamping off technique. Below you can see that on the phrase stamps, I alternated using full strength ink with stamping off once and stamping off twice. It gives nice variation in color! You can see more about this card here.
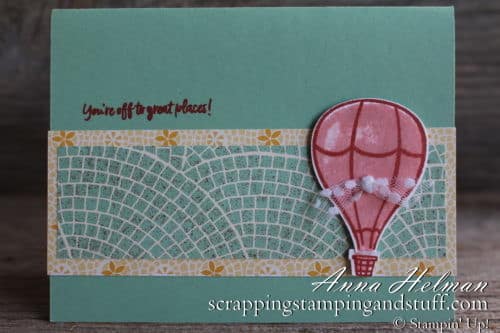
On this hot air balloon card, I stamped off when I stamped the hot air balloon ‘fill in’ stamp so that it would be lighter than the outline.
I hope you enjoyed this lesson! Stop back in to see what I have in store for Cardmaking 101 Lesson 11!
Please make me your Stampin’ Up! demonstrator and order from me using the product links at the bottom! Earn the free gifts shown below when you order using the current hostess code. PLUS, with your first order, you’ll receive free catalogs in your thank you package!

- Sample all of the papers, ribbons, and embellishments that Stampin Up has to offer with Product Shares.
- Check out my current Project in the Mail, Tags Tags Tags (shown below)!

Order the products I used and make this project yourself!


[…] directly onto the tissue paper. For these trees, I stamped some with full strength ink, and I used stamping off for the faded trees. I used both Garden Green and Mossy Meadow inks for some color […]