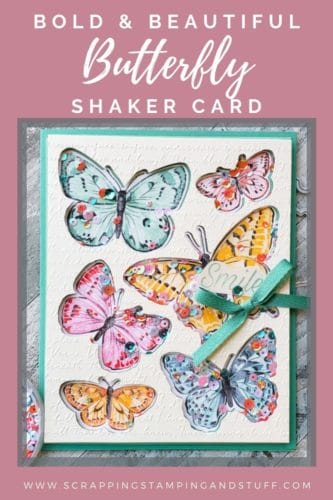
Welcome! I’m equal parts excited and sad to share with you my last project (for now), a butterfly shaker card, using Stampin Up’s special release Butterfly Brilliance bundle. I’ve had so much fun creating a series of cards and projects using this collection that I don’t want it to end. If you’re just tuning in this week and haven’t had a chance to see my other projects yet, I highly encourage you to take a look using the links included below. As for today’s project, it is a big and bold butterfly shaker card. Shaker cards are so gorgeous and fun, they will leave your recipient to wonder how they too can create something so cool. Let’s take a look at today’s project.
Butterfly Shaker Card Video
If you’d like to watch along as I make this butterfly shaker card, click on the video below.
Butterfly Brilliance Collection
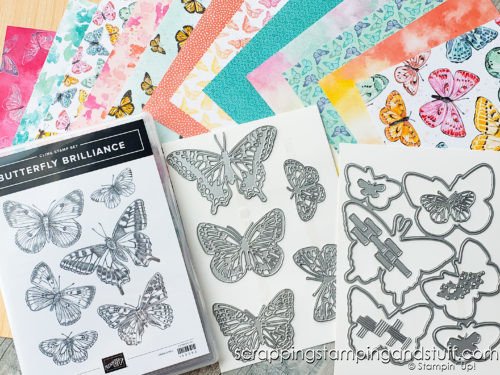
If you haven’t yet seen Stampin Up’s gorgeous Butterfly Brilliance bundle, here’s a picture of what comes in the collection. This bundle is not available in any of the catalogs since it is a special release bundle. To order this collection, use the links at the bottom to choose one or all of the products.
Butterfly Brilliance Samples
Since I’ve been working with this collection all week, here’s a re-cap of some of the projects I’ve created.
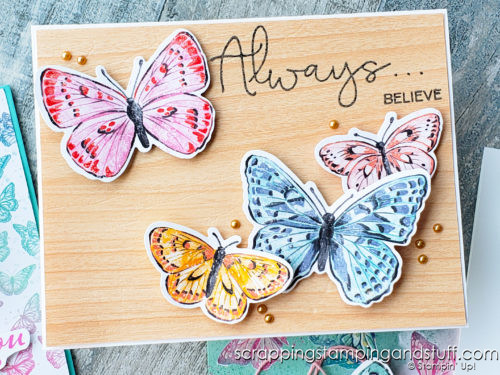
On Tuesday I shared this card using the Natural Touch Specialty Paper and Brilliant Wings Dies. I shared a ton of other card samples in that post as well.
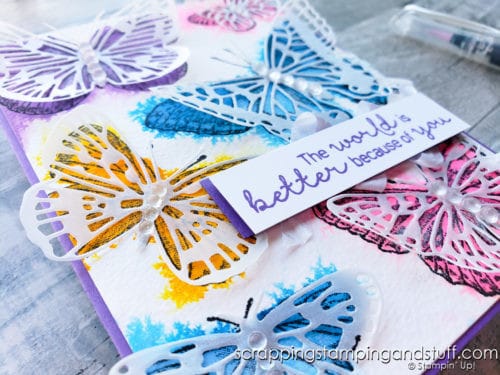
Wednesday I shared how to make this beautiful watercolor butterfly card.
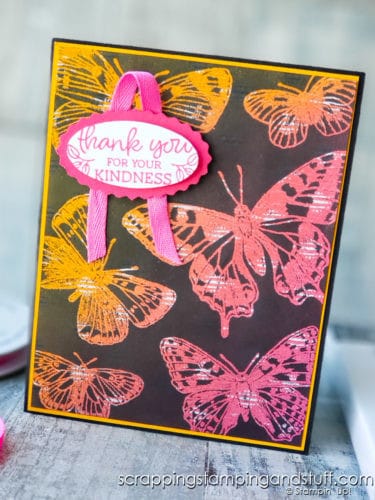
Thursday I used a technique called Joseph’s Coat where you emboss the butterflies with clear embossing powder over designer paper. Then you add dark ink over the rest of the surface. Here is this Joseph’s Coat card.
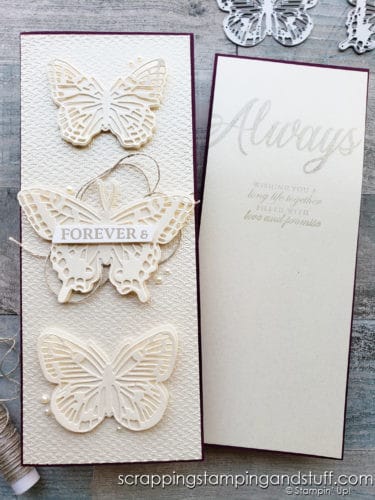
I created this slimline card yesterday using the Brilliant Wings Dies and Pearlescent Paper. This one might be my favorite so far this week, but it’s really hard to choose!
Now let’s take a look at today’s project. It might be my new favorite!
Butterfly Shaker Card Instructions
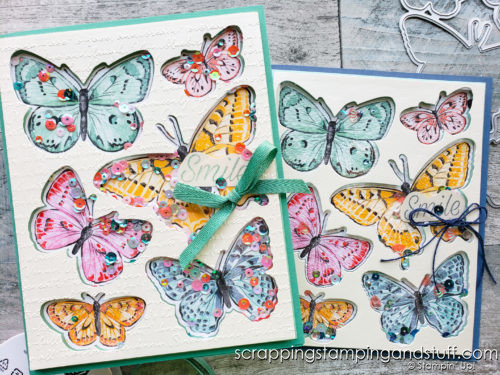
To begin, here’s a list of materials you can prepare ahead of time.
Materials:
- 6 1/2″ x 10 1/2″ Card Base Scored at 5 1/4″ Folded in Half
- 5 ” x 6 1/4″ Mat
- 4 7/8″ x 6 1/8″ Window Sheet
- 4 7/8″ x 6 1/8″ Pearlescent Paper
- Die cut butterflies from the Butterfly Bijou designer series paper
Assembling the Shaker Card
Die cut butterflies from the pearlescent paper, then lay this piece over top of the 5″ x 6 1/4″ piece (do not attach). Attach designer paper butterflies to the background mat using the pearlescent piece as a guide for placement. Lift the pearlescent paper off, leaving the butterflies attached to the background. Attach the background piece to the card base. Add a greeting if desired.
Emboss the pearlescent paper with the Scripty embossing folder if desired. Glue this piece on top of the window sheet. On the back side, line the outside edges with foam adhesive strips to create your shaker frame.
Pour sequins on top of the card base, then remove paper backing from the foam strips and attach the top piece over top. Add a bow if desired.
Isn’t this shaker card so beautiful? Have you made any shaker cards yourself? If so, I’d love to see samples you’ve created!
Don’t Miss Out!
Please make me your Stampin’ Up! demonstrator! Earn rewards points towards free stamps PLUS a gift when you order. Use host code: EUPGXHR6 PLUS, with your first order, you’ll receive free catalogs in your thank you package!



Leave a Reply