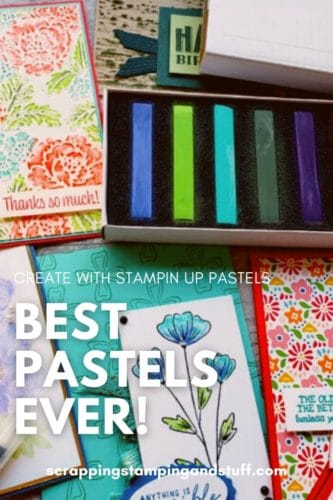
Welcome! I’m back from Maui, and it was truly a trip of a lifetime! It started a little rough with flight problems, but our time there definitely made up for the difficulties we had getting there. Stop back in a few days to see pictures and highlights from our trip! Now let’s get on to today’s product highlight, which I’m so excited to share. Stampin Up’s Soft Pastels are the absolute best soft pastels, which were just released in our new Annual Catalog. They are truly an amazing coloring tool, and I’m excited to share all about them with you, including 7 fun techniques to try on your upcoming paper projects. I think you’re really going to like the amazing color effect they give. Let’s talk about them!
What Are Dry Pastels?
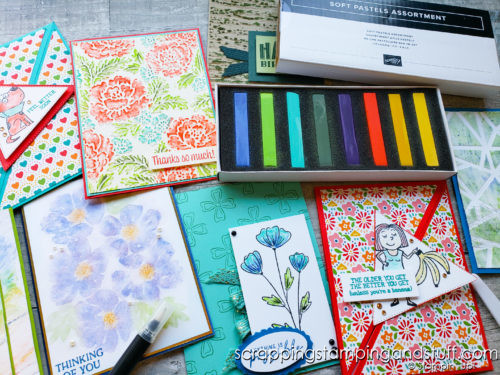
Dry pastels are a fun coloring tool to use to create artwork or add color to any paper project. These pastels are made up of soft chalk, they have a unique coloring effect, and they can be used with a multitude of other coloring tools. Our soft pastels are long and rectangular in shape, and they come in a box of 8 colors. The colors included are Coastal Cabana, Daffodil Delight, Granny Apple Green, Gorgeous Grape, Mango Melody, Mossy Meadow, Night of Navy, Poppy Parade. You can see them below in the nice case they come in.
Now let’s start talking about the fun part…how to use them!
How To Use Pastels
These dry pastels are a coloring tool with so many possibilities. There are many different ways they can be used which makes them a really nice addition to your art or crafting collection. Pastels can be used “as-is”, meaning you can color with them directly on a project, or you can get creative. Since these soft pastels have a chalky texture, they can be shaved and mixed with other media, like embossing paste. They can also be used with water or other tools to create completely different effects. To learn more about the different ways pastels can be used, check out the next section which outlines 7 techniques to try with pastels!
7 Best Soft Pastel Techniques To Try
Like I stated earlier, these pastels are amazing and so versatile. Let’s talk about 7 techniques I’ve used with soft pastels.
Color Directly With Pastels
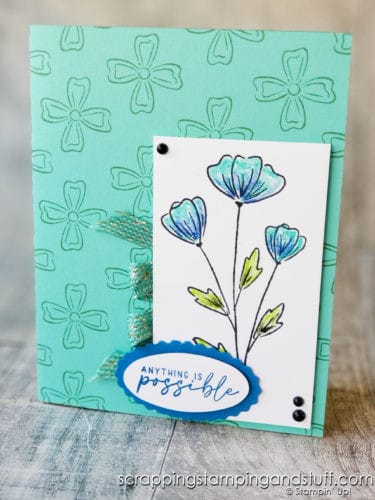
Let’s start with the basics, and here that means using the pastels to color directly onto your project. In the sample below, I colored the flowers by using the dry pastels directly on the paper. After using them, I used a cotton swab to blend the colors.
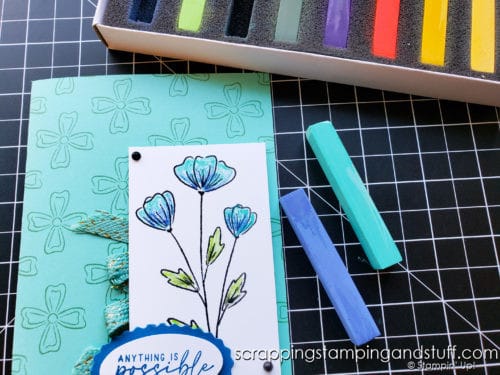
Here’s another photo showing the two colors of pastels that I used.
Let’s talk about a second technique that uses the pastels directly against your paper.
Creating Chalk Rubbings On Embossed Cardstock
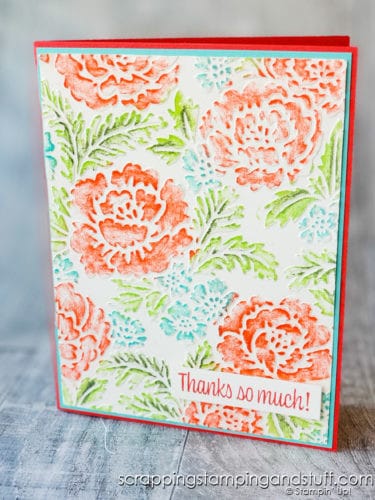
This technique involves using dry embossed paper, then laying a pastel flat on top and rubbing gently over the entire surface. I used my Cut & Emboss machine to make the samples below with the Pretty Flowers (left) and Bark (right) embossing folders. I love how these turned out!
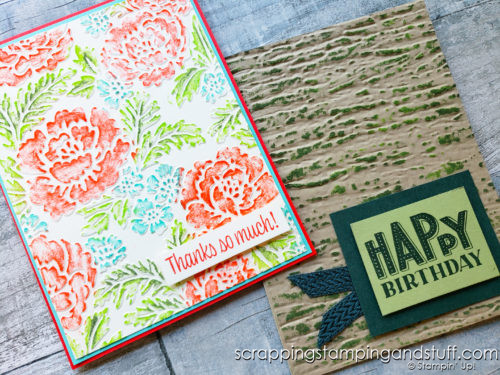
For the flowers example, instead of turning the chalk completely on its side and running over the entire surface, I used them at an angle to color more specific areas.
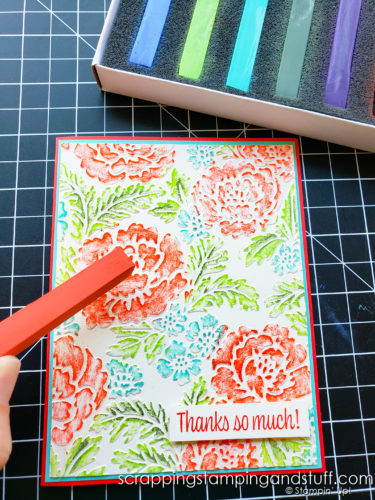
I just love this one!
Next let’s talk about how to use pastels with stamped images.
Sponging Color Over A Stamped Image
I love the soft glow this technique creates. For the sample below, I first stamped the flower cluster with Sahara Sand ink. Next I shaved some of my desired colors of pastels onto my work surface using the spatula end of the Take Your Pick Tool. To apply the color, I used a sponge dauber (or cotton swab) to rub the shavings directly onto the stamped image. The soft glow of this effect is just stunning!
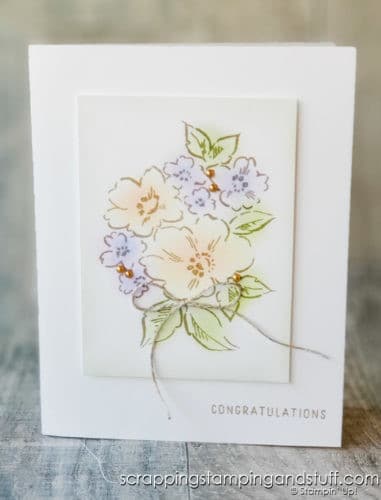
*Tip – When working with soft colors, I find it best to stamp images with a lighter, more neutral color, rather than black, so it doesn’t take away from the beautiful soft colors!
You’re going to love this next technique using Versamark ink!
Dabbing Color With Soft Pastels Onto Versamark Ink
For the card below, I used the large stamp from the Blossoms In Bloom stamp set, applied Versamark ink, and stamped the image onto my cardstock. Next, I added color to a sponge dauber directly by rubbing it directly onto the soft pastel. Then I blotted over the stamped image with the dauber, and the ink collected the color as I went. Make sure to take a look at my video tutorial to see exactly how I did this.
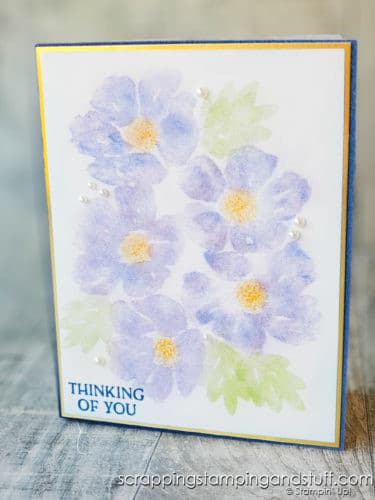
*Tip – If you’re not picking up enough color from the pastels, gently shave some color off of the pastel block using the spatula end of your Take Your Pick tool onto a Silicone Mat. Then pick up the color from there.
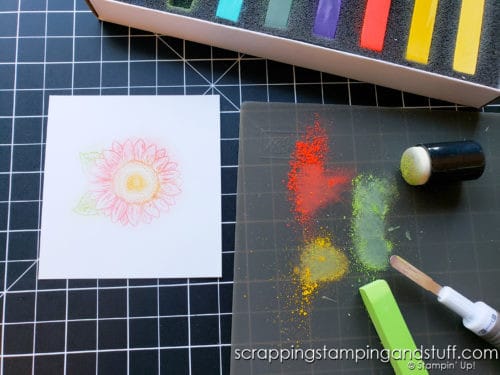
Next let’s talk about using these best soft pastels with other coloring tools.
Coloring With Blender Pens And Pastels
This technique involves using a blender pen to rub directly onto a pastel, then color onto your projects. It creates a nice and soft, even color. I found using shimmery white cardstock and StazOn Ink works best for this technique to prevent the paper from pilling and also to prevent ink smearing.
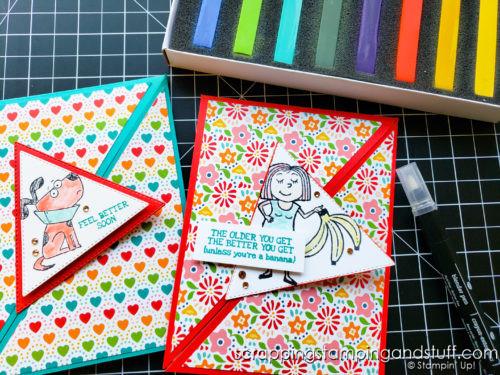
The Bunches of Fun stamp set used for the cards above is so stinkin’ cute!
Next we have a similar technique using a different tool.
Coloring With Water Painters
This technique is basically the same as using blender pens, but you use a water painter instead. The resulting effect is a softer feel than when coloring pastels with the blender pens. I’ve also found when using a water painter, that shimmery white cardstock allows the color to flow easier.
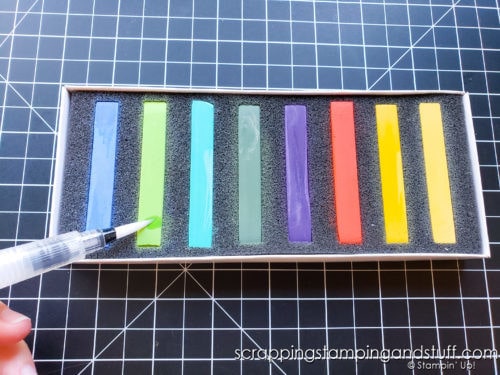
I have one last technique to share for those of you who enjoy using mixed media.
Embossing Paste And Soft Pastels
Here’s a completely different technique to try using embossing paste. I tried two different methods – with and without masks/stencils. Let’s talk about them.
With Masks
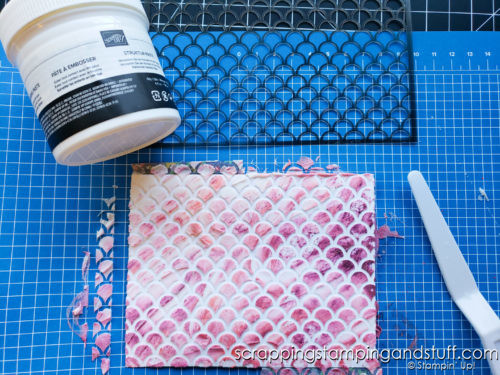
Reach for your embossing paste, your favorite mask or stencil and the pastels. Use a little bit of Washi Tape to hold cardstock to the back side of the mask. Using the spatula tool, smear paste over top of the mask. Next, shave off some color from the pastels directly onto the paste. Blend shavings into the paste by gently moving the spatula over it once or a few times. Carefully remove the mask, and clean tools quickly or place them in water until you have time to clean them.
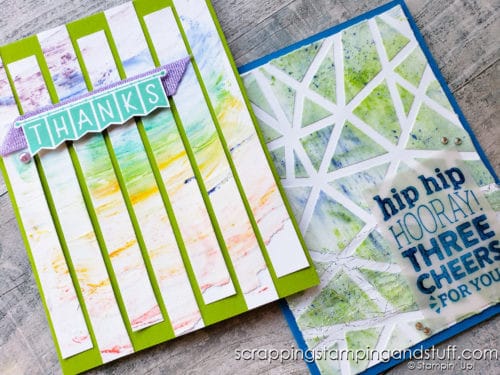
Isn’t this fun, with the bright colors and geometric pattern of the mask?
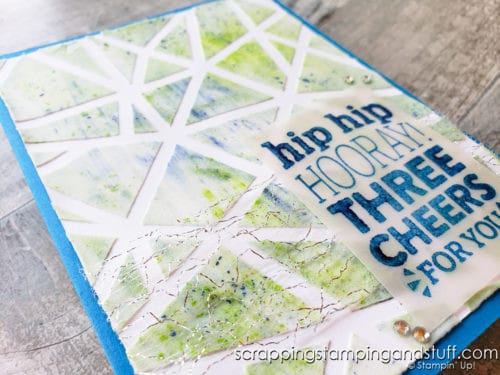
This is the sample I created during my tutorial video. It’s so pretty!
Without Masks
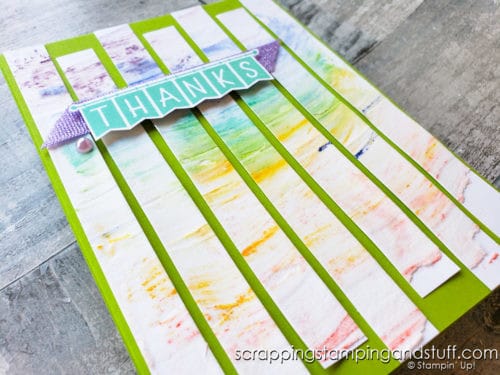
Using embossing paste without masks is simple. Just spread some paste onto your cardstock, add pastel shavings over the top, then use a spatula to spread the color. I thought this rainbow effect turned out neat.
If you’re looking for an inclusive list of tools to use with pastels, I’ve included one below.
Best Tools To Have On Hand For Using With Soft Pastels
I used several tools in the techniques above. Here’s a summary list of some of the most helpful tools to have on hand when using pastels.
- Sponge Daubers
- Silicone Craft Sheet
- Pallet Knives
- Embossing Paste
- Cotton Swabs
- VersaMark Ink
- Stazon Ink
- Shimmery White Cardstock
- Blender Pens
- Water Painters
- Take You Pick Tool
See the links at the bottom to order any or all of these. One more thing I need to mention before we wrap this up, is how to seal your gorgeous pastel creations.
Sealing Your Soft Pastels Projects
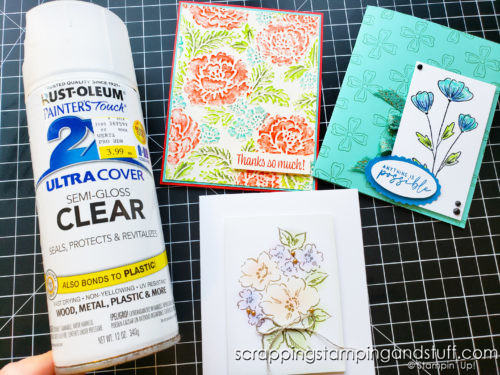
If you have concerns about the pastel color rubbing off of your project, you may want to seal it. Use a clear spray paint type sealer to coat and seal your project. Just be sure to hold the can at least a foot away from your paper, so that you don’t apply too much.
Thanks for visiting! These soft pastels are the absolute best and I hope you’ll add them to your next order so you can try them out yourself!
Don’t Miss Out!
Please make me your Stampin’ Up! demonstrator! Earn rewards points towards free stamps PLUS a gift when you order using host code: DB6NBYAV PLUS, with your first order, you’ll receive free catalogs in your thank you package!

Purchase These Products to Make These Dry Pastel Cards:
You Might Also Like:
Stampin Up Gilded Leafing – How To Use For Beautiful Gold Accents
Thanks for joining me today. I hope you’ve enjoyed learning about these beautiful soft pastels. Have a great day!


Awesome post, I haven’t even touched those pastels yet. Now’s the time, I’m inspired by you Thank you for sharing.
Thank you for all the wonderful information here. Your samples are beautiful!