Welcome! I had a lot of fun doing themed videos all last week revolving around slimline cards, and it inspired me to do another themed week this week. What are we talking about? I think you’ll be excited, because I’ll be sharing some of my favorite card making tips and tricks! I love sharing quick tricks that help you do new things or save time or money, and today we are starting with one of my favorite die cutting tricks – how to make any size die cut using dies you already have in your collection. Let’s talk about it!
Make Any Size Die Cut With Dies You Already Have!
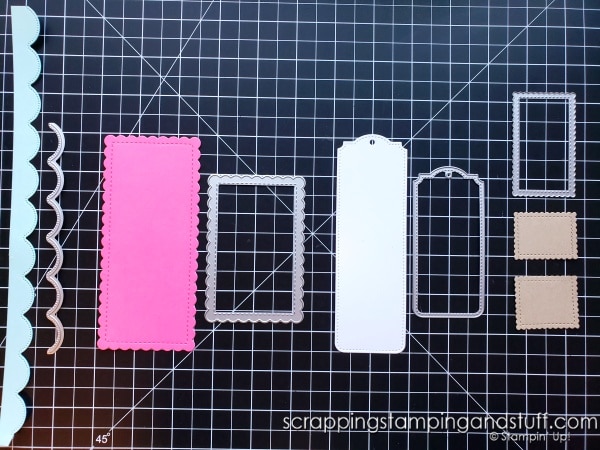
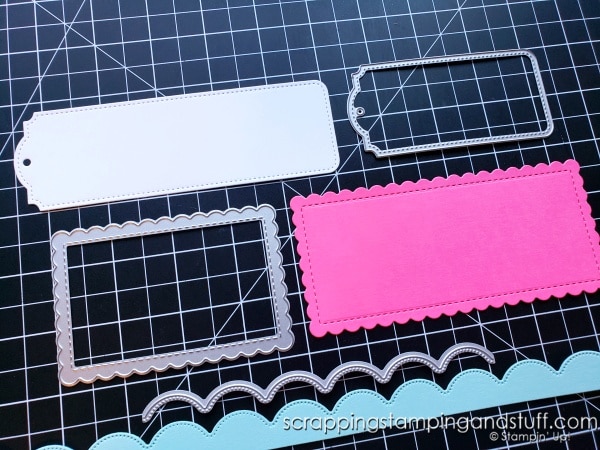
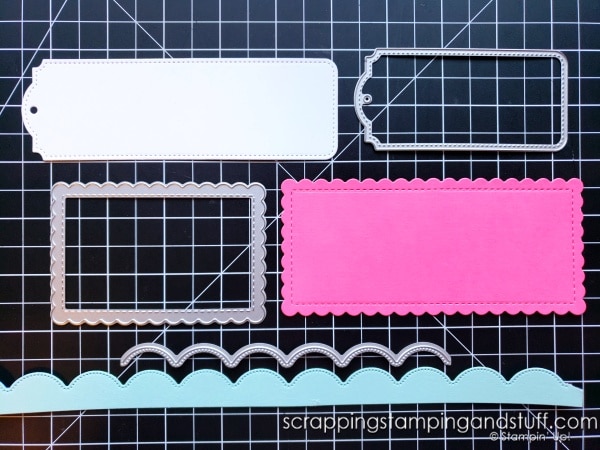
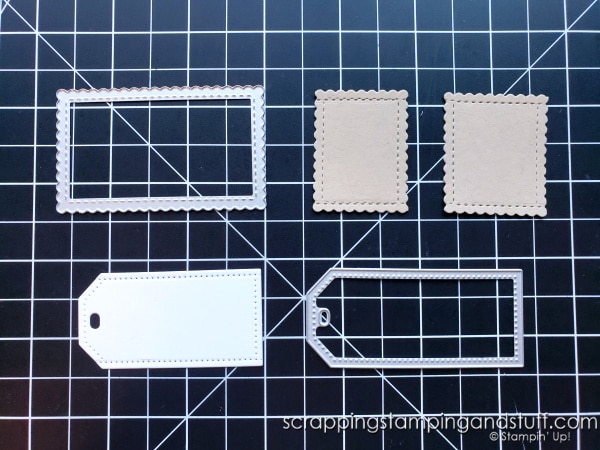
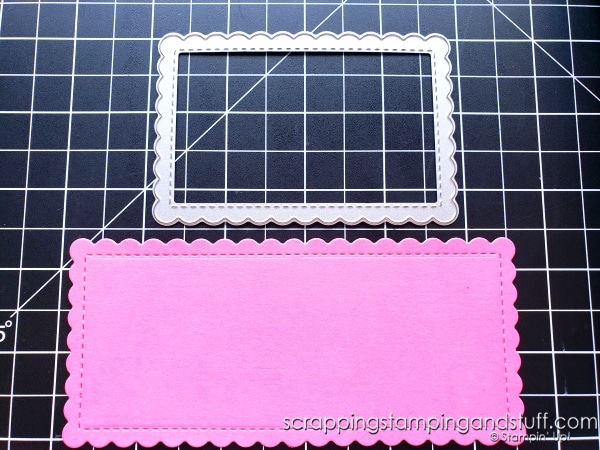
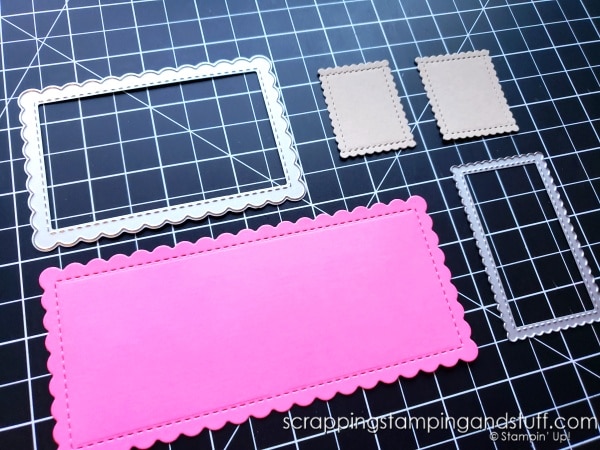
Below you can see some die cuts I created along with the die that I used to cut them. Do you know how to make longer or shorter die cuts than the size of the actual die? If not, stick around because I’ll show you today!
How To Make Any Size Die Cut Video
Watch along here to see exactly how to cut longer or shorter die cuts using dies in your collection, or keep reading for photo instructions!
Make Any Size Die Cut – Step By Step
Here’s how to make any size die cut using the dies in your collection. Want more information about die cutting in general or our Stampin Cut & Emboss Machine? Use the links!
Making Shorter Die Cuts
1. Cut using the die as normal.
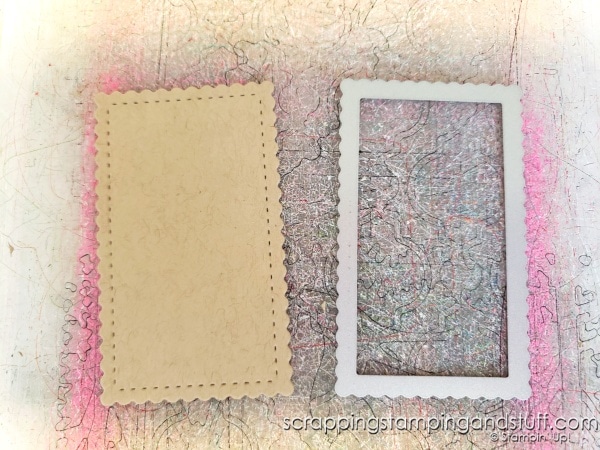
2. Line up the die with the die cut, so that it will shorten the piece to the desired length.
3. Make sure any dots or stitching are aligned perfectly. You will be able to feel them ‘lock’ into place.
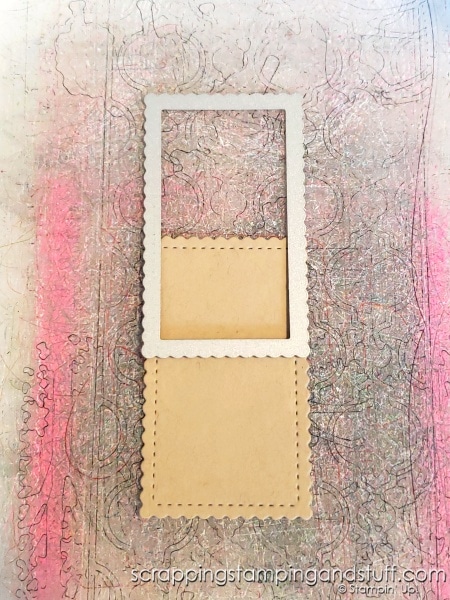
4. Hold die in place if needed using removable tape or washi tape.
5. Crank through the Cut & Emboss Machine a second time. Die cuts are shortened!
Making Longer Die Cuts
1. Place the die at one end of your paper, with extra length hanging down below the die.
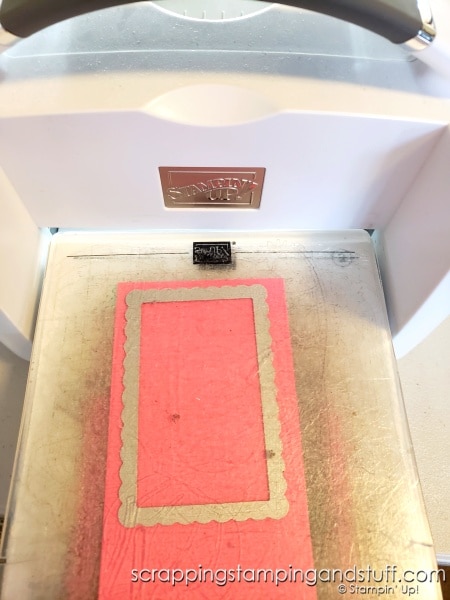
2. Run through the machine until it has almost gone through the center, then back it out.
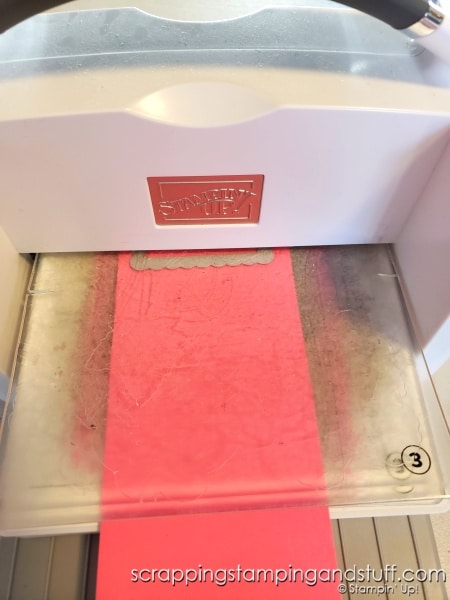
3. Remove the die, turn the piece 180 degrees, and line the die back up with the piece that has already been cut.
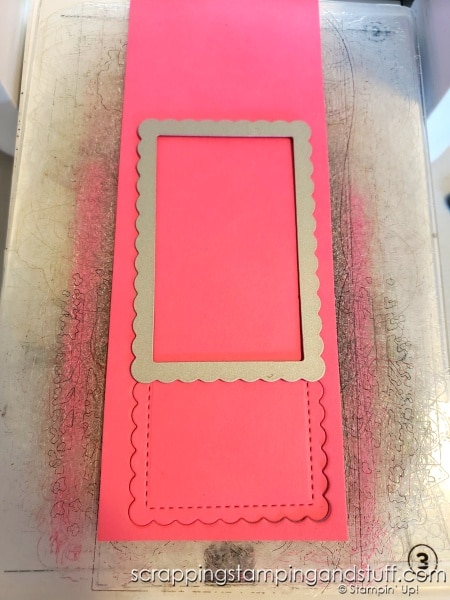
4. Make sure any dots or stitching are aligned perfectly. You will be able to feel them ‘lock’ into place.
5. Hold die in place if needed using removable tape or washi tape.
6. Crank through the machine until the die has almost passed through the center, then back it out.
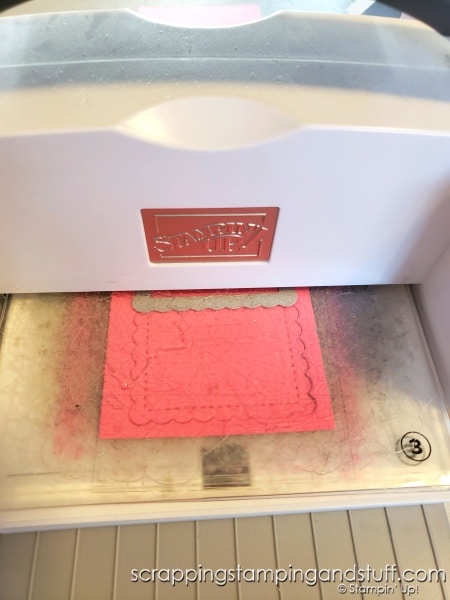
Now you have a die cut that is longer than the die!
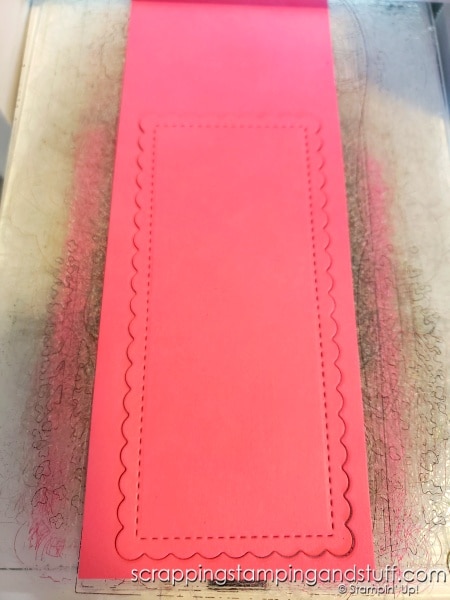
That’s it! Now you can look at your die collection in an entirely new way, because YOU – not the dies – can choose the size of your die cuts!
More Cardmaking Hacks
Find more card making tips and tricks here!
Supply List
Here are the dies and tools I used today if you would like to take a look at any of them.
Product List Learn To Make Cards
Shop Supplies
Rewards Program
Join My Amazing Team
Thanks for visiting to see how to make any size die cut!!


Leave a Reply